Connect YourGPT Chatbot to WhatsApp via the official integration with auto setup.
💡 Connecting Your Chatbot with WhatsApp
Auto Installation
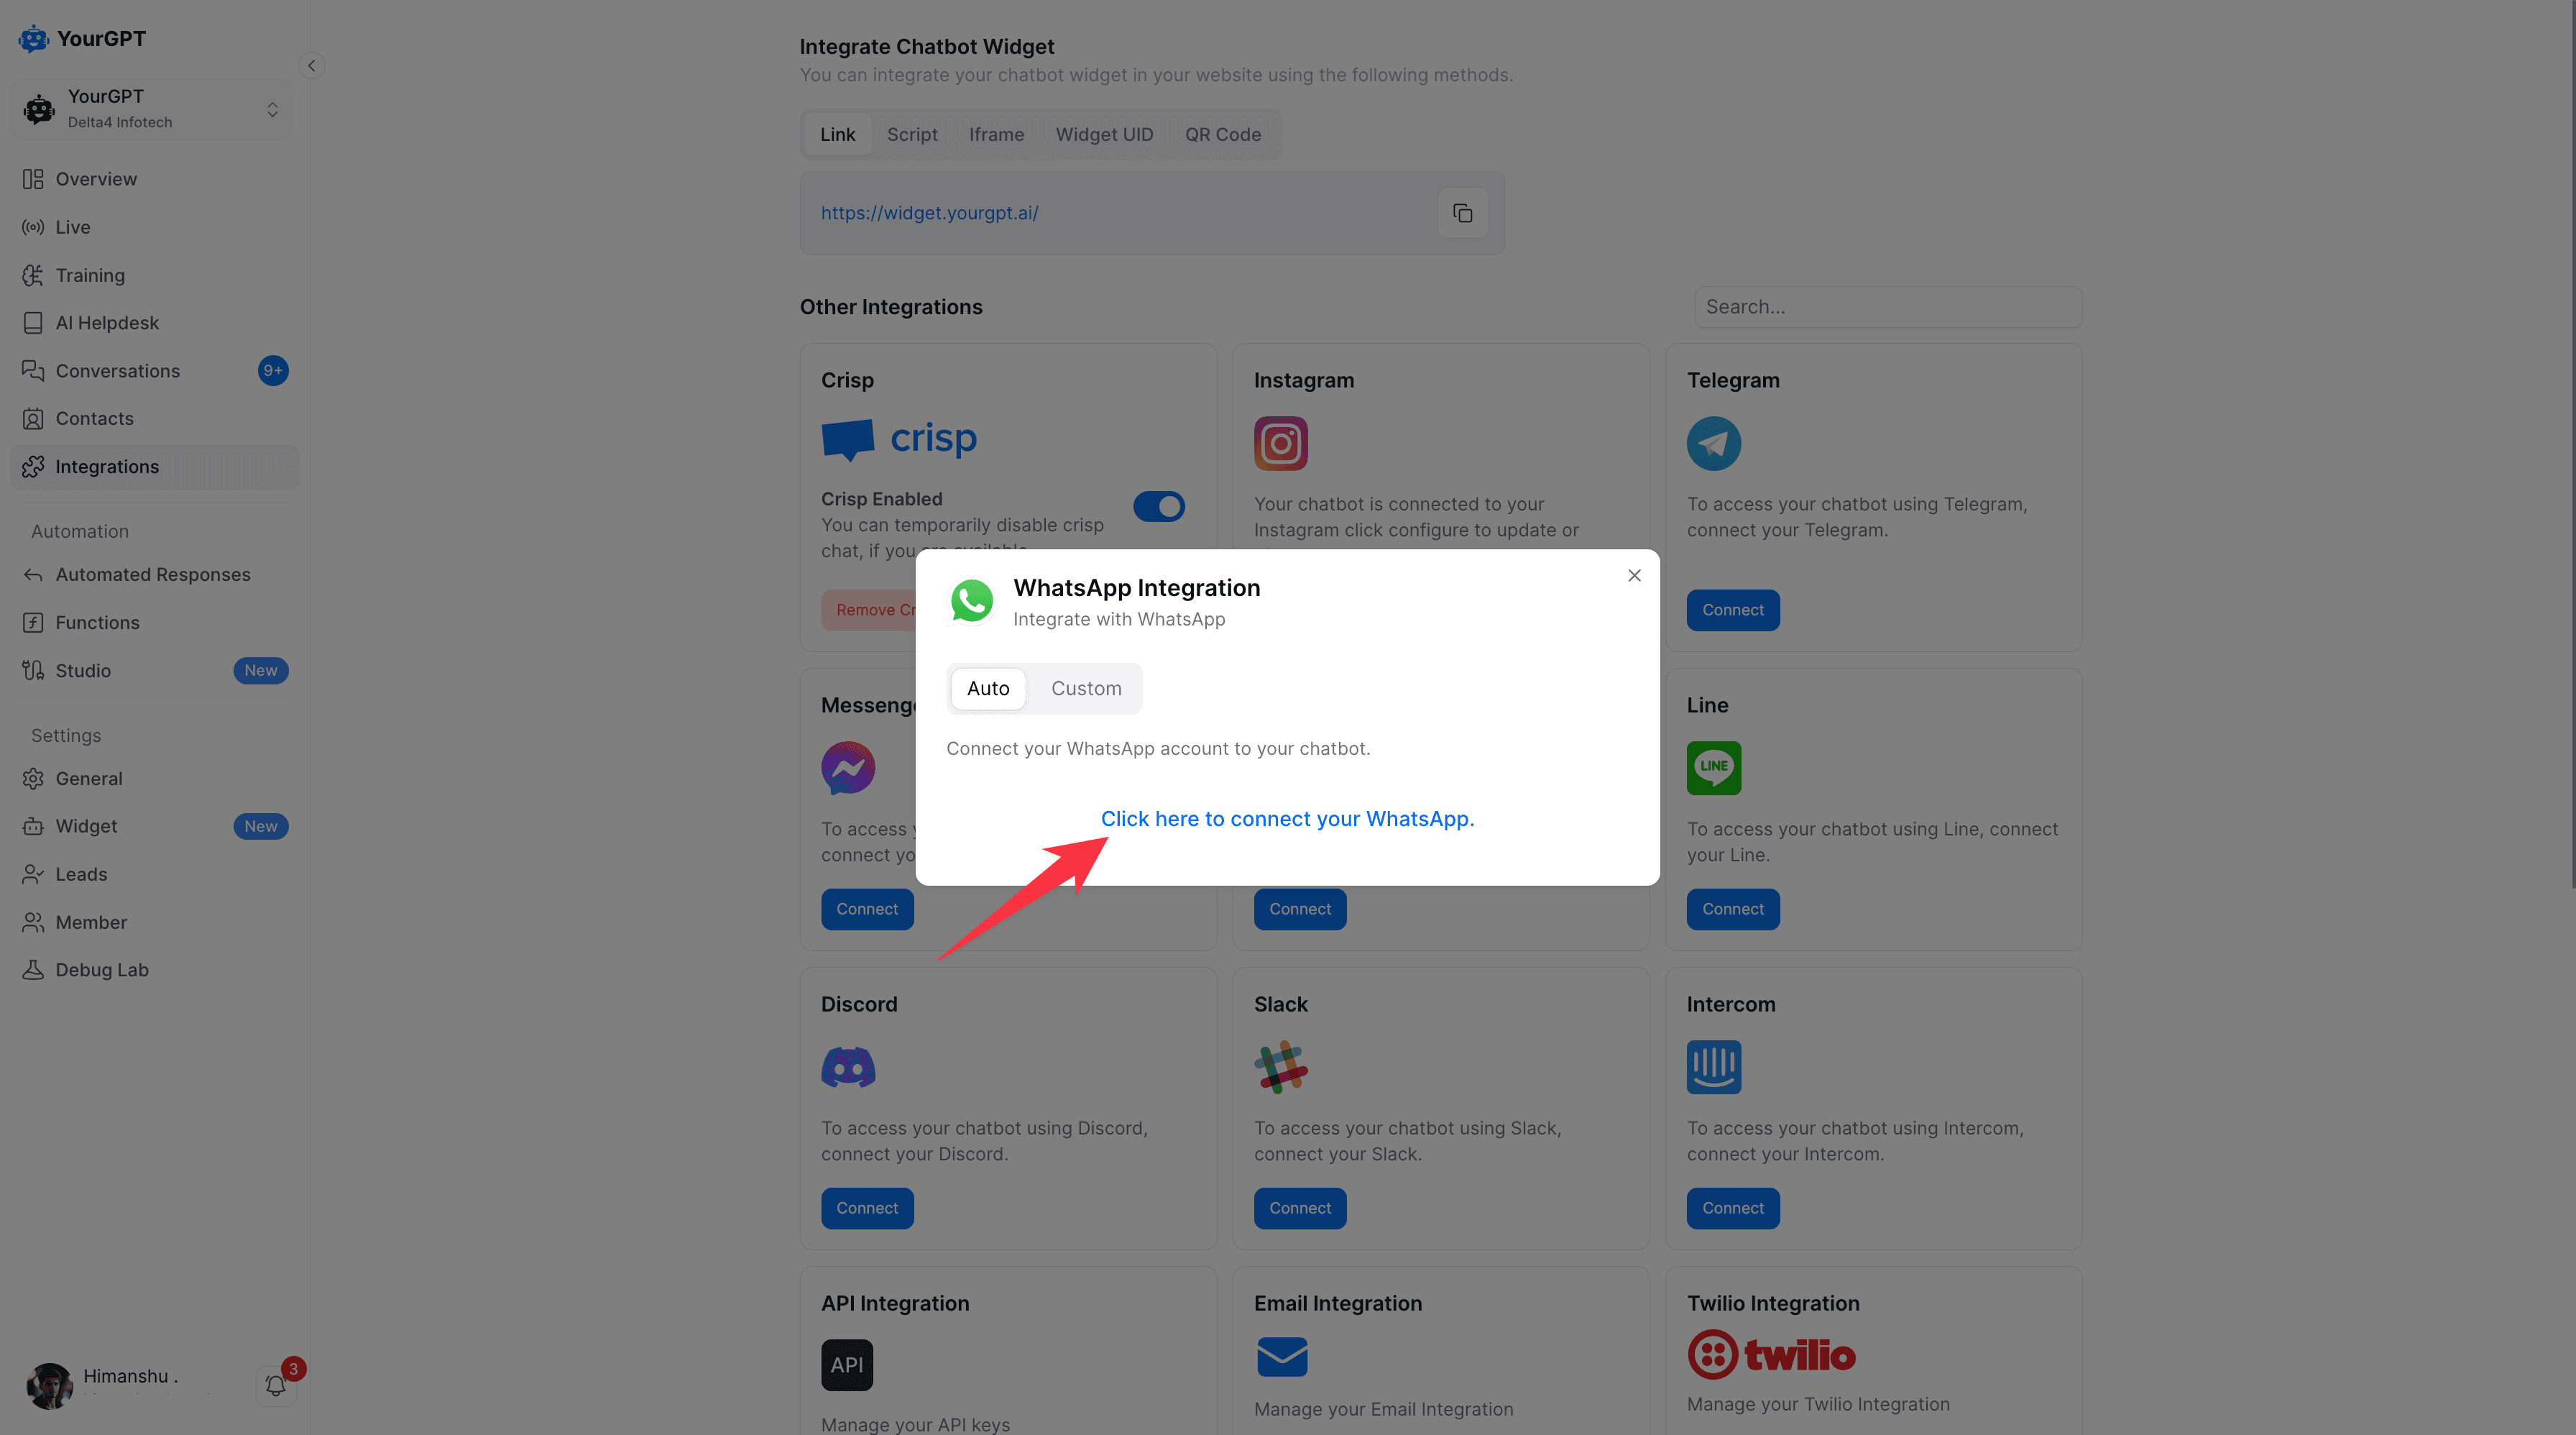
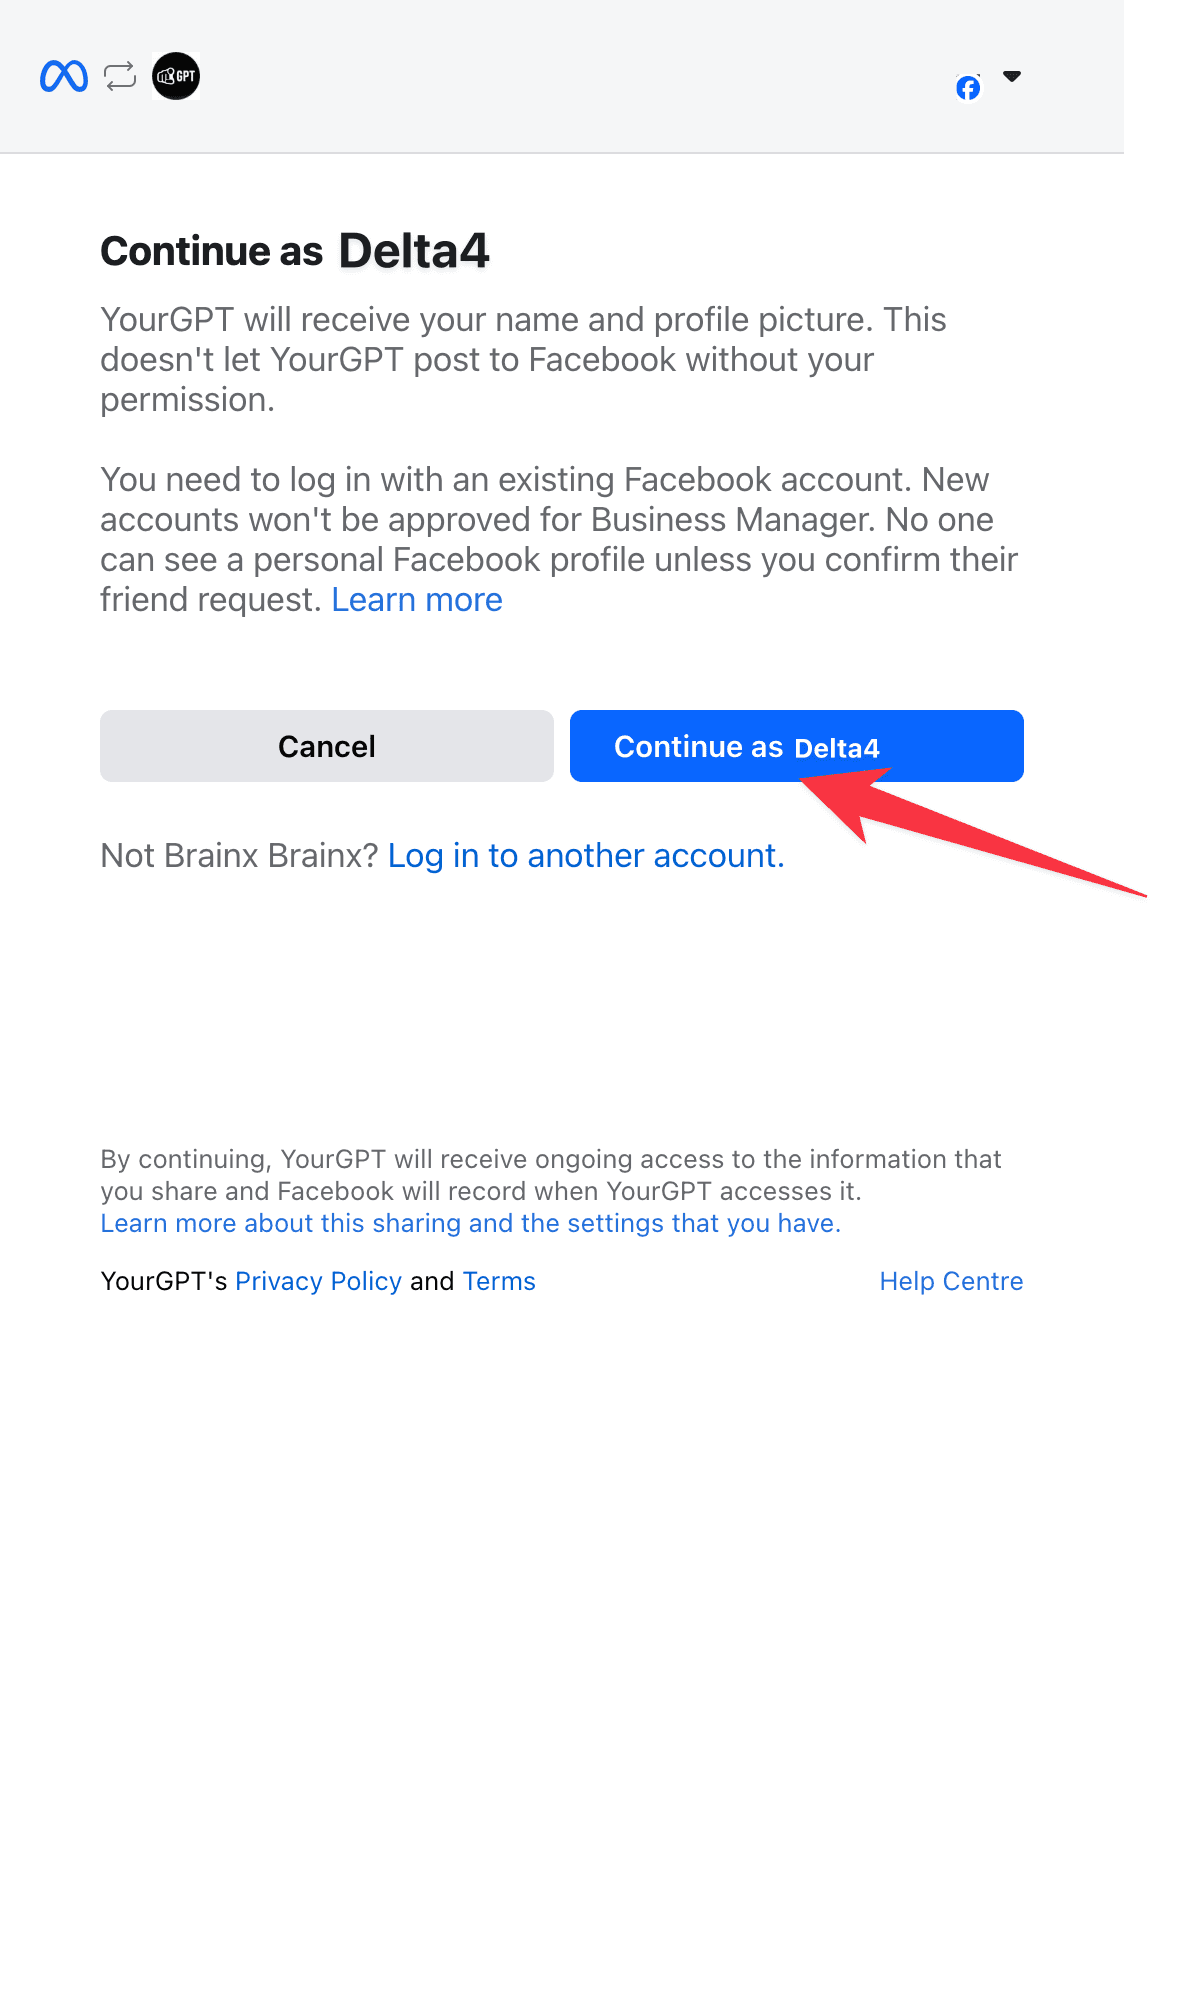
Choose or Create WhatsApp Business Account
Choose an existing WhatsApp Business account or create a new profile. Fill in your business details (Name, Website, Country) and accept the terms.
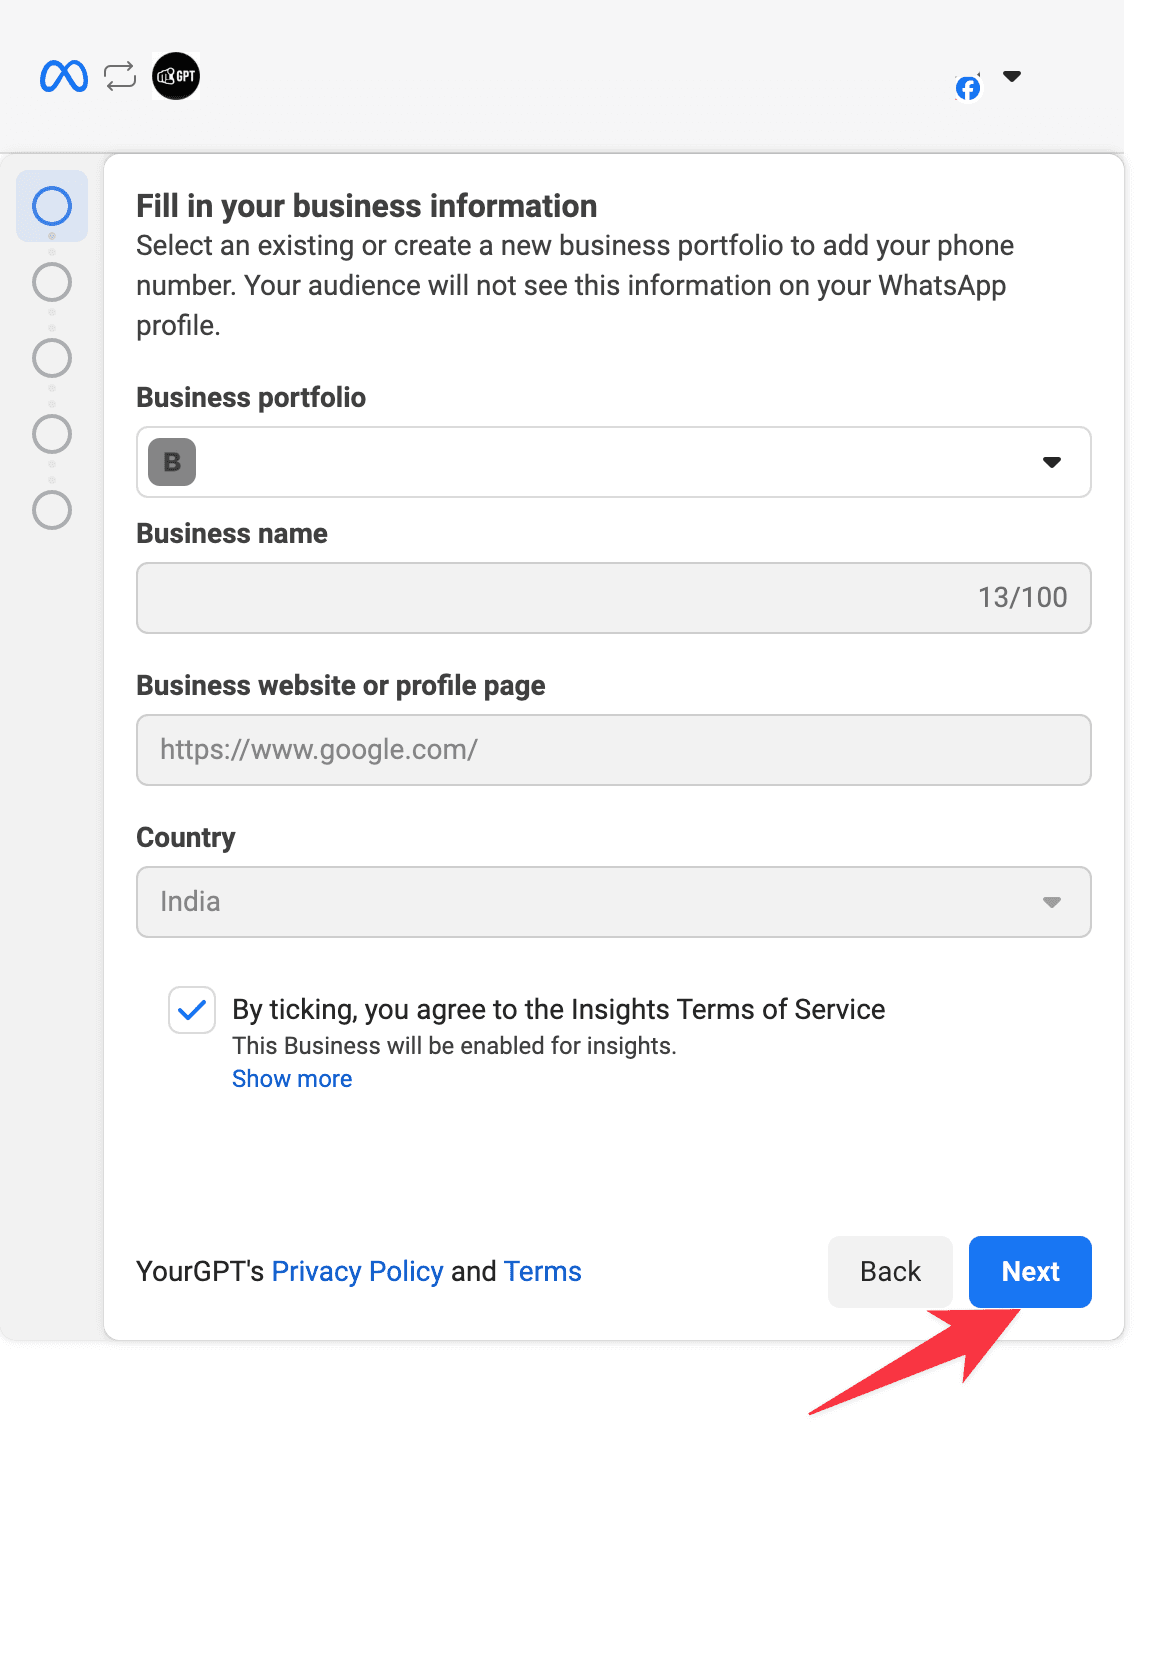
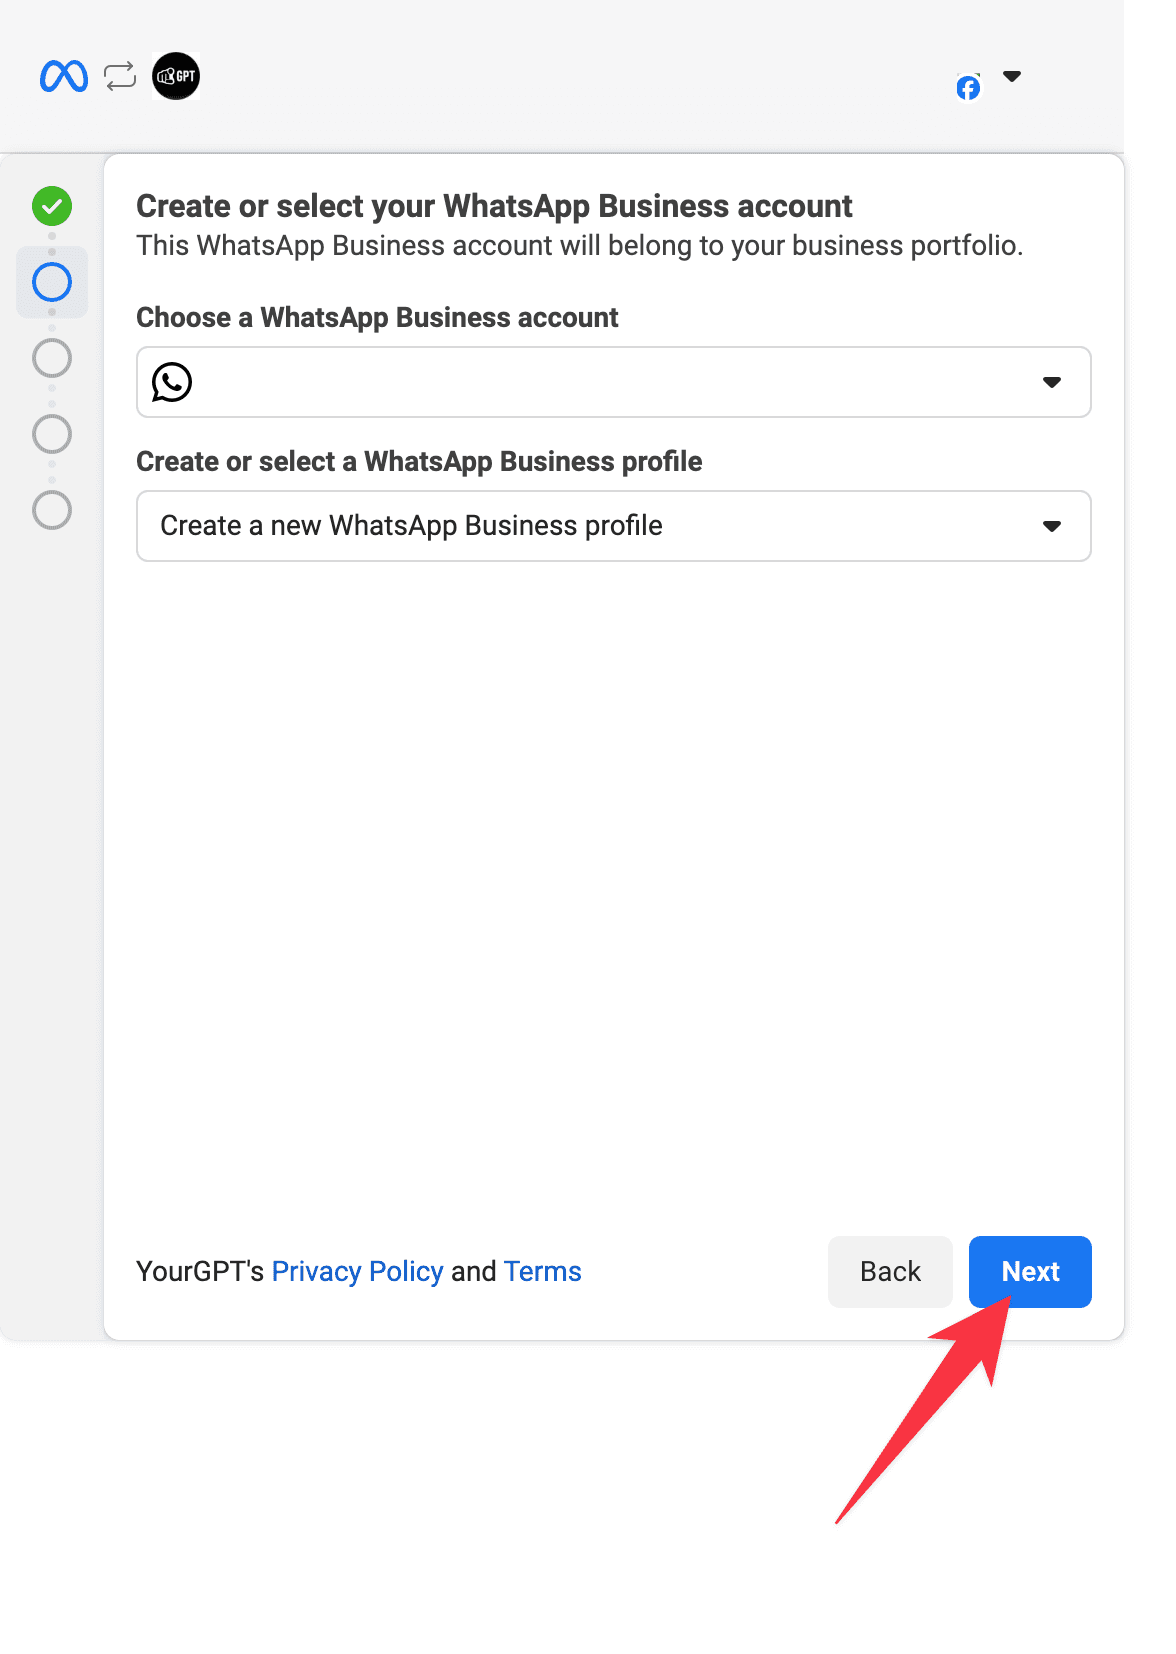
Verify Phone Number
Click Next and follow the steps to add your business phone number. You'll need to verify this number through a code sent via SMS or phone call.
Confirm Integration
Confirm the integration and start managing customer interactions through WhatsApp.
Custom Installation
Ensure your WhatsApp Business and Facebook accounts are set up for custom integration.
Prerequisites
- A Facebook Developer App
- A WhatsApp Business Account
Setting up the WhatsApp Integration
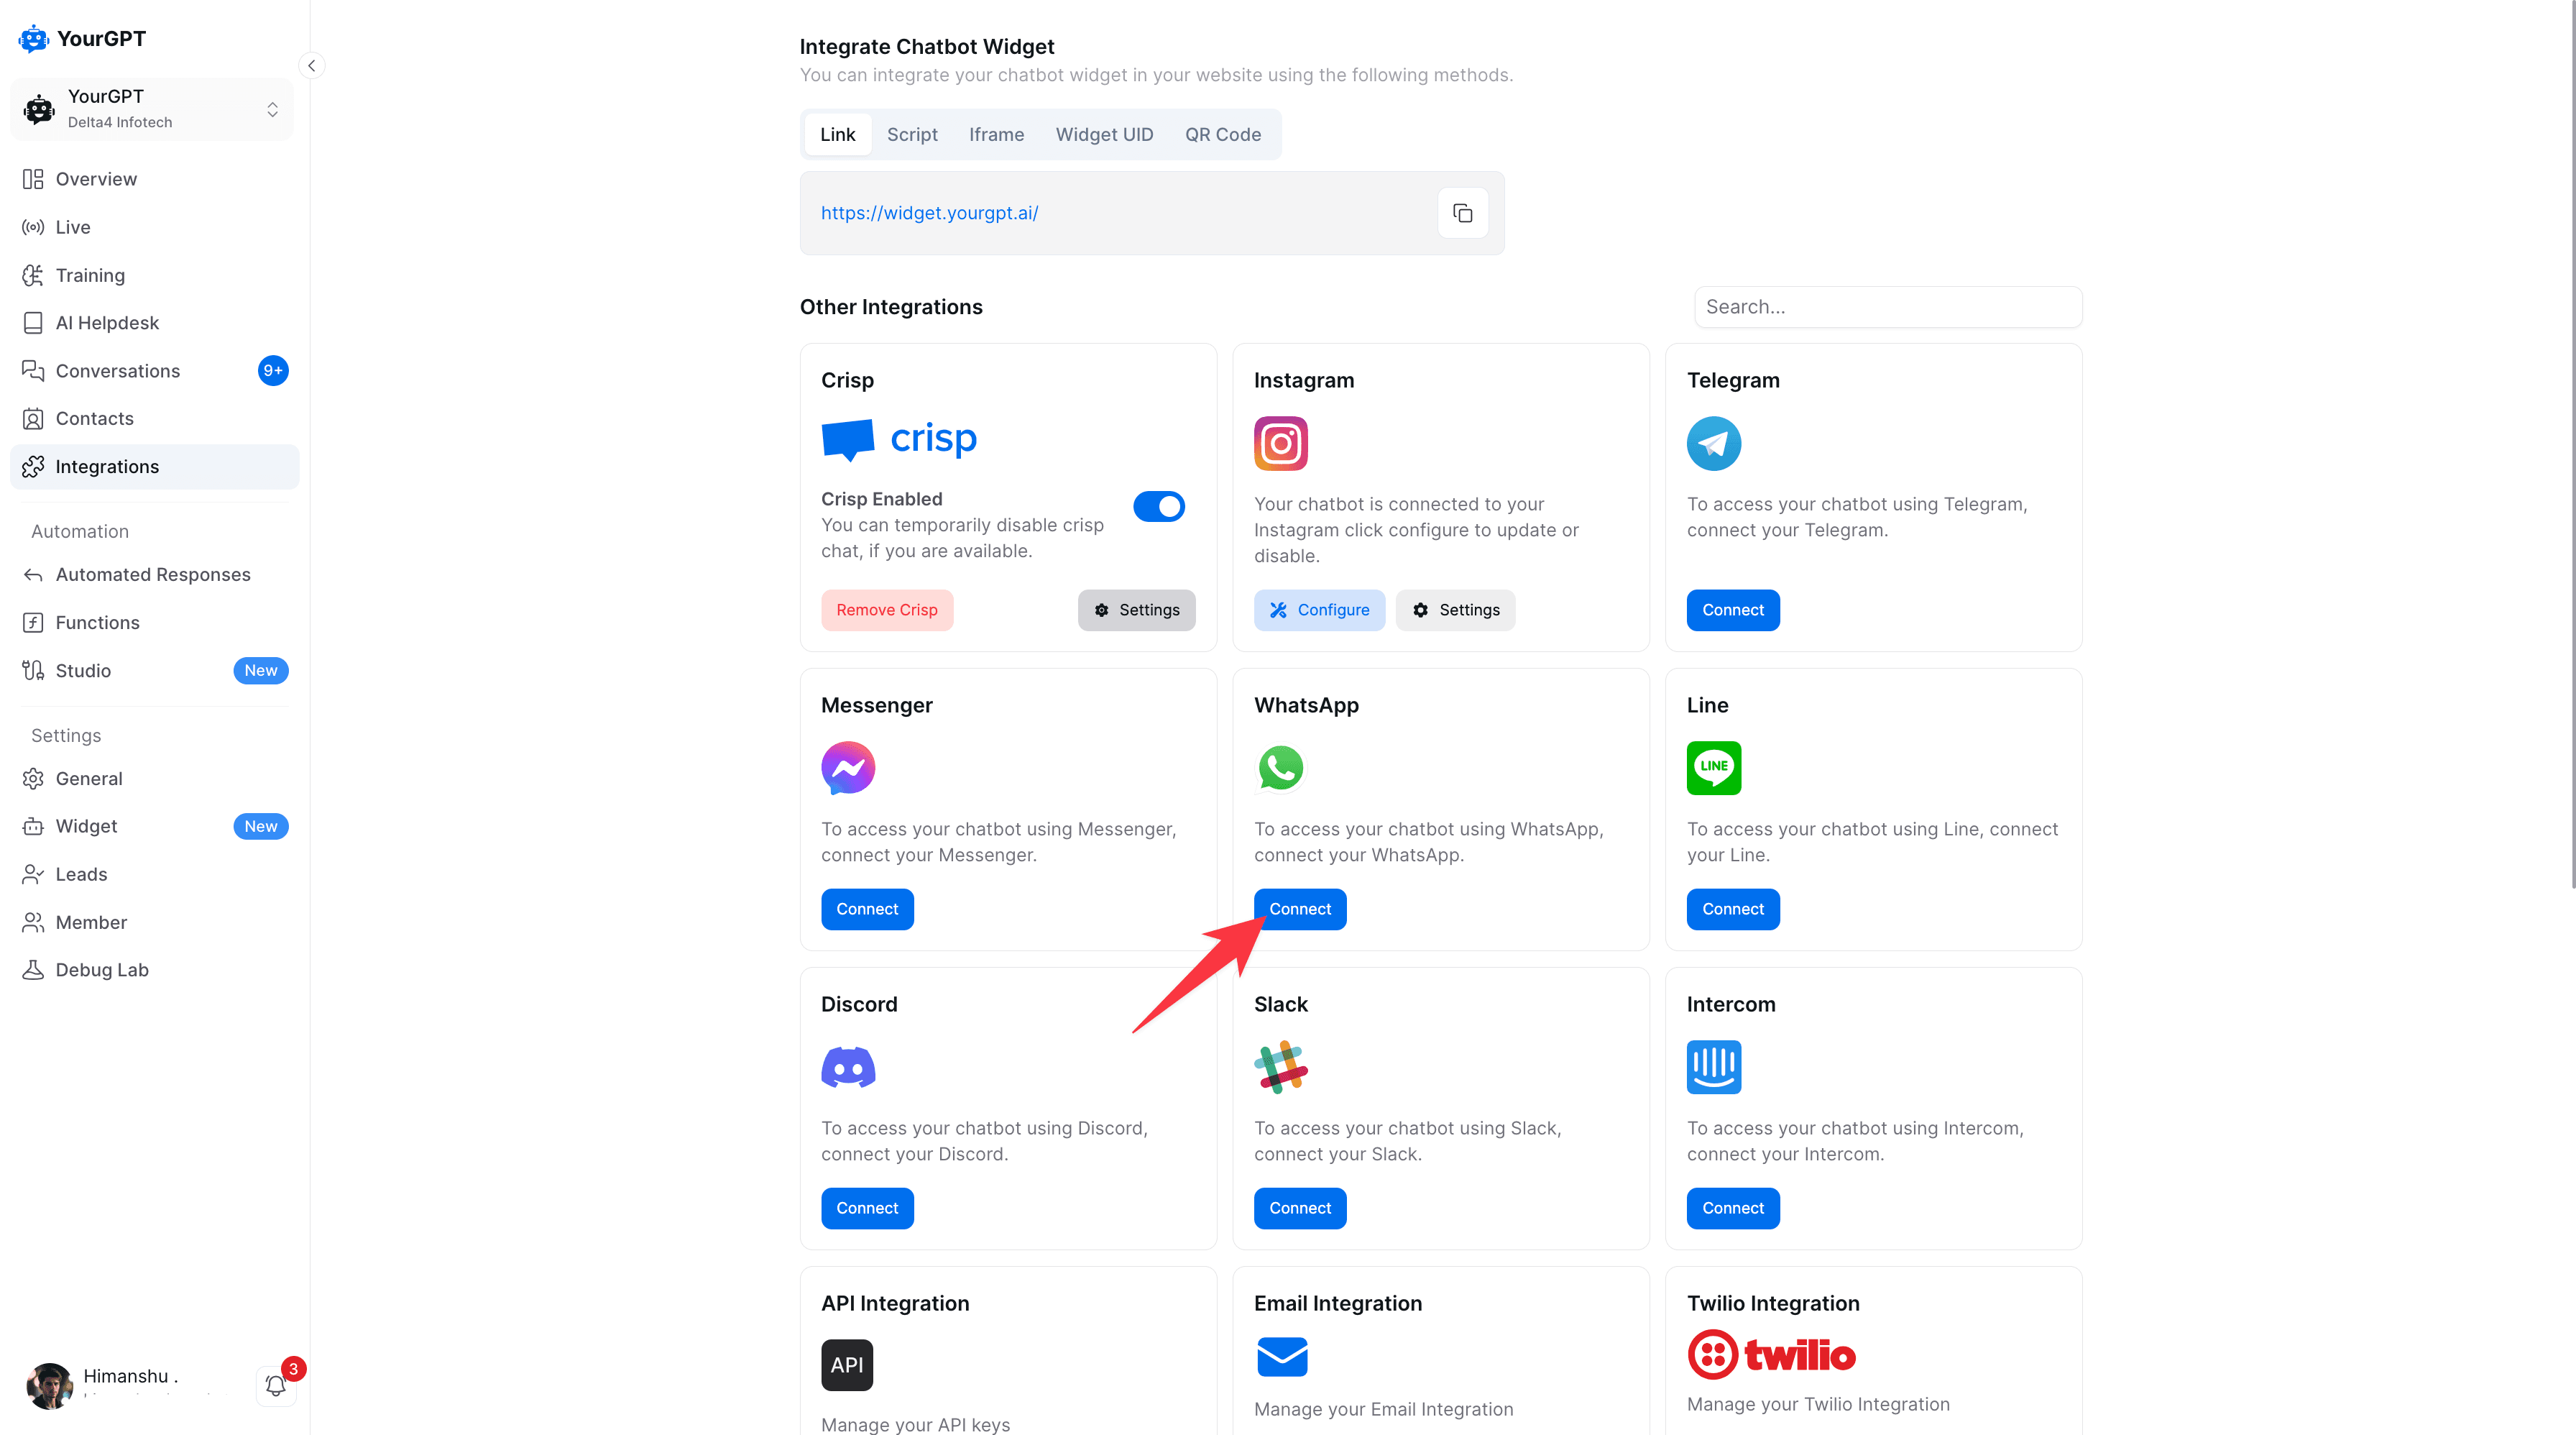
- Go to the YourGPT Chatbot Integrations Section.
- Find the WhatsApp integration then click on the Connect button.
The WhatsApp integration will have the following settings:
Verify Token
To create a Verify Token, follow the steps below:
- Start by creating a unique string that can be a mix of alphabets and just numbers, e.g (12345 or abc12). This will act as your Verification Token.
- After creating the Verify Token, make sure to copy it.
- Go to YourGPT Chatbot, in the Verify Token field. Paste your Verify Token.
- You'll also need to add the same Verify Token in the Webhook Callback section of your Facebook App.
- Lastly, copy the webhook URL from YourGPT Chatbot. Go to your Facebook App and find the Webhook Callback section, paste the copied webhook URL.
Phone Number ID
To set up your Phone Number ID:
- In your Facebook App's left sidebar, expand the WhatsApp menu and select Getting Started.
- Beside the label Phone Number ID, click Copy.
- Paste the copied value in the Phone Number ID field in YourGPT Chatbot.
Access Token
There are two types of Access Tokens:
Temporary Access Token
- The Phone Number ID and Access Token are used to send and receive messages to/from the WhatsApp API.
- To set up a Temporary Access Token:
- In your Facebook App's left sidebar, expand the WhatsApp menu and select Getting Started.
- In the Temporary access token section, click Copy.
- Paste the copied value in the Access Token field in YourGPT Chatbot.
Note
The Temporary Access Token expires after 24 hours. You will need to generate a new token every day.
Permanent Access Token (Optional)
- To set up a Permanent Access Token:
- Go to Business Settings.
- Select the business account your app is associated with.
- Below Users, click on System Users.
- Click Add.
- Name the system user, choose Admin as the user role, and click Create System User.
- Select the whatsapp_business_messaging permission.
- Click Generate New Token.
- Copy and save your Permanent Access Token.
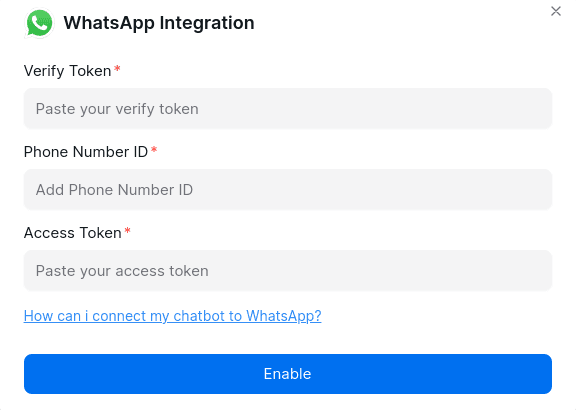
Paste the Verify Token, Phone Number ID, and Access Token in the respective fields in YourGPT Chatbot.
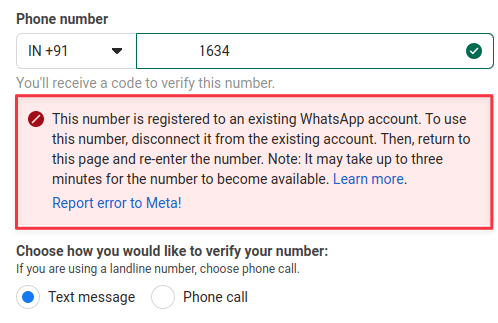
Troubleshooting
To resolve the error This number is registered to an existing WhatsApp account, disconnect the number from here: WhatsApp Manager.
Integration Supported Types
The Integration ID for WhatsApp is 13 and the supported types are:
Supported Types
- Text
- Image: jpeg, png
- Video: 3gp, mp4 (H.264 video codec & AAC audio codec only)
- Audio: aac, amr, mp3, m4a, ogg (OPUS codecs only)
- File: txt, xls, xlsx, doc, docx, ppt, pptx, pdf
- Button
- Carousel
- Card
Note: If there are more than 3 buttons, card or carousel, they will be displayed as a list, and only action paths are supported.
Not Supported
Forms are not supported on WhatsApp.
By following these steps, you can integrate YourGPT AI chatbot with WhatsApp. For more information, refer to this article. If you have any questions, contact our team via Website Chat support or Mail Us.