Learn how to connect YourGPT AI to Instagram for automating messaging and engagement.
💡 Connecting Your Chatbot with Instagram
Auto Installation
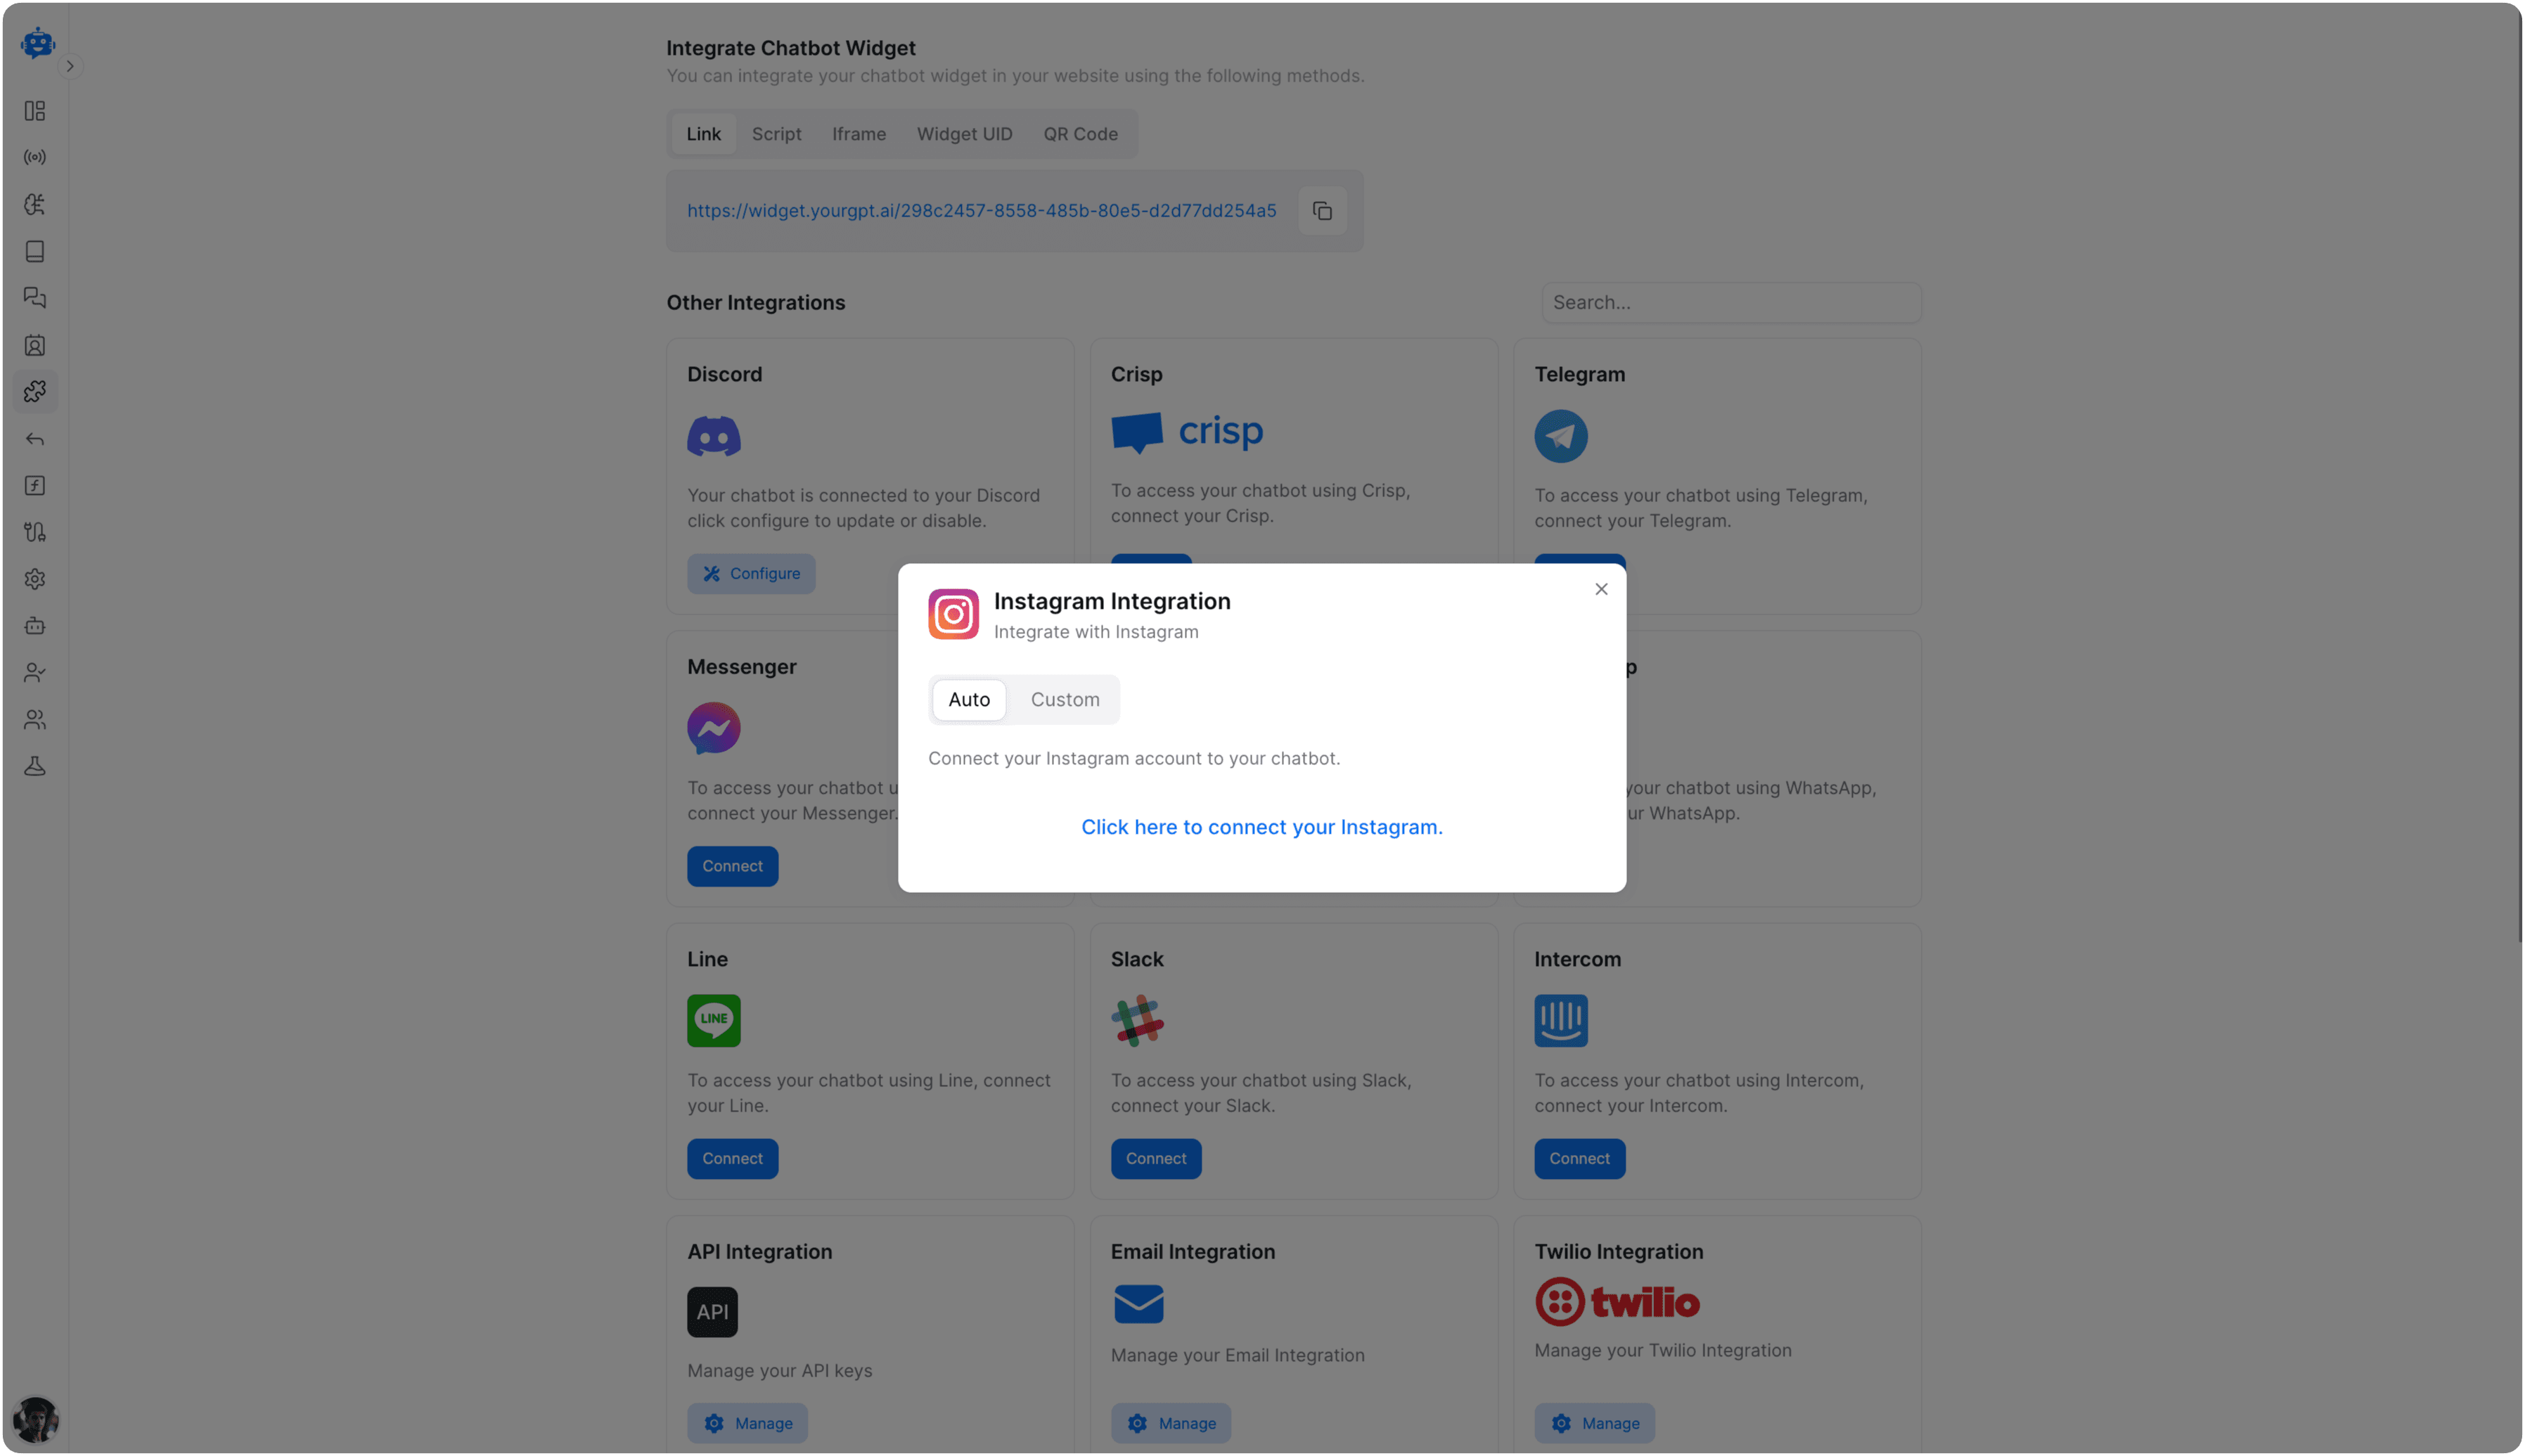
Complete Integration
Follow the further steps on screen to complete the integration.
Custom Installation
Prerequisites
Before integrating Instagram with YourGPT Chatbot, ensure you have the following prerequisites in place:
- A Meta Developer App to manage connections between Instagram and YourGPT Chatbot, including webhooks and access tokens.
- Administrator or Developer roles for a Facebook Page since Instagram accounts need to be linked to a Facebook page for using the Facebook Graph API.
- An Instagram Professional Account is required to access features specific to professional accounts.
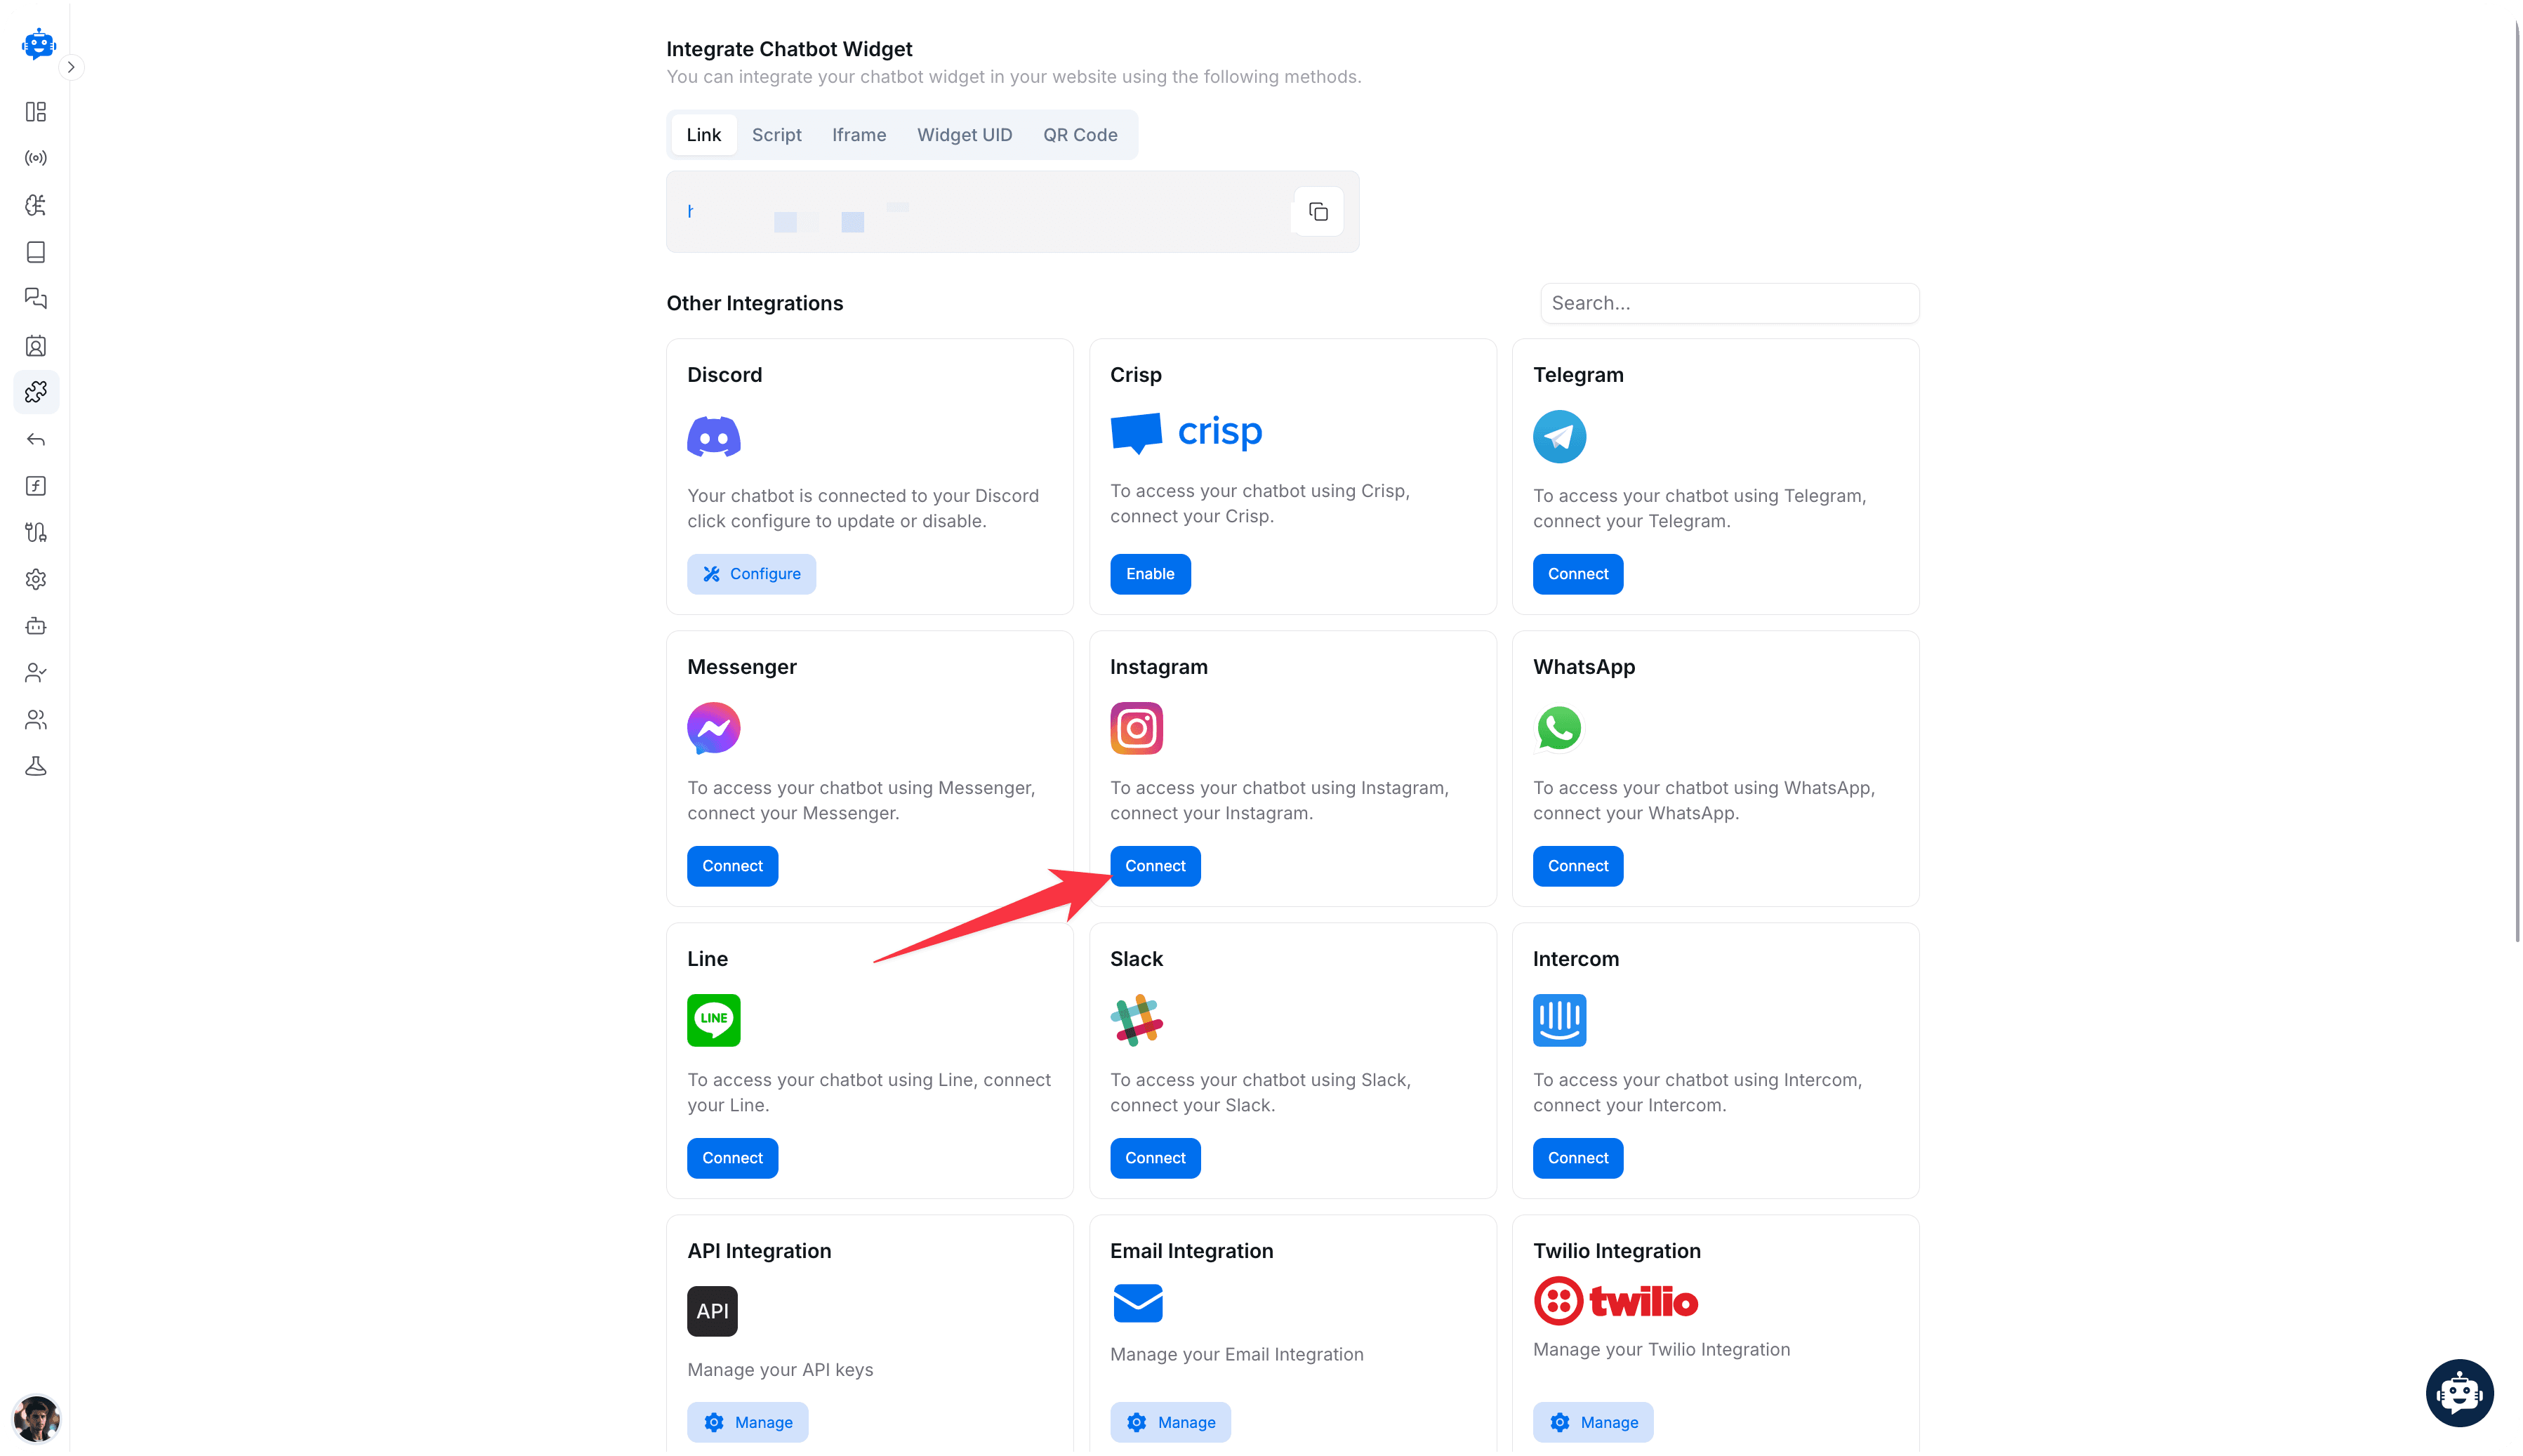
Connect Instagram Integration
Go to the Integration Section in YourGPT Chatbot and connect the Instagram integration if not already installed.
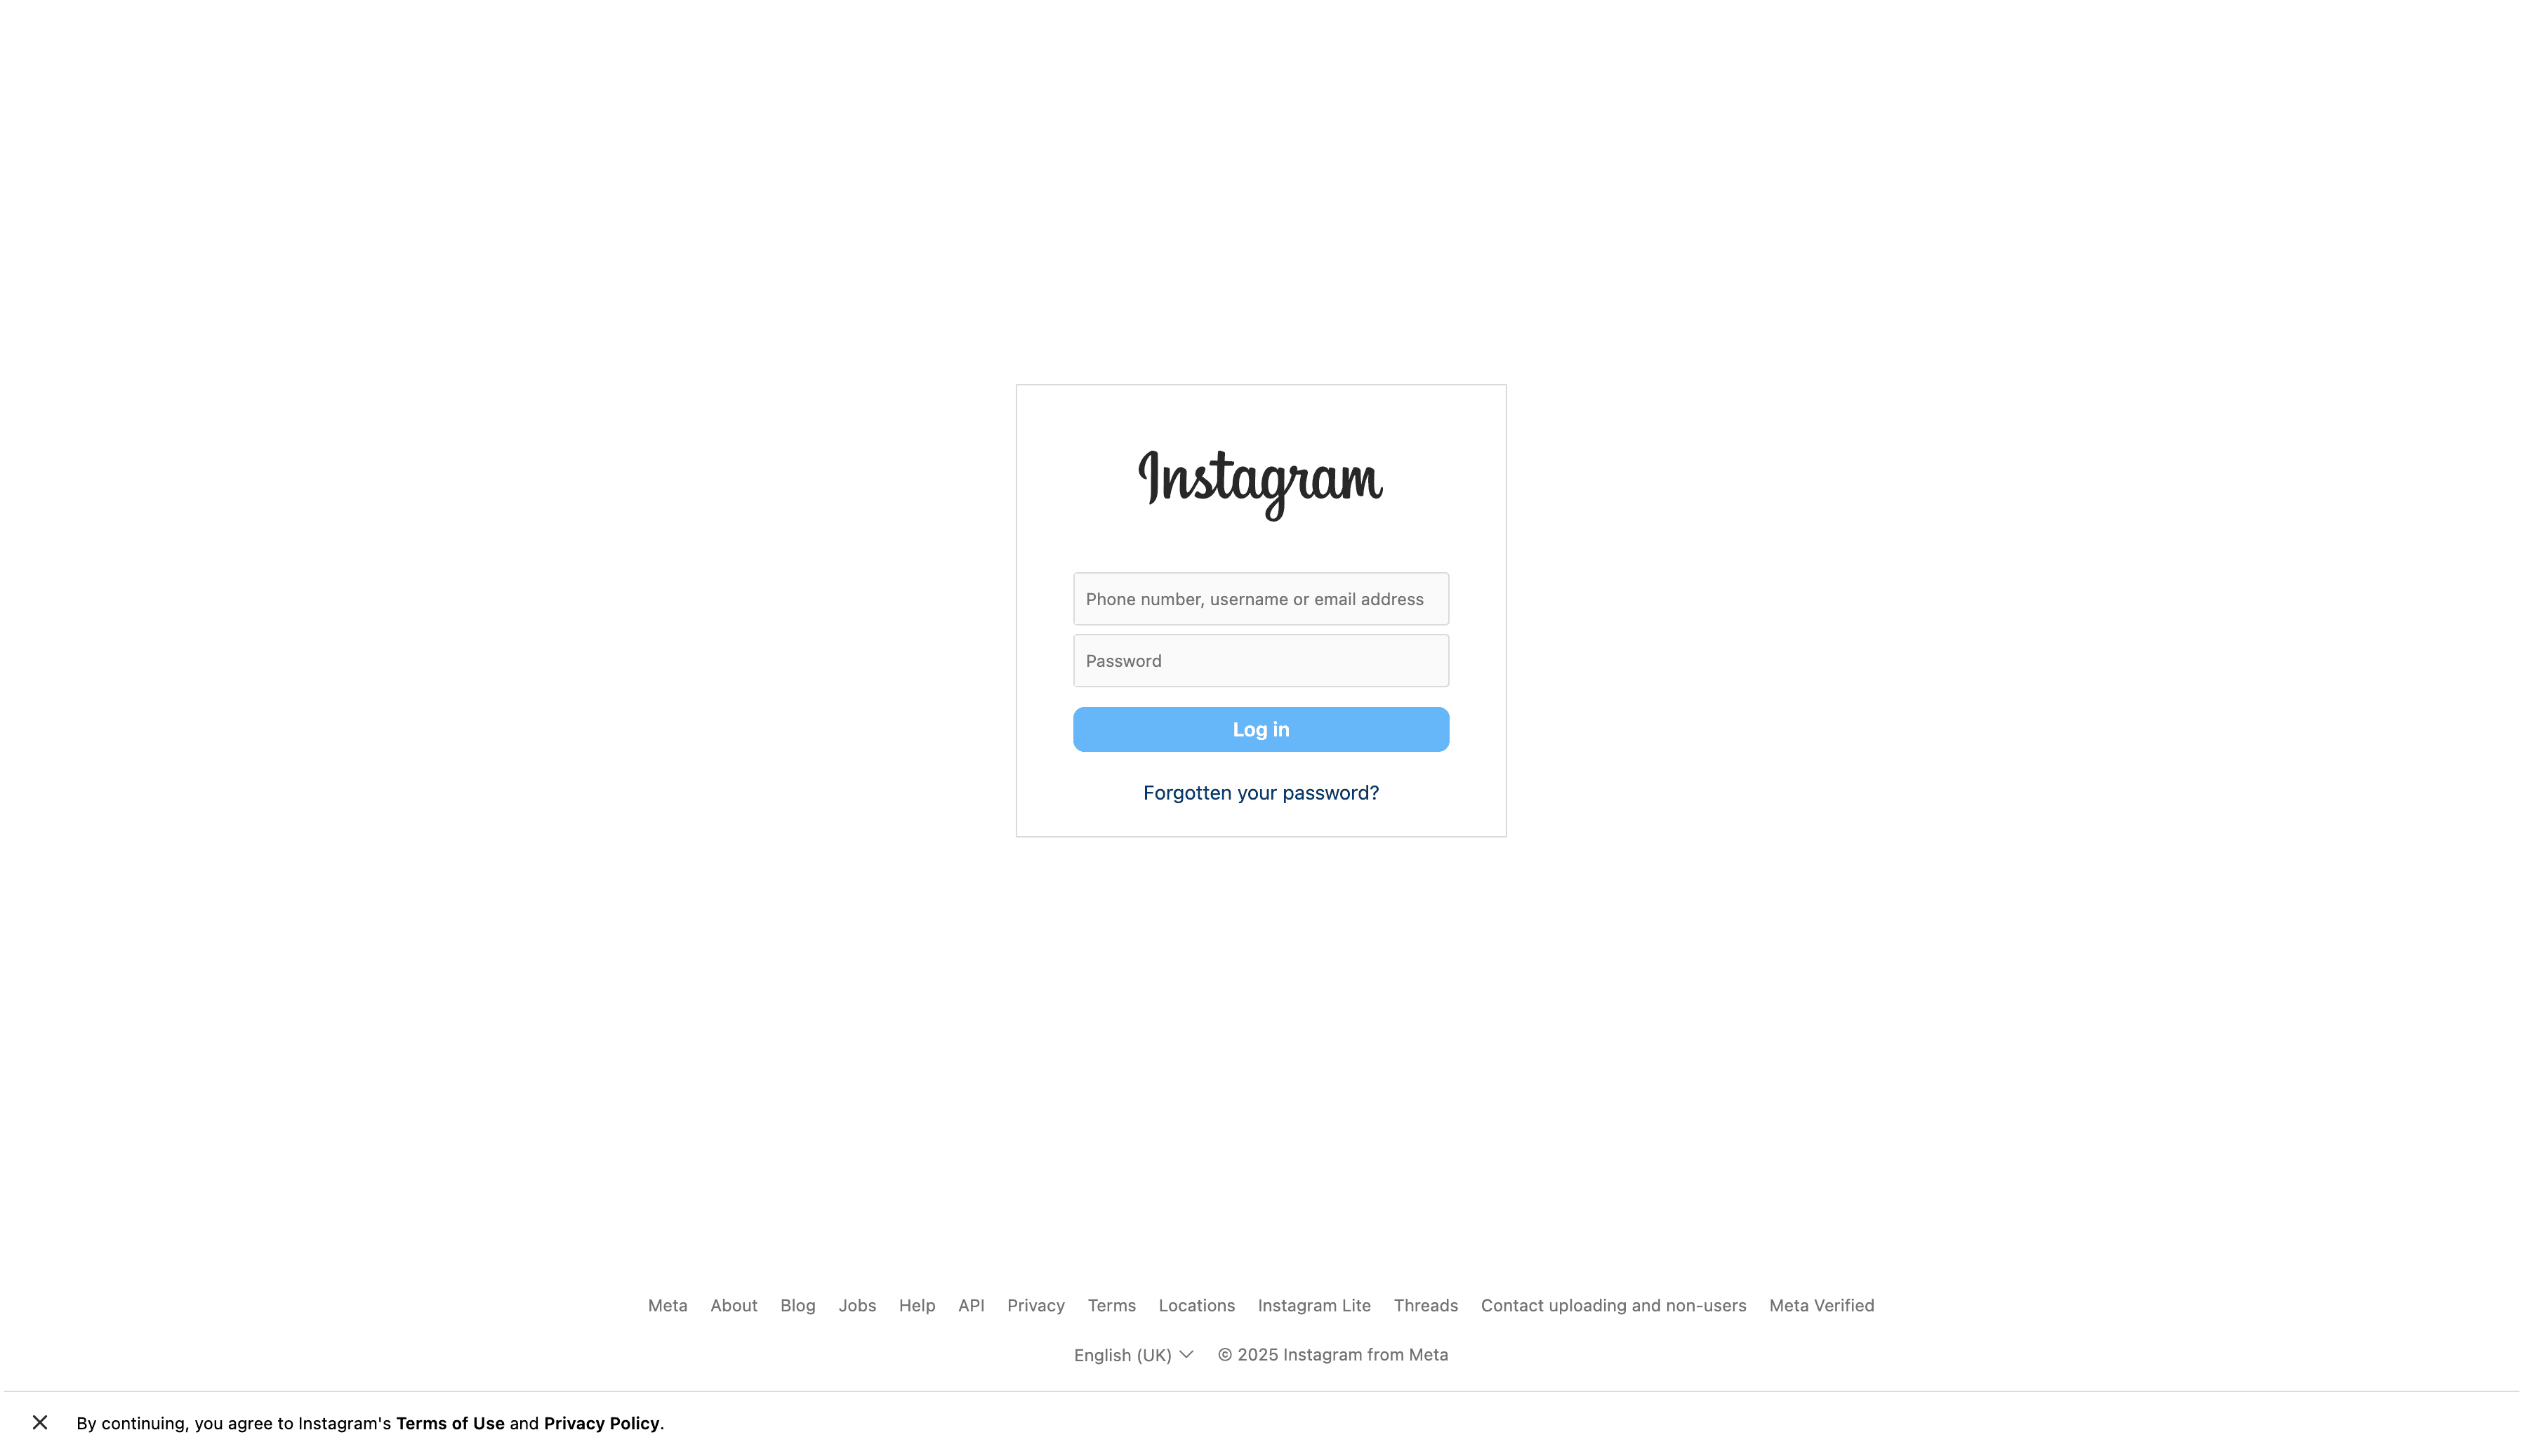
Click Connect Instagram and proceed to your chatbot settings.
Add Integration Details
Add the following details in the Instagram section:
- App ID: Your YourGPT app's identification, created at Meta Developer platform.
- App Secret: The secret key of your YourGPT app.
- Page ID: The ID of your Facebook page.
- Access Token: The access token.
Create a Facebook Page
If you don't have a Facebook page, create one. Ensure you have an administrator or developer role to link your chatbot.
Create a YourGPT Chatbot App
Log in to Facebook for Developers.
Select My Apps and create a new app.
Choose Business as the App Type and assign a name to your app.
Get App ID and Secret
In Settings, under Basic, find the App ID and App Secret.
Click Show in the App Secret text box. Copy both for channel configuration.
Get Page ID and Access Token
In Messenger settings, under Instagram Settings, click Add or Remove Pages.
Add your Facebook page and copy the number under your page name for Page ID.
Click Generate Token and copy for Access Token.
Submit Your App for Meta Review
During Development Mode, your bot is accessible to admins, developers, and testers only. After approval and public release, it becomes available to the general public.
Learn more about the App Review process. For troubleshooting, follow this documentation if your app got rejected.
Comment Auto-Reply
Turn every comment on your Instagram posts and reels into a conversation. When someone comments, your chatbot can automatically send them a direct message (DM) with an AI-generated reply, so you never miss a lead or a question.
Open Instagram Settings
Go to the Integrations page, find your connected Instagram account, and click Settings.

Choose which comments get a reply
Decide when your chatbot should respond:
| Trigger Mode | When your chatbot replies |
|---|---|
| Any Comment (default) | To every comment on your posts |
| Contains Keyword | Only when a comment includes one of your chosen keywords |
| Exact Match | Only when a comment exactly matches one of your chosen keywords |
Add as many keywords as you need for Contains Keyword or Exact Match.
Exclude usernames (optional)
Add any usernames you want to ignore, such as your own team or admin accounts, so their comments never trigger a reply.
Add a public reply (optional)
Turn on Public Reply to post a short public comment under the original one, letting people know a DM is on its way (for example, "Check your DMs!"). Add a few variations and your chatbot will pick one at random each time.
Fine-tune the behavior (optional)
Under Advanced, you can adjust:
- Reply Delay — how many seconds to wait before replying (0–30 seconds).
- Rate Limit — the maximum number of replies sent per hour (up to 200).
- Ads Only — only reply to comments on your ads and boosted posts.
Save your settings
Click Update Settings to save.
Connected Instagram before? You may need to reconnect
If you connected your Instagram account before this feature was available, you might see a message asking you to reconnect. Just reconnect your Instagram account to grant the extra permission needed for comment replies.
Good to know
- Your chatbot only replies to comments made directly on your post or reel — it won't reply to someone replying inside a comment thread.
- Your own comments never trigger a reply.
- Each commenter only gets one automatic DM per post within 24 hours, so they won't be spammed even if they comment several times.
Integration Supported Types
The Integration ID for Instagram is 12 and the supported types are:
Supported Types
- Text
- Image: png, jpeg, gif
- Video: mp4, ogg, avi, mov, webm
- Audio: aac, m4a, wav, mp4
- File
- Button
- Carousel (handled as a generic template)
- Card (more than 3 buttons with action type 'path' will be handled as quick replies; otherwise, they will be handled as a generic template)
Not Supported
Forms are not supported on Instagram.
By following these steps, you can integrate YourGPT AI chatbot with Instagram. For any questions, contact our team via Live support or Mail Us.