
Triggers are actions or events that make your agent respond automatically. By setting up triggers, your chatbot can interact with users based on specific actions they take. Here’s a step-by-step guide to setting up triggers:
Step 1: Access the Widget Section
Section titled “Step 1: Access the Widget Section”-
Go to the widget section of your chatbot settings.
-
Scroll to the bottom until you find the ‘Triggers’ option.
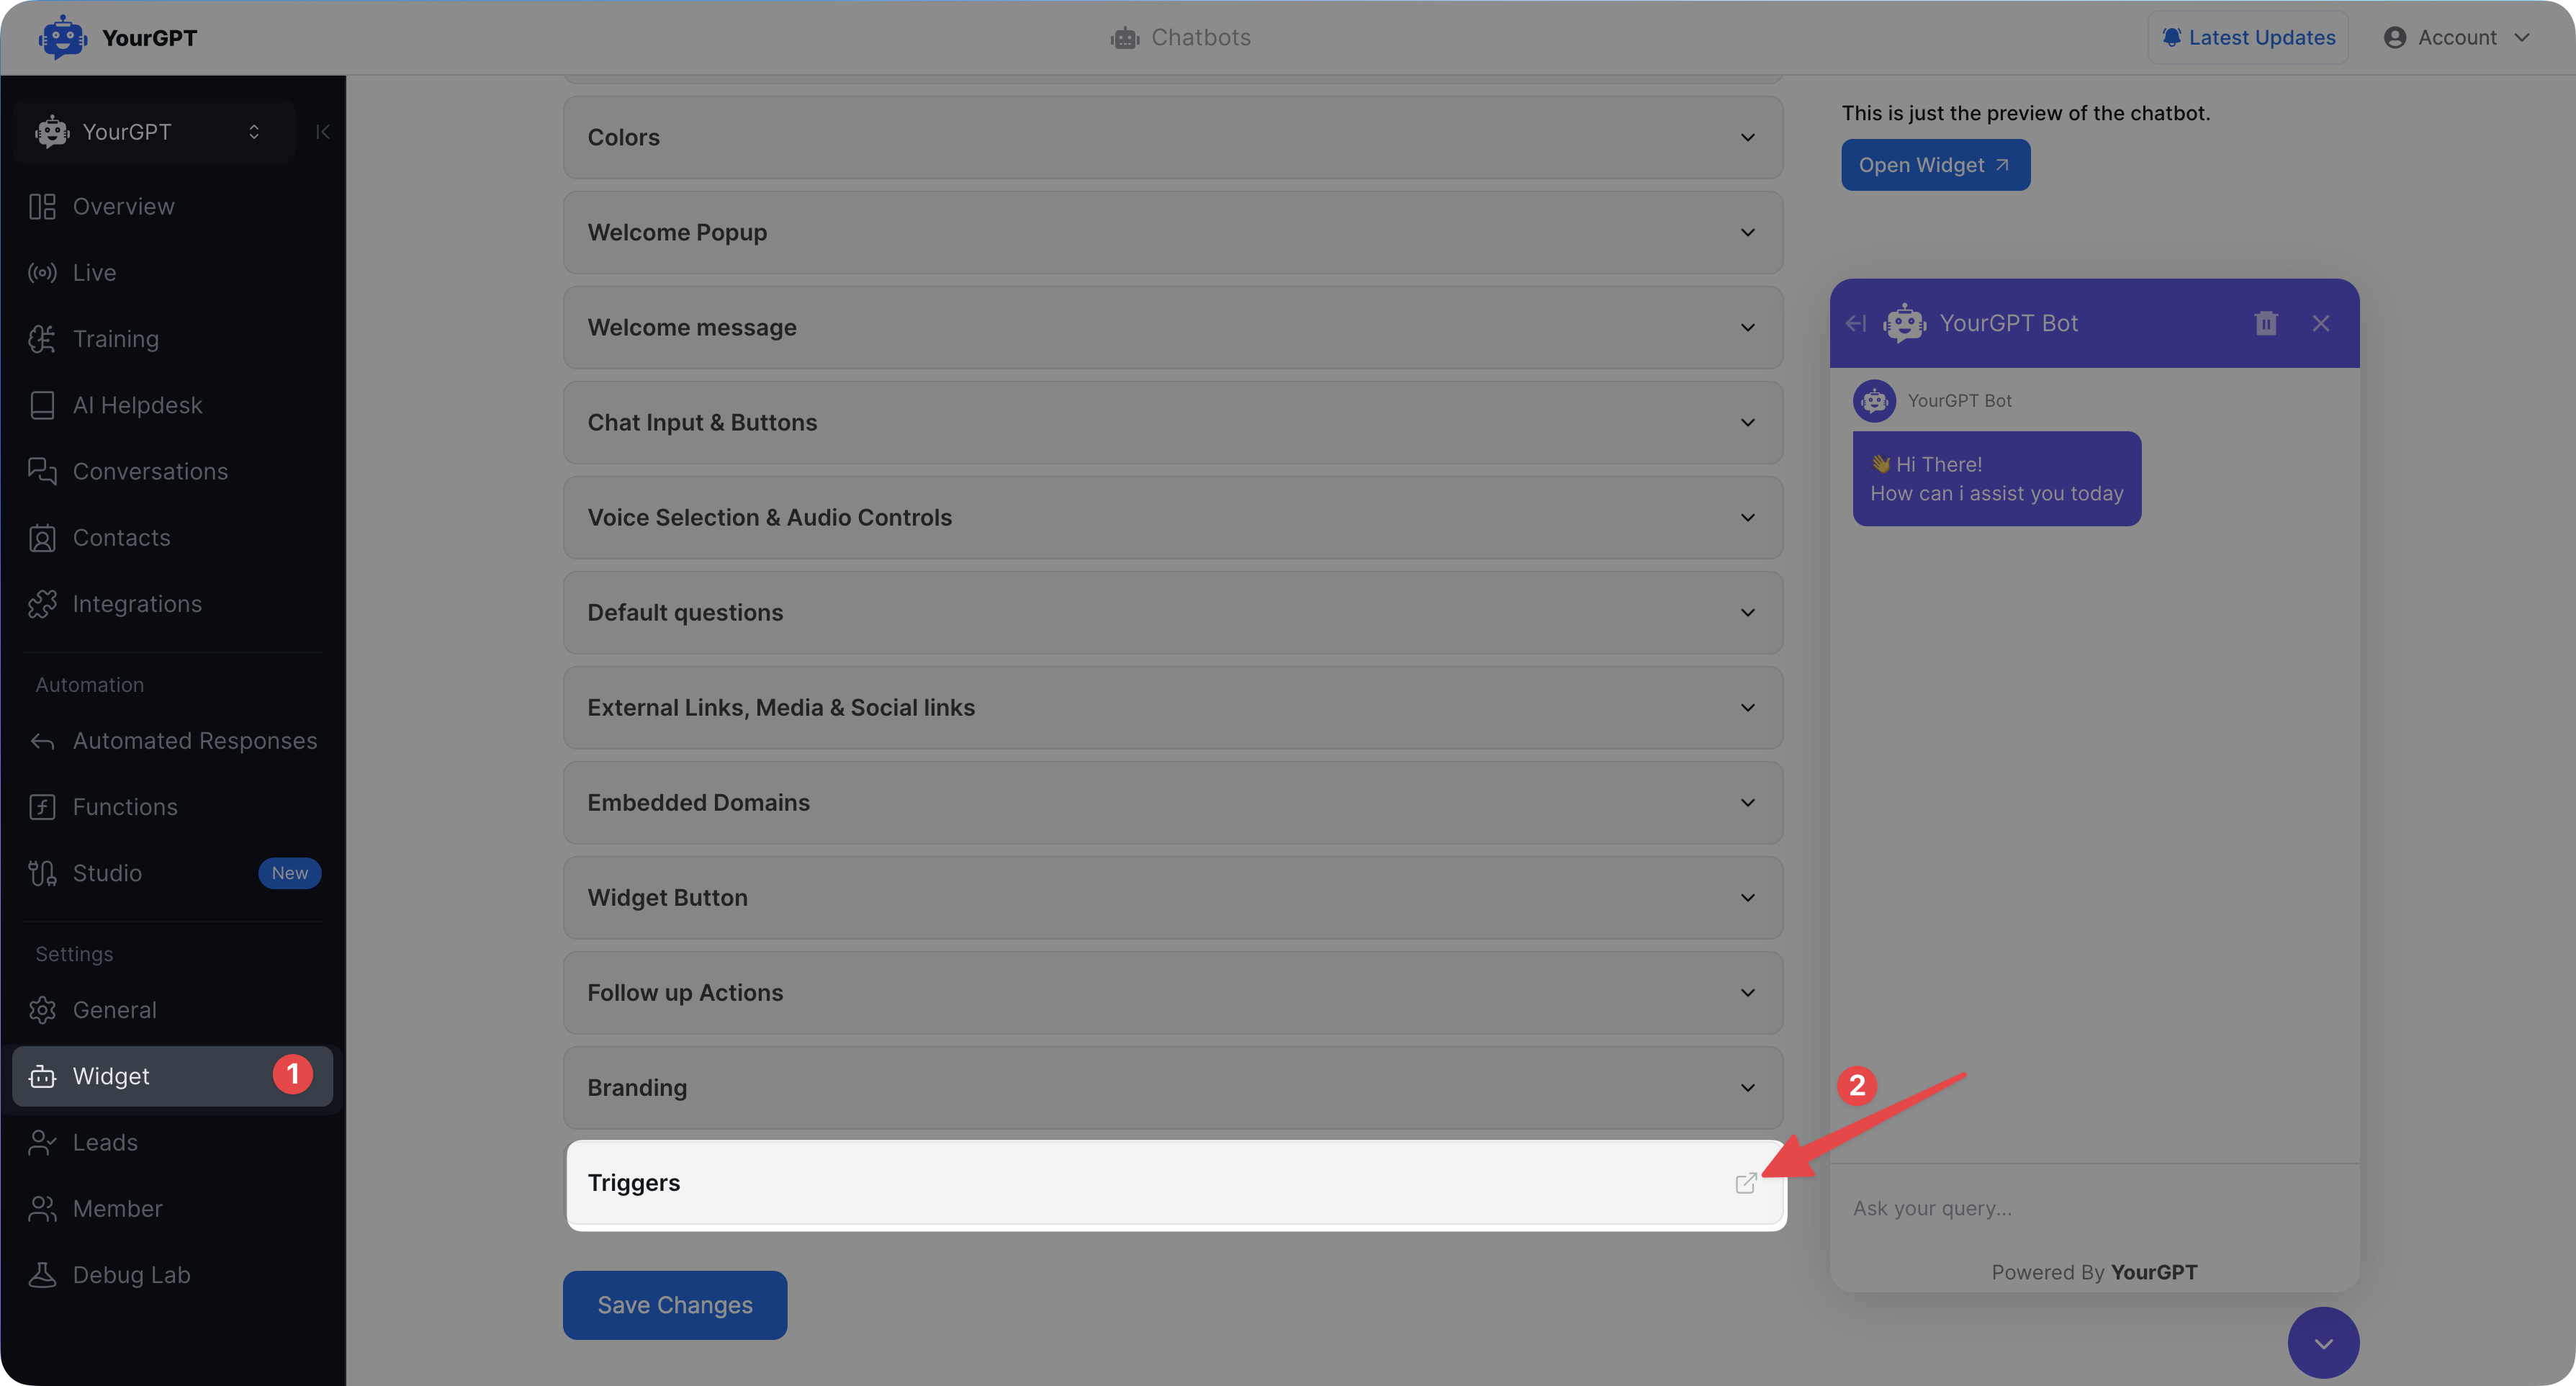
- Click on ‘Triggers’ to open the trigger management panel.
- In this panel, select ‘Add Trigger’ to start creating a new trigger.
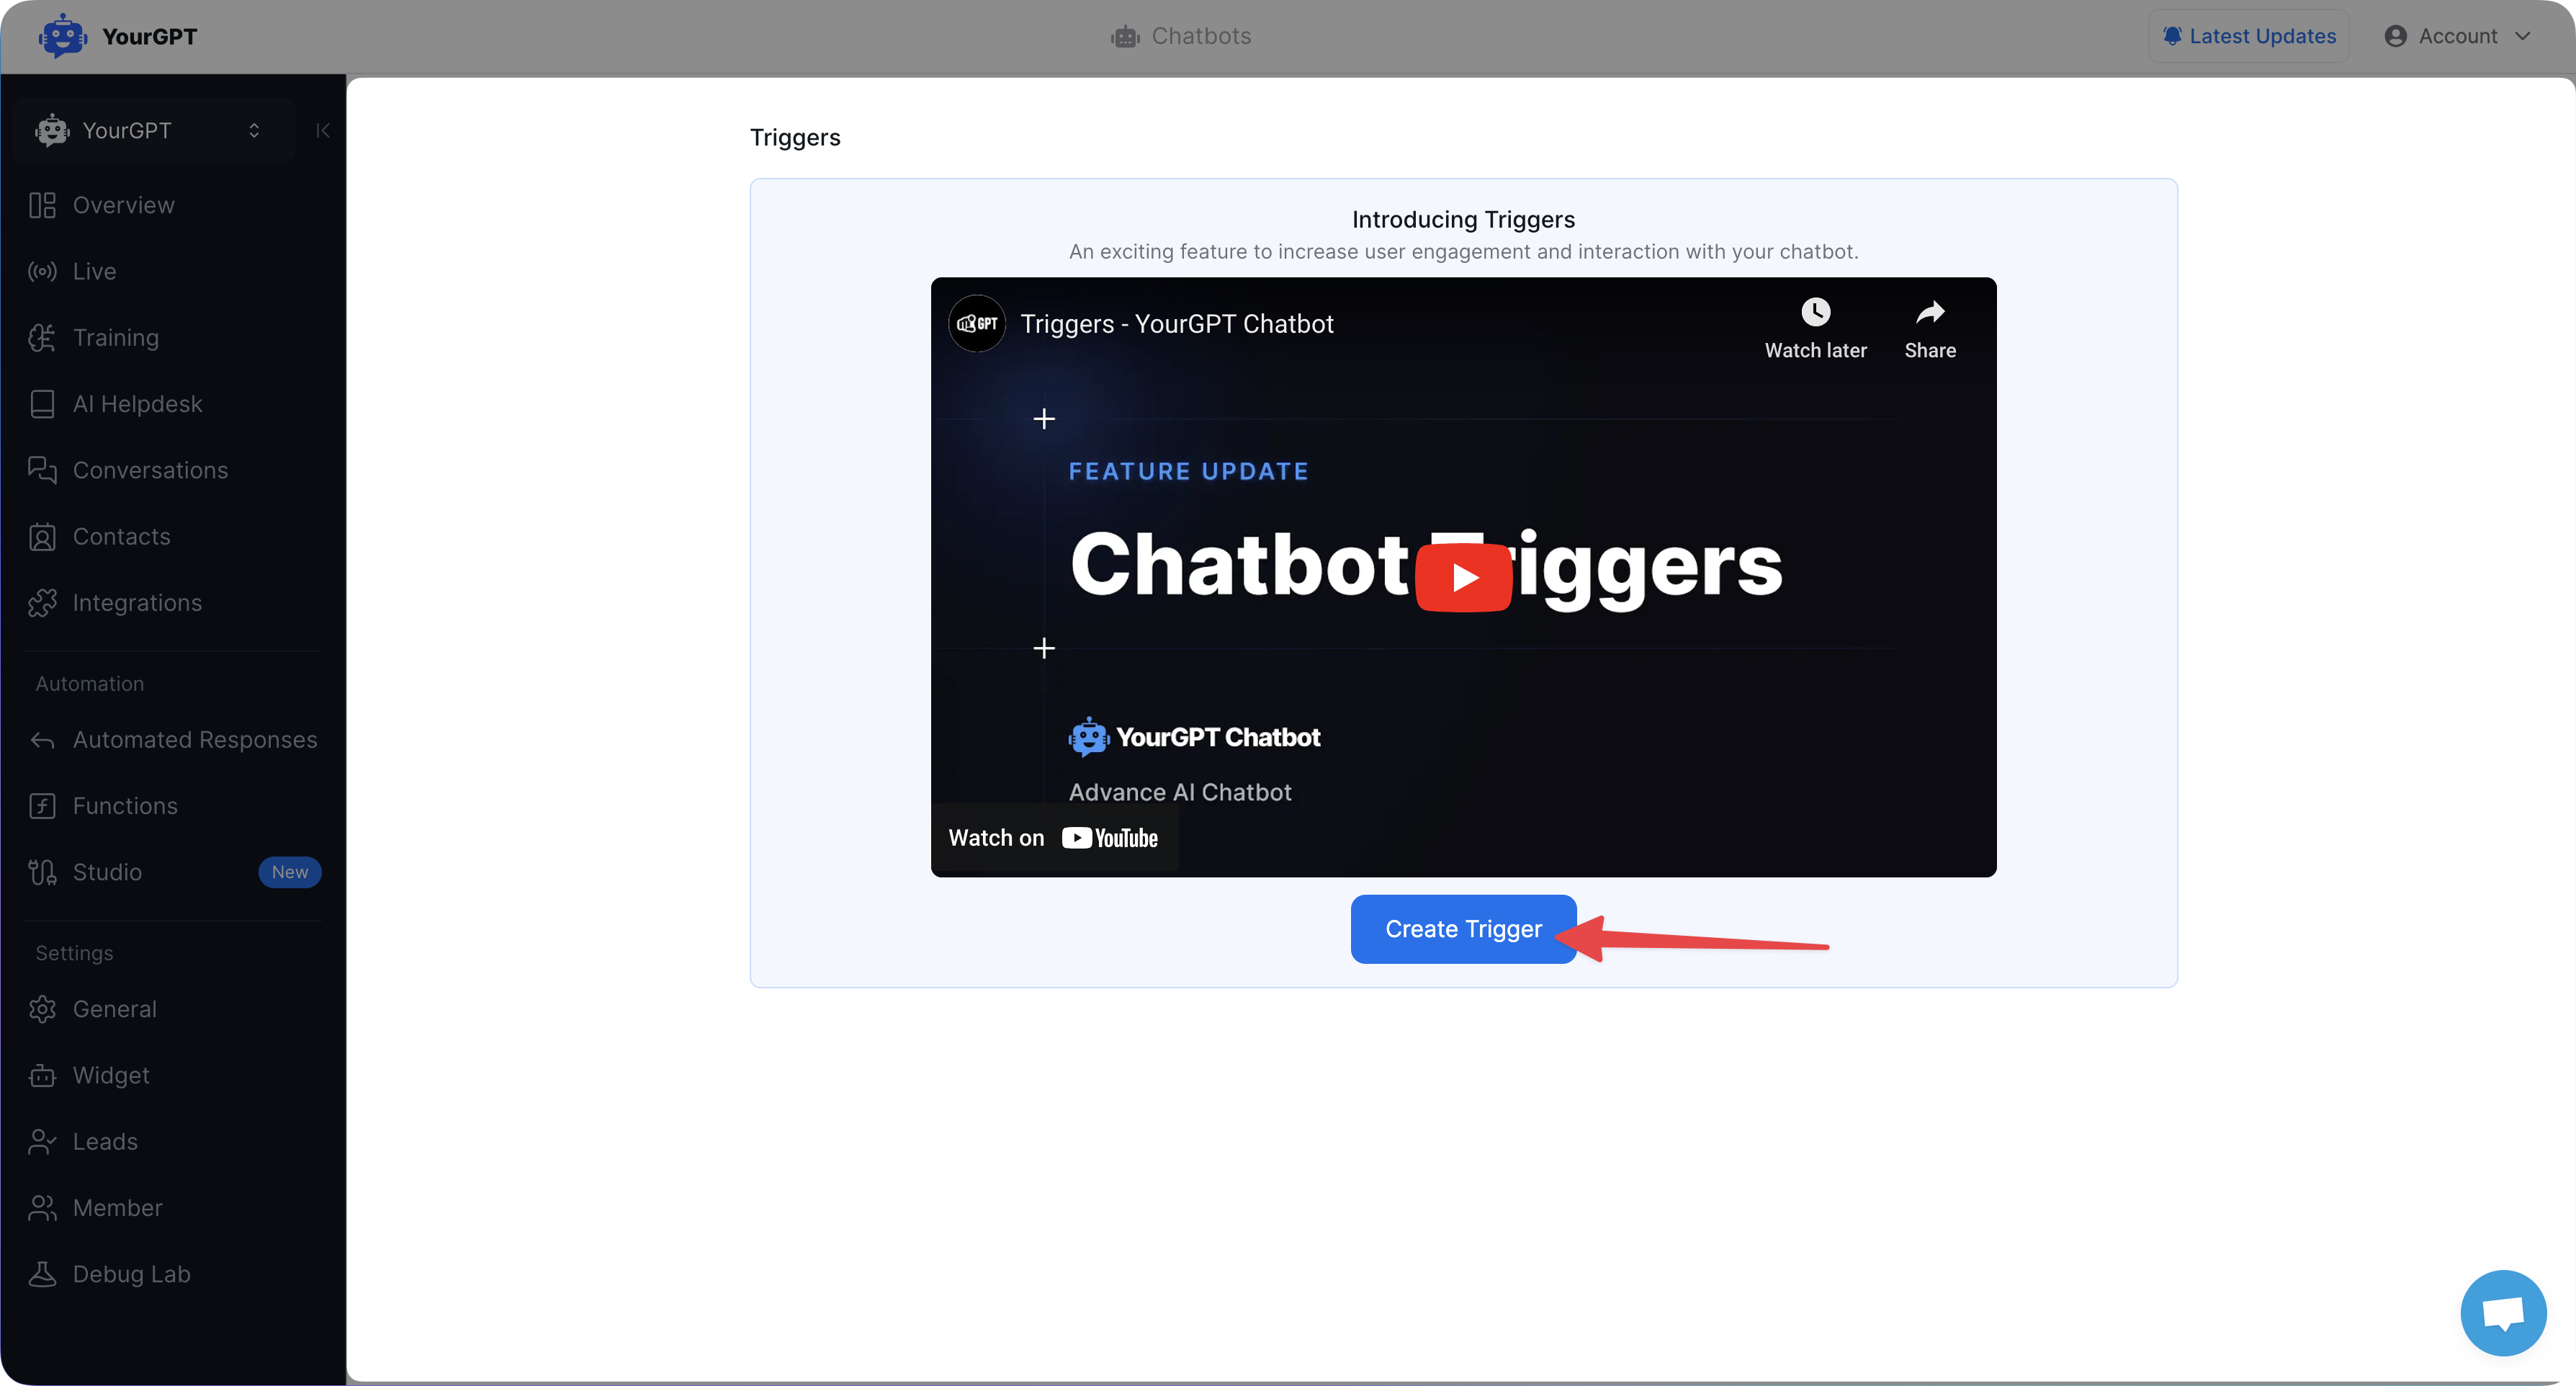
Step 2: Create a New Trigger
Section titled “Step 2: Create a New Trigger”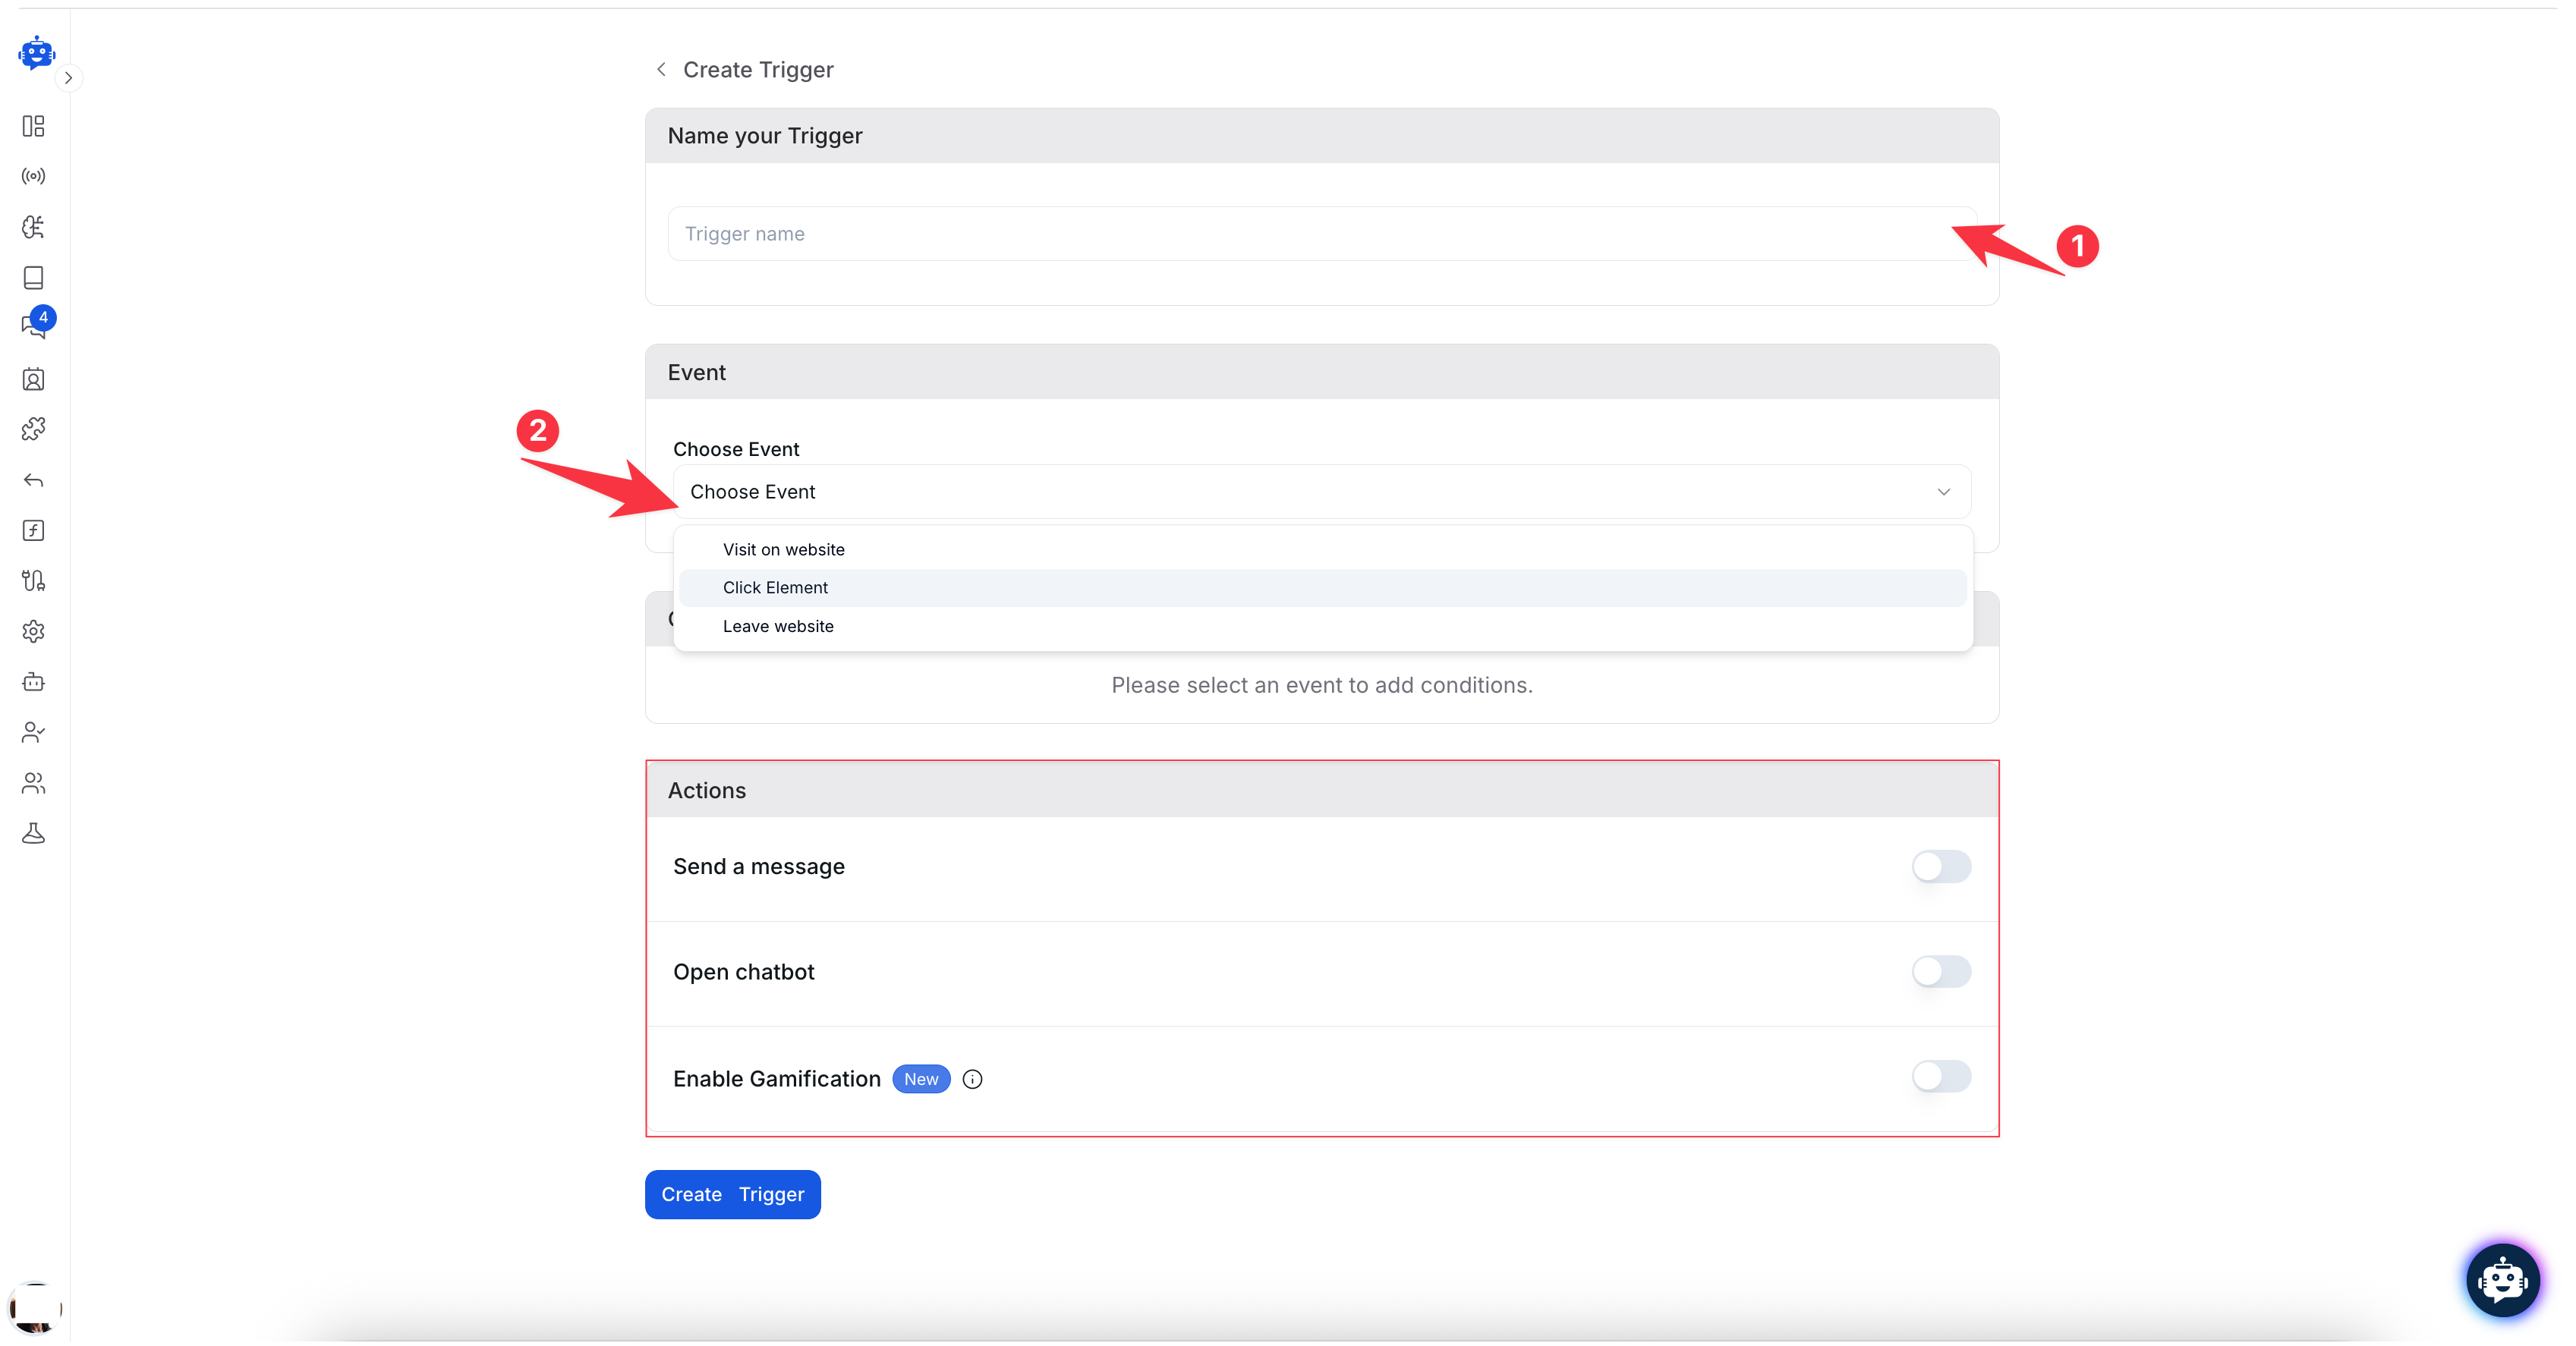
Once you’ve accessed the ‘Add Trigger’ panel, you’ll need to provide several details for your new trigger.
1. Name Your Trigger
Section titled “1. Name Your Trigger”- Every trigger needs a name for easy identification.
- Enter a name for your trigger in the field labeled ‘Trigger Name’. Choose something descriptive to help you remember the trigger’s purpose.
2. Choose an Event
Section titled “2. Choose an Event”The event is the action that will activate the trigger. You have several options to choose from:
- Visit on website: Triggers the chatbot when a visitor lands on your site.
- Click Element: Triggers when a specific element on your website is clicked (e.g., a button or link).
- Leave website: Triggers when a visitor is about to leave your site.
Once you select an event, it will appear as the action that initiates your trigger.
Step 3: Set Conditions for Each Event
Section titled “Step 3: Set Conditions for Each Event”Once you’ve selected the event, you can further refine when the trigger will fire by setting specific conditions. These conditions vary based on the event you choose:
Event: Leave Website
Section titled “Event: Leave Website”- Delay in seconds: You can specify how long the system should wait (in seconds) before triggering the chatbot after a user leaves the website.
- Example: If you set a delay of 5 seconds, the chatbot will trigger 5 seconds after the user navigates away from the website.
Event: Click Element
Section titled “Event: Click Element”- Element Selector: Add the specific HTML element(s) (e.g., button, link) that will trigger the chatbot when clicked.
- Use the element’s CSS selector or ID. After entering the element selector, press Enter to add it.
- You can also add multiple elements by entering multiple selectors.
Event: Visit Website
Section titled “Event: Visit Website”- Page URLs: By default, the trigger will activate on all pages of your website. You can restrict the trigger to specific pages by entering the page URLs.
- Enter the URL(s) where you want the trigger to be activated. After entering each URL, press Enter to add it.
- You can add multiple URLs if needed.
- First Visit: Enable this condition if you want the chatbot to trigger only during the user’s first visit to the website.
- Time Spent: Specify the minimum time (in seconds) a user must spend on the page before the chatbot is triggered.
- Example: If you set 10 seconds, the chatbot will trigger after the user has been on the page for at least 10 seconds.
- Scrolled: This condition triggers the chatbot based on how much of the page the user has scrolled through.
- Specify the percentage (%) of the page the user needs to scroll before the chatbot activates.
- Example: If you set 50%, the chatbot will trigger when the user scrolls halfway down the page.
Note: Conditions can only be set after you select an event.
Step 4: Define Trigger Actions
Section titled “Step 4: Define Trigger Actions”Once your event and conditions are set, it’s time to define the action your chatbot will take when the trigger activates.
Available Actions:
Section titled “Available Actions:”-
Send a Message: This action makes your chatbot send a pre-defined message to the user. You can customize the message as needed.
-
Open Chatbot: This action opens your chatbot widget on the user’s screen. This works best with chatbots that use a floating widget.
Step 5: Finalize and Save
Section titled “Step 5: Finalize and Save”- Review all the settings you’ve configured.
- Once you’re satisfied with the event, conditions, and actions, click ‘Save’ to finalize your trigger.
- Your trigger is now active, and the chatbot will automatically respond based on the defined criteria.
Examples of Triggers
Section titled “Examples of Triggers”- Exit Intent Trigger: When a user moves their mouse to leave the page, the chatbot opens and offers assistance.
- Page-Specific Trigger: If a user visits a particular page (e.g., Pricing page), the chatbot sends a message asking if they need help understanding the product.
- Click Element Trigger: When a user clicks on a contact button, the chatbot opens to provide immediate assistance.
Editing or Deleting Triggers
Section titled “Editing or Deleting Triggers”- To edit an existing trigger, go back to the ‘Triggers’ section, find the trigger, and click the Edit icon.
- To delete a trigger, simply click the Delete button next to the trigger name.
Pro Tip: Test each trigger after setting it up to ensure it works as expected on your website.