
YourGPT Custom SSO (Single Sign-On) Integration Guide
This integration provides a way for site owners to authenticate their users and interact with YourGPT through a secure API using a custom SSO flow. The process involves generating and managing JWT tokens, validating them via YourGPT, and establishing a secure connection for user authentication.
How to Set Up Custom SSO?
Section titled “How to Set Up Custom SSO?”- Log in or sign up for YourGPT.
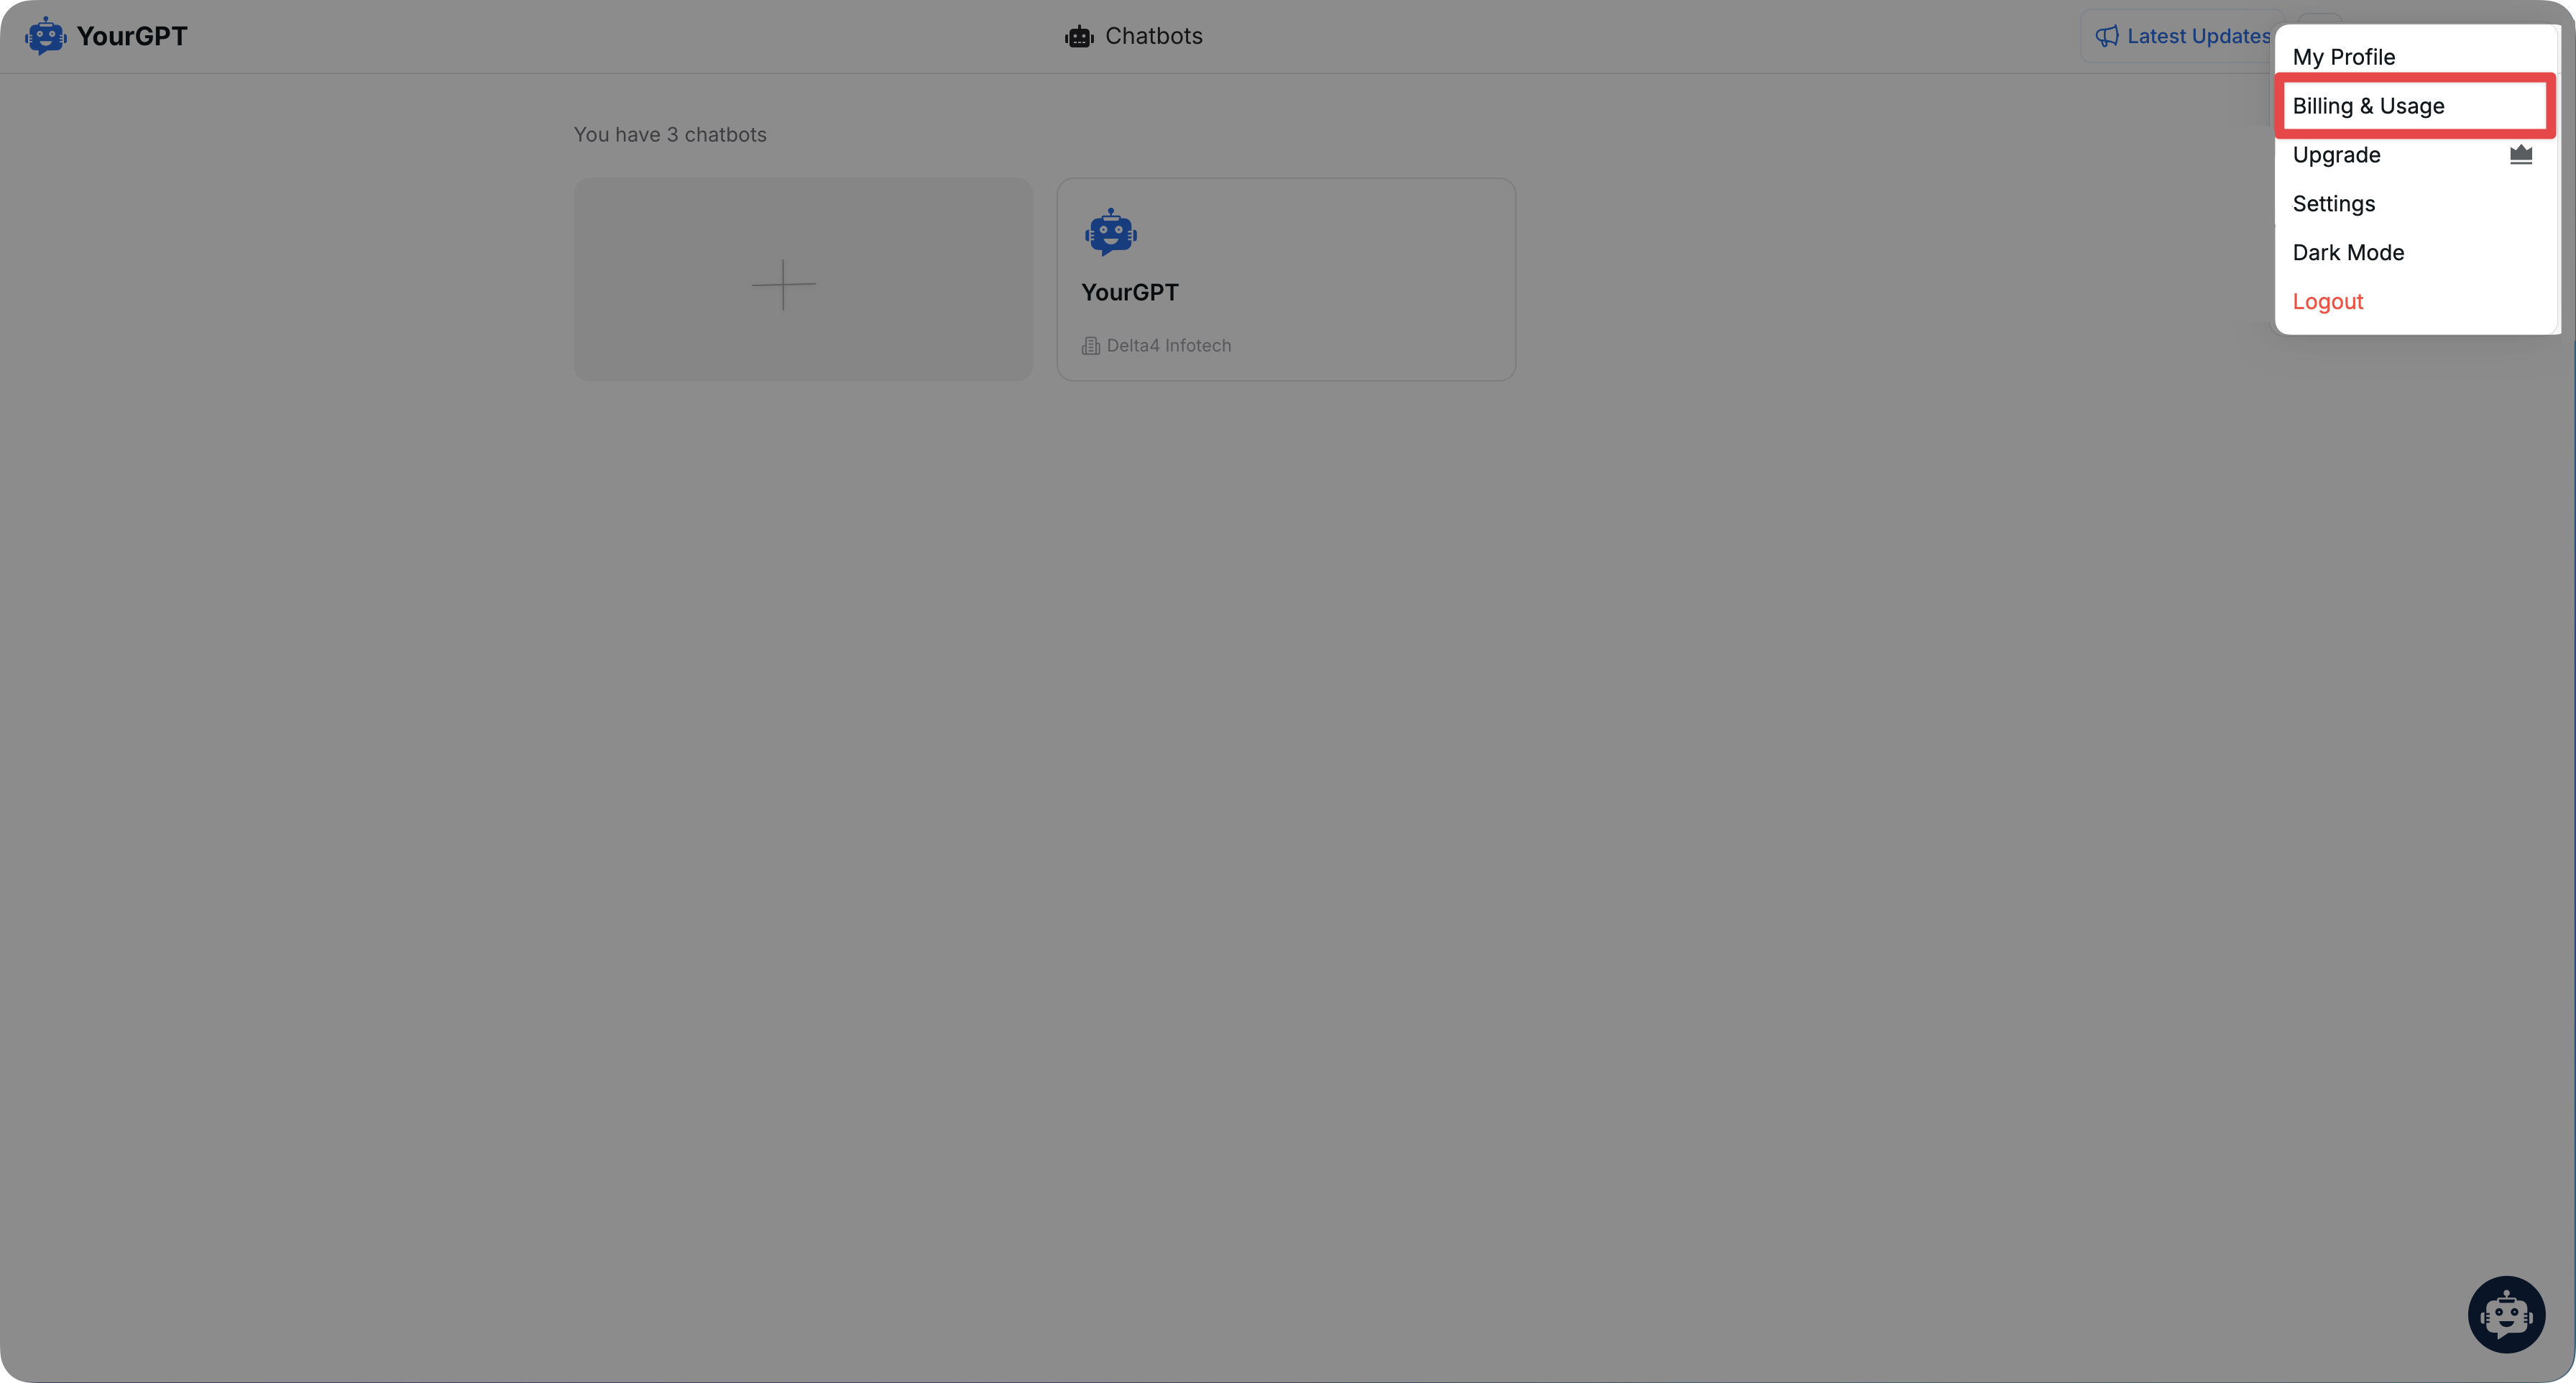
- On the right side of the screen click on Account, then click on Settings.
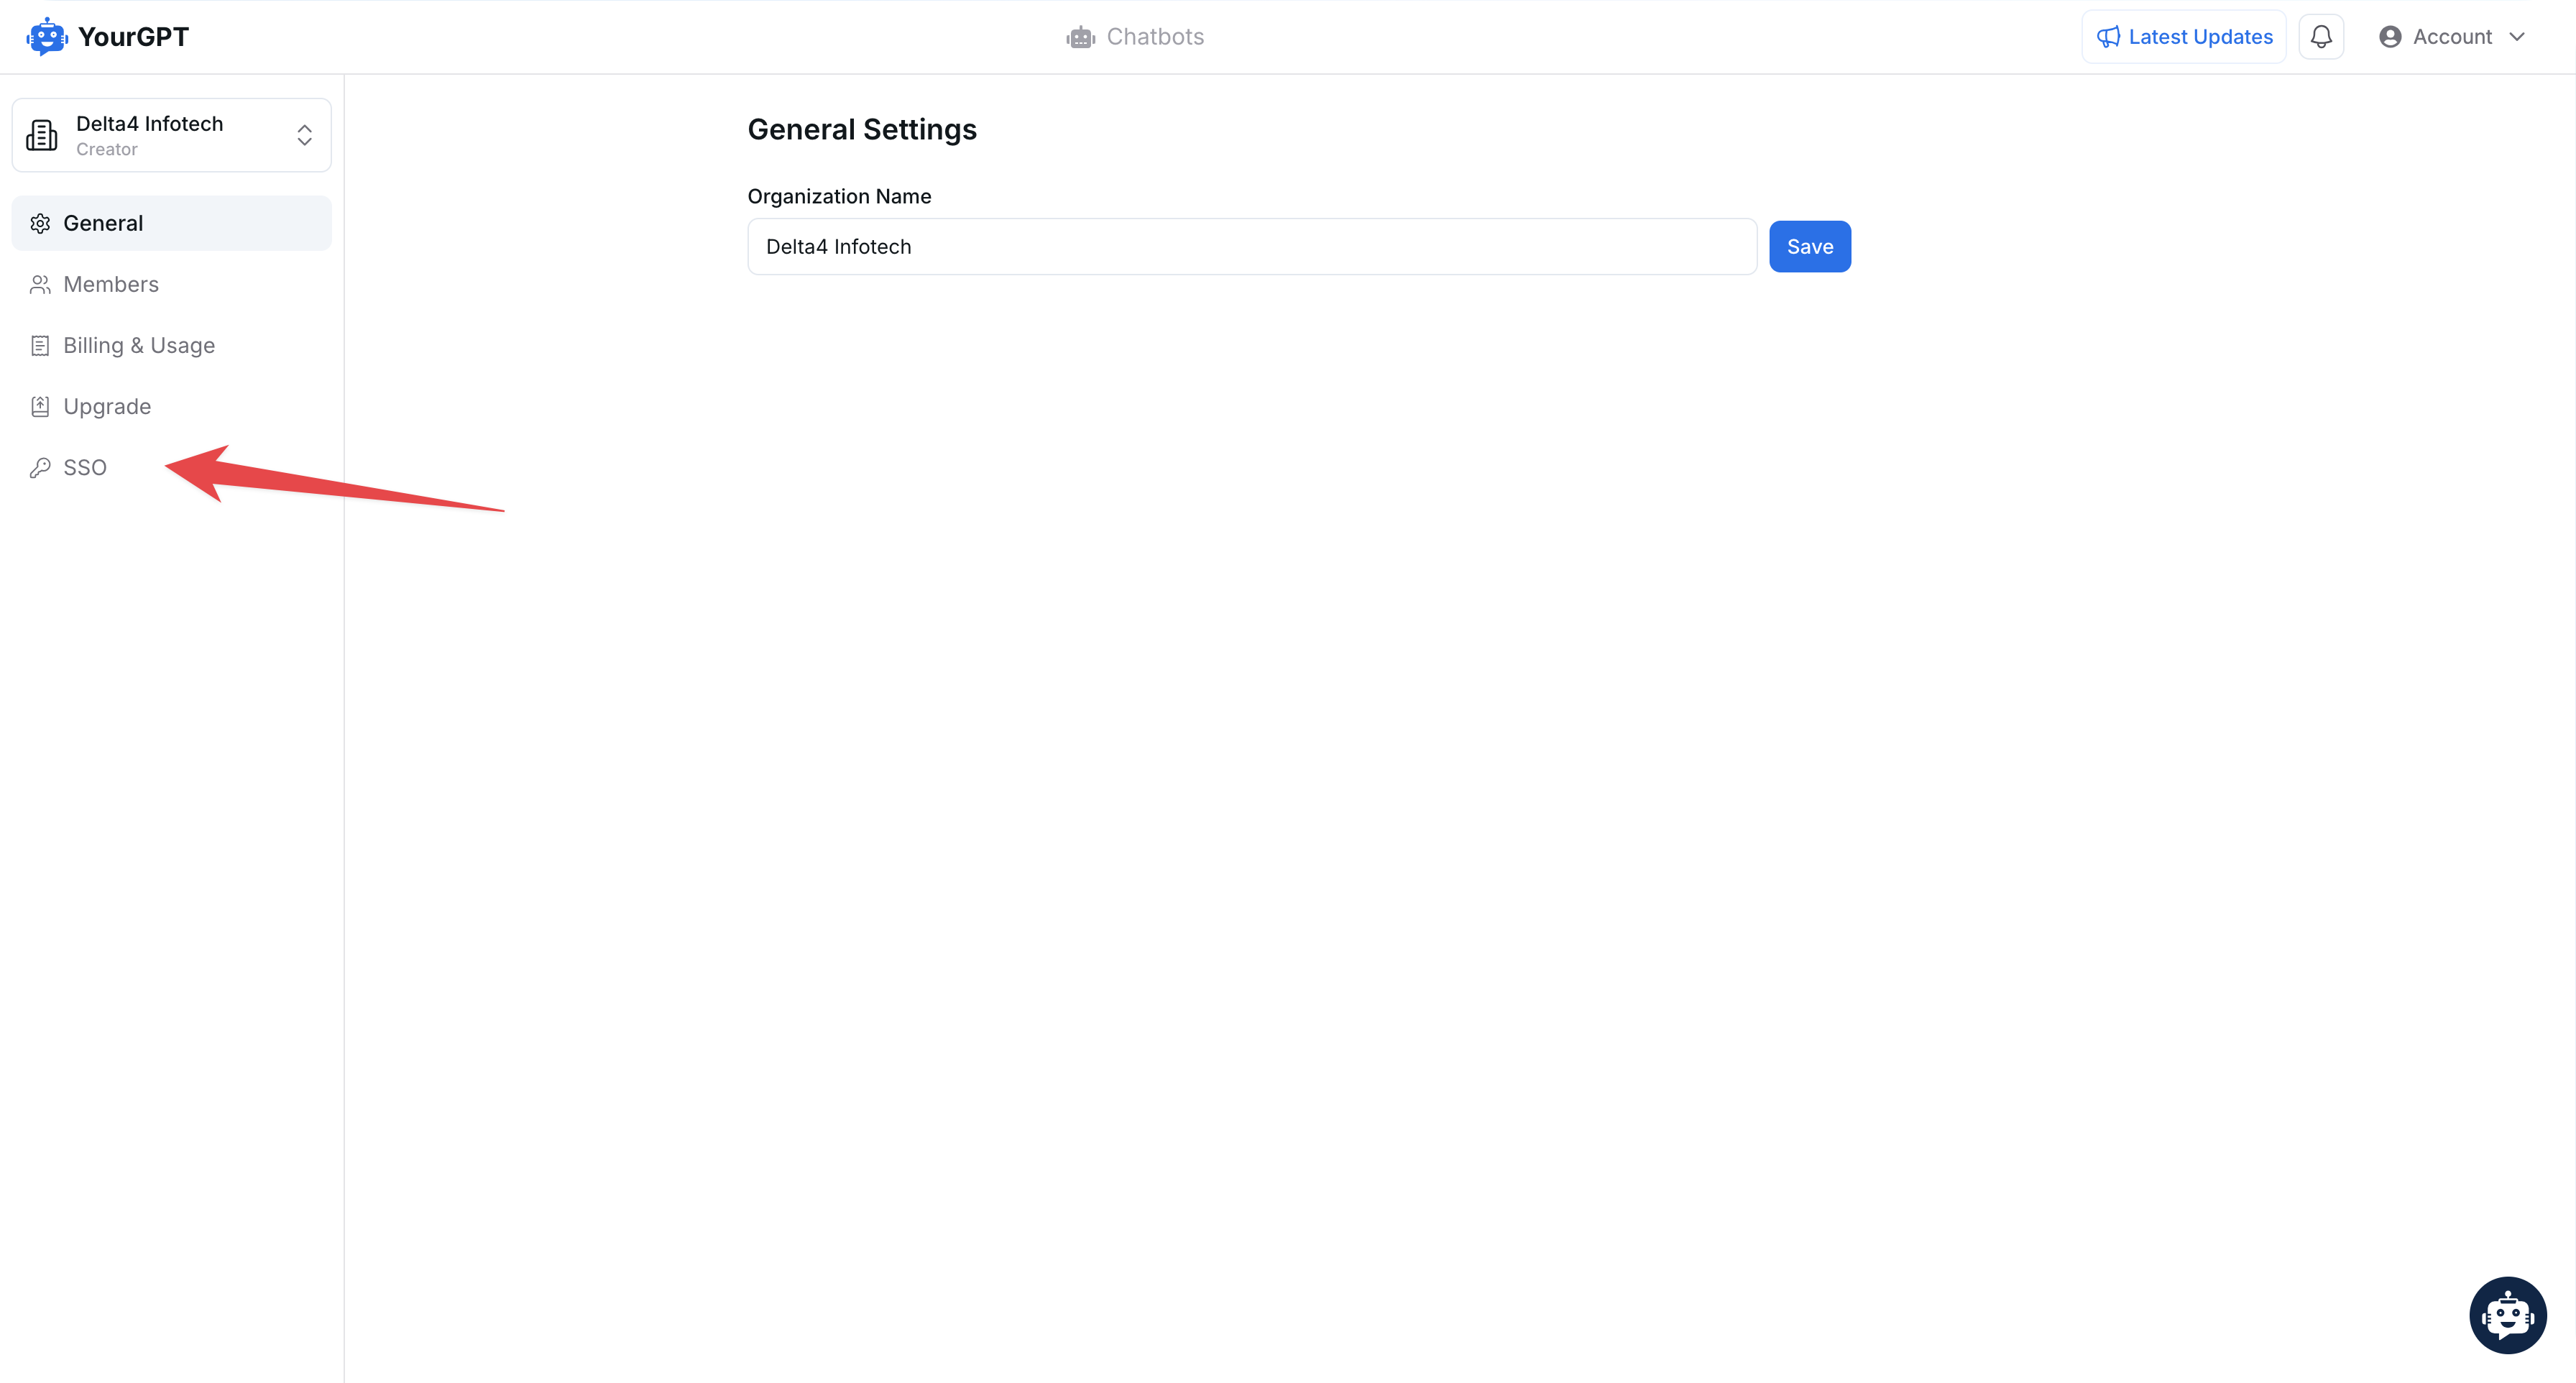
- from the left side, click on the SSO button
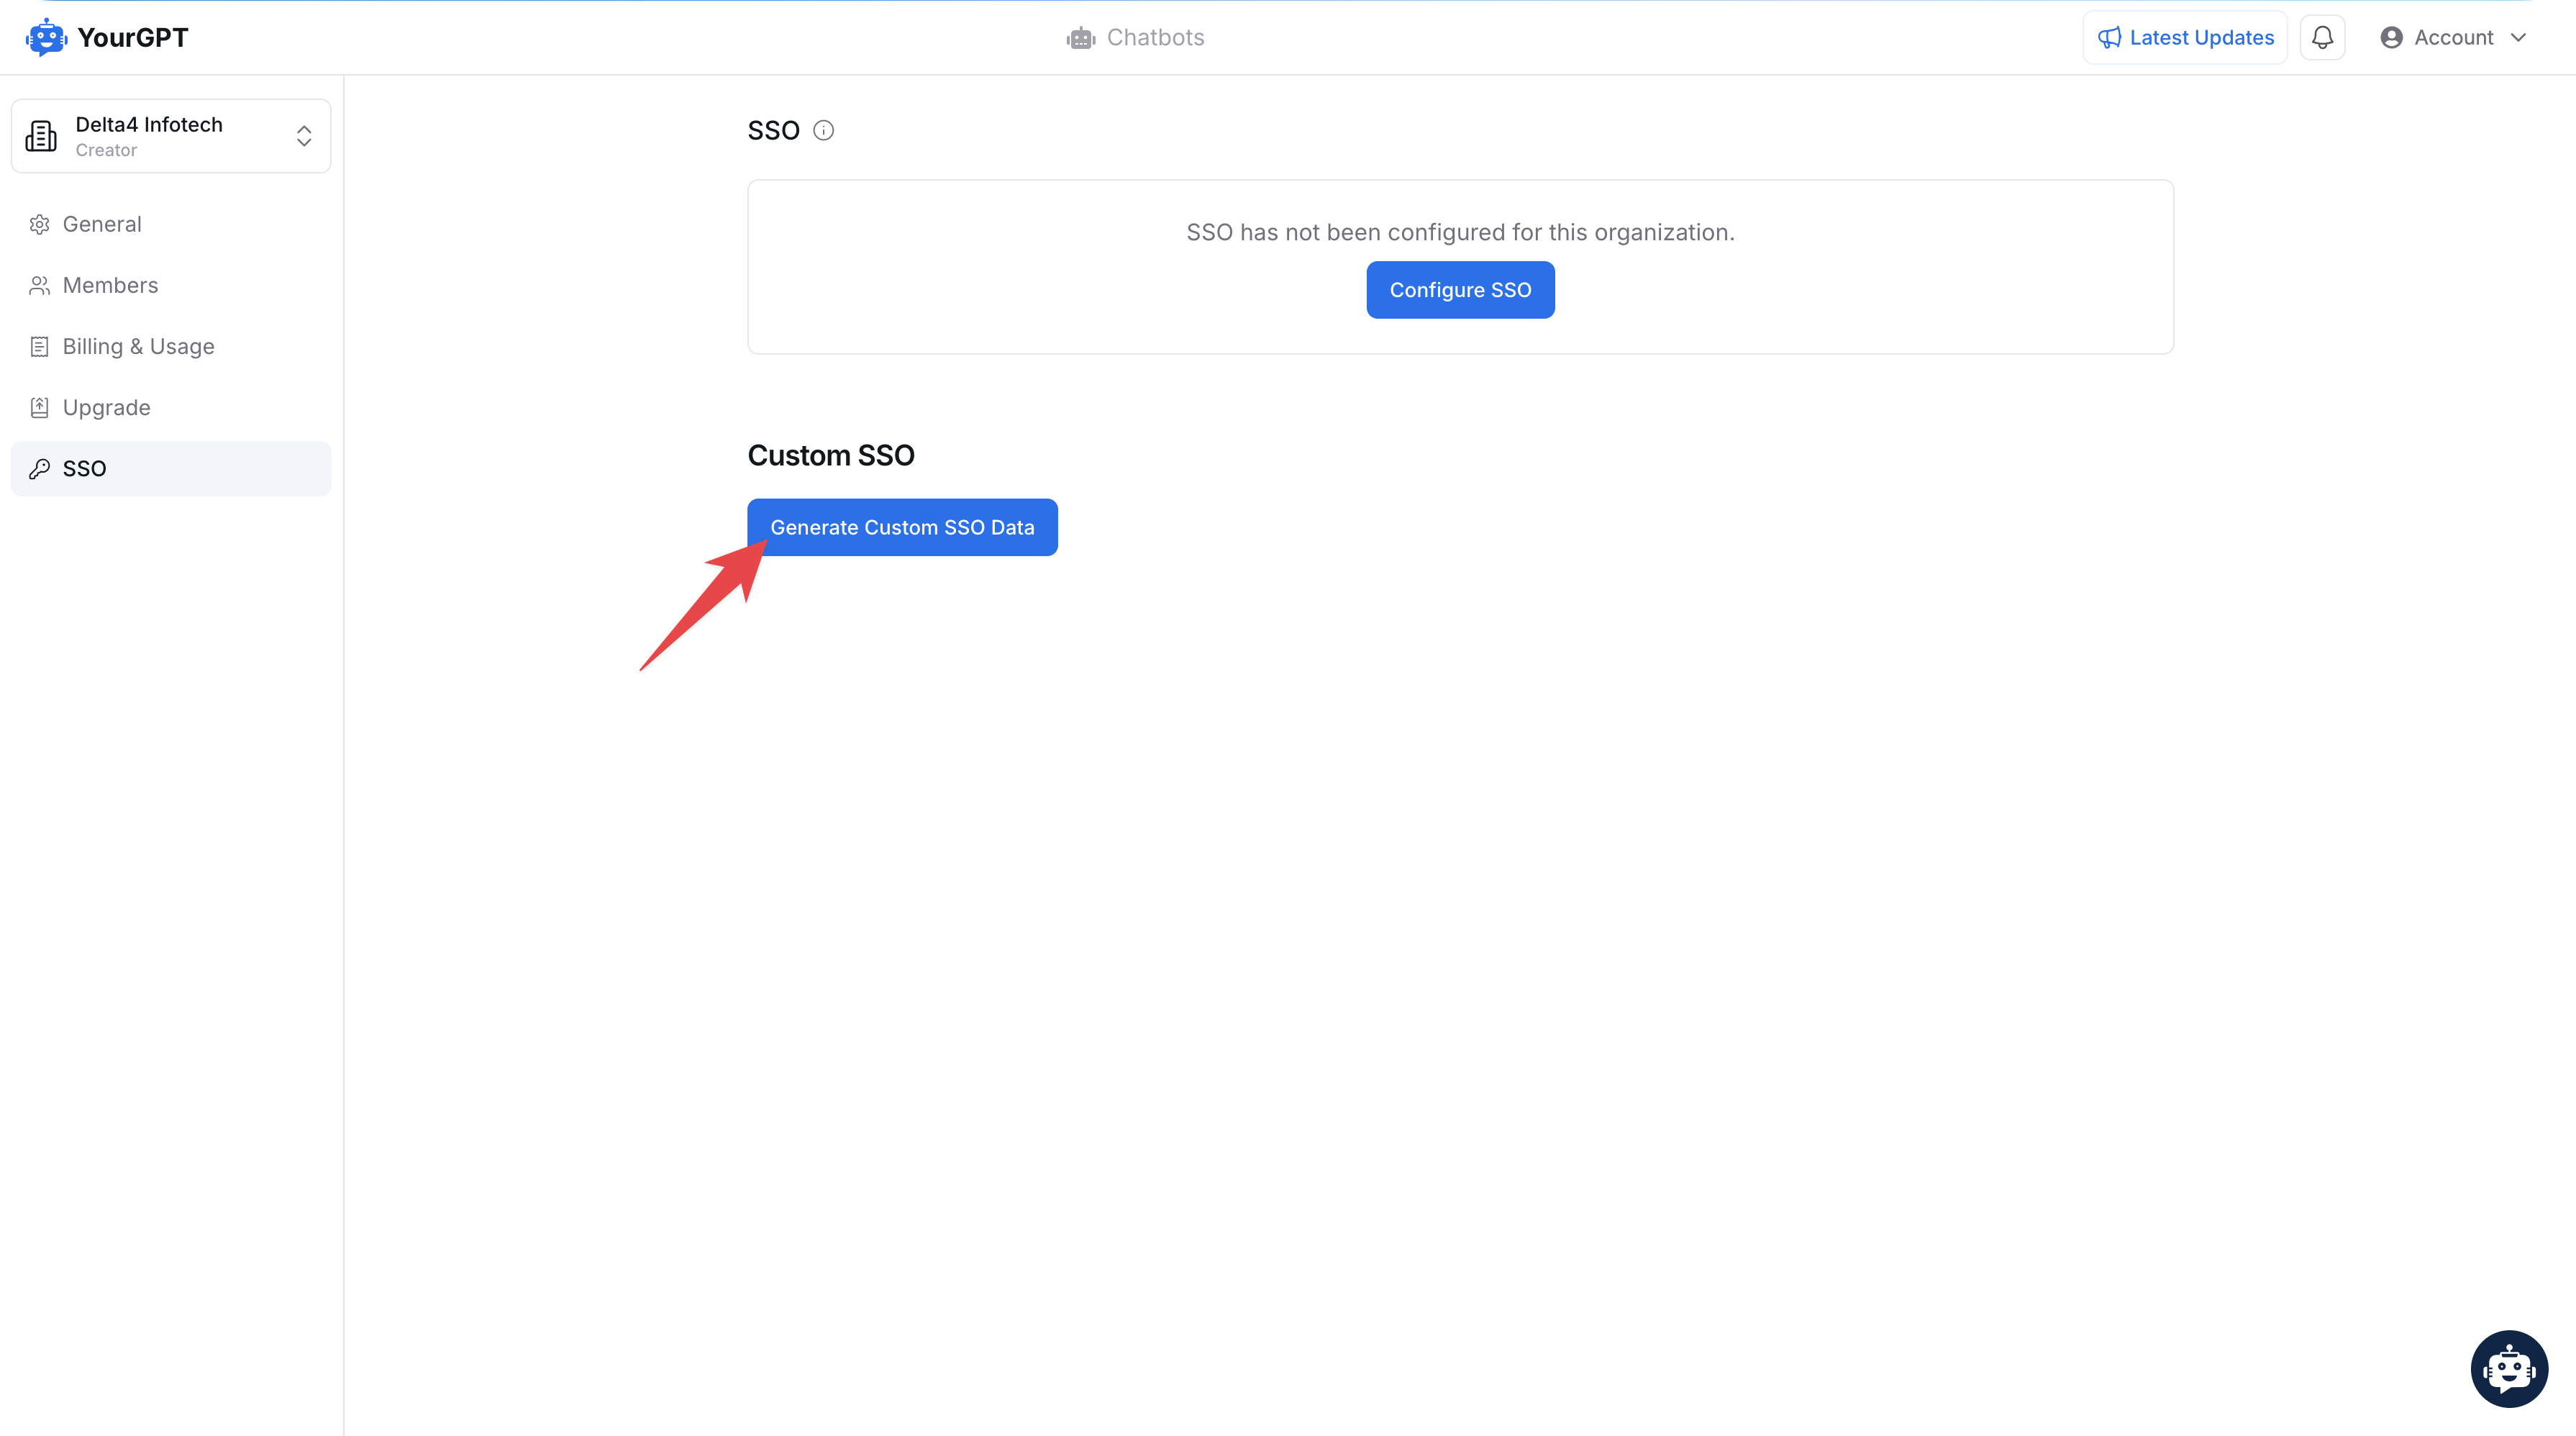
2. Generate SSO Data
Section titled “2. Generate SSO Data”Generate an SSO Client ID and SSO Secret Key for your organization.
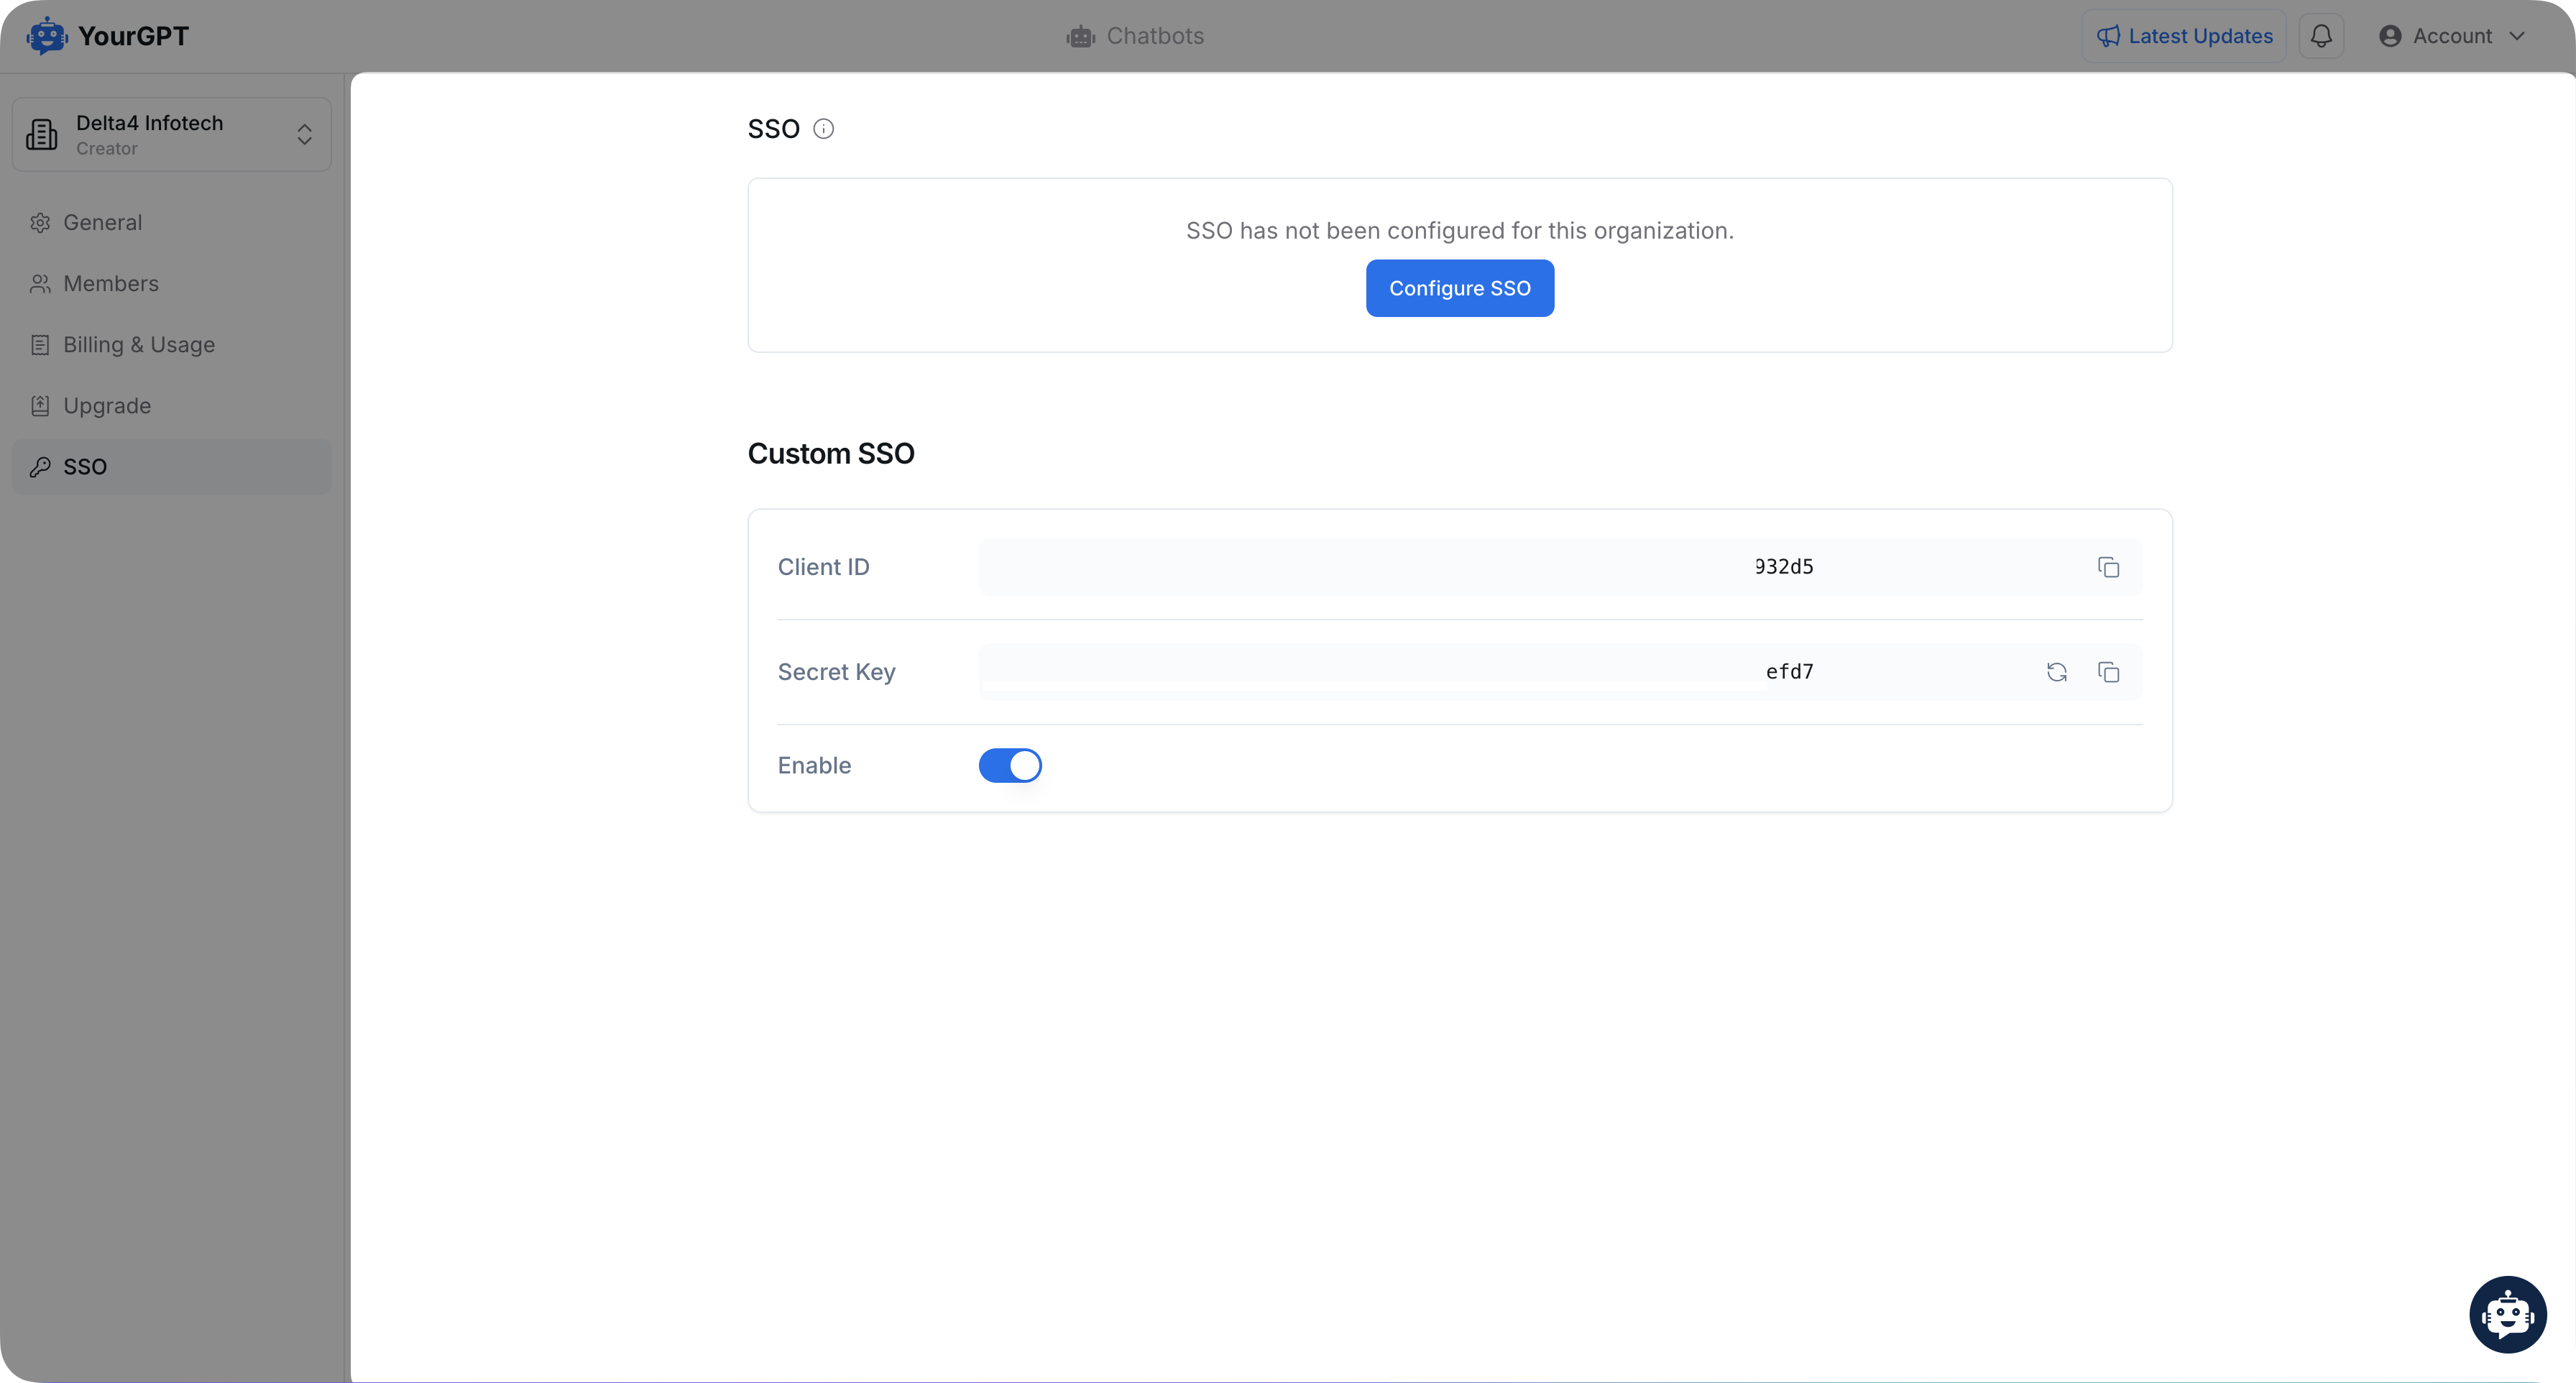
- Copy the
Client ID&Secert key
3. Generate JWT Token
Section titled “3. Generate JWT Token”Generate a JWT token using your SSO Secret Key as shown in the code below :
let jwt = require("jsonwebtoken");
let token = jwt.sign({ first_name: "John", // required last_name: "Doe", // required, username: "John2234", // optional profile_pic: "https://www.example.com/profile-images/user.jpg", // optional phone_no: "7087675884", // optional phone_code: "91", // optional},"your_sso_secret_key",{ expiresIn: "1h" });4. Verify Token and Authenticate
Section titled “4. Verify Token and Authenticate”After generating the JWT token, call this API :
curl --location --request POST 'https://api.yourgpt.ai/api/v1/verify/custom-sso?token=your_generated_jwt_token&sso_client_id=your_sso_client_id'- On success, you will receive the following response with code
200:
{ "type": "RXSUCCESS", "message": "Login successful", "token": "generated_token", "code": 200}- After receiving the token in response, redirect the user to the following URL:
https://chatbot.yourgpt.ai/process-login?token=${token_receive_from_api}- If all data is set correctly, the user will log in seamlessly to YourGPT.
- Other possible responses -
400 : "Invalid params"401 : "Invalid SSO client id"402 : "Invalid SSO token"403 : "Not enough data to create user"404 : "Your email is already registered. Please verify it to ensure a seamless login experience"500 : "Something went wrong"5. Handle Email Verification (if needed)
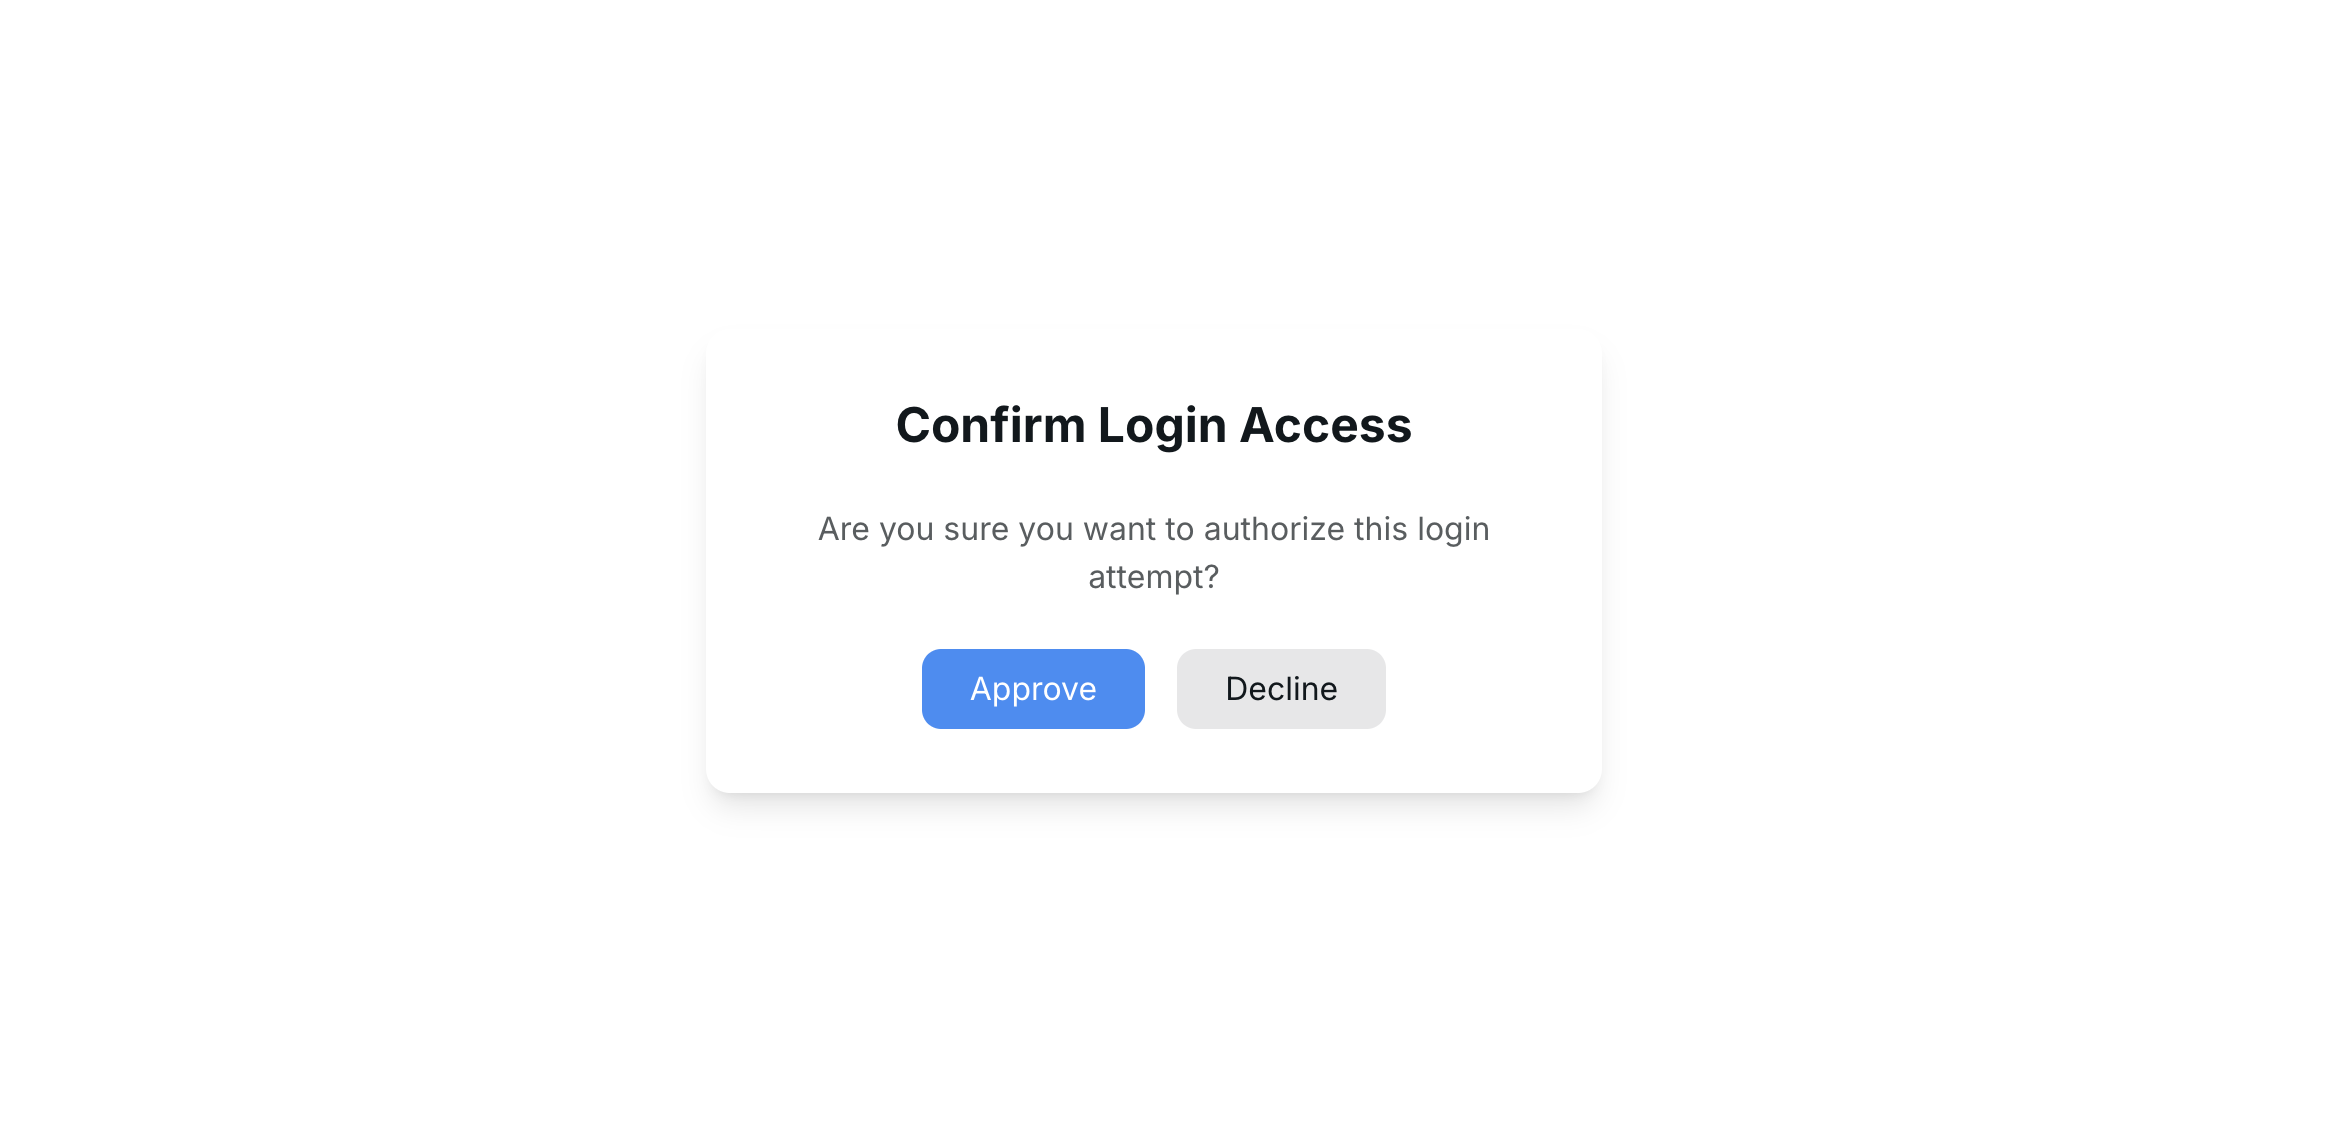
Section titled “5. Handle Email Verification (if needed)”If you receive the response with code 404 , you need to call the following API to confirm login access via email :
curl --location 'http://api.yourgpt.ai/api/v1/sendConfirmLoginAccessEmail' \--header 'Content-Type: application/json' \--data '{ "token": "your_generated_sso_token", // required "sso_client_id": "your_sso_client_id", // required "partner_id": "yourgpt_partner_id" // optional}'- On success, you will receive the following response with code
200:
{ "type": "RXSUCCESS", "message": "Invitation Sent Successfully", "code": 200}- After receiving the code
200, redirect the user to the following URL:
https://chatbot.yourgpt.ai/process-login?should-verify-email=true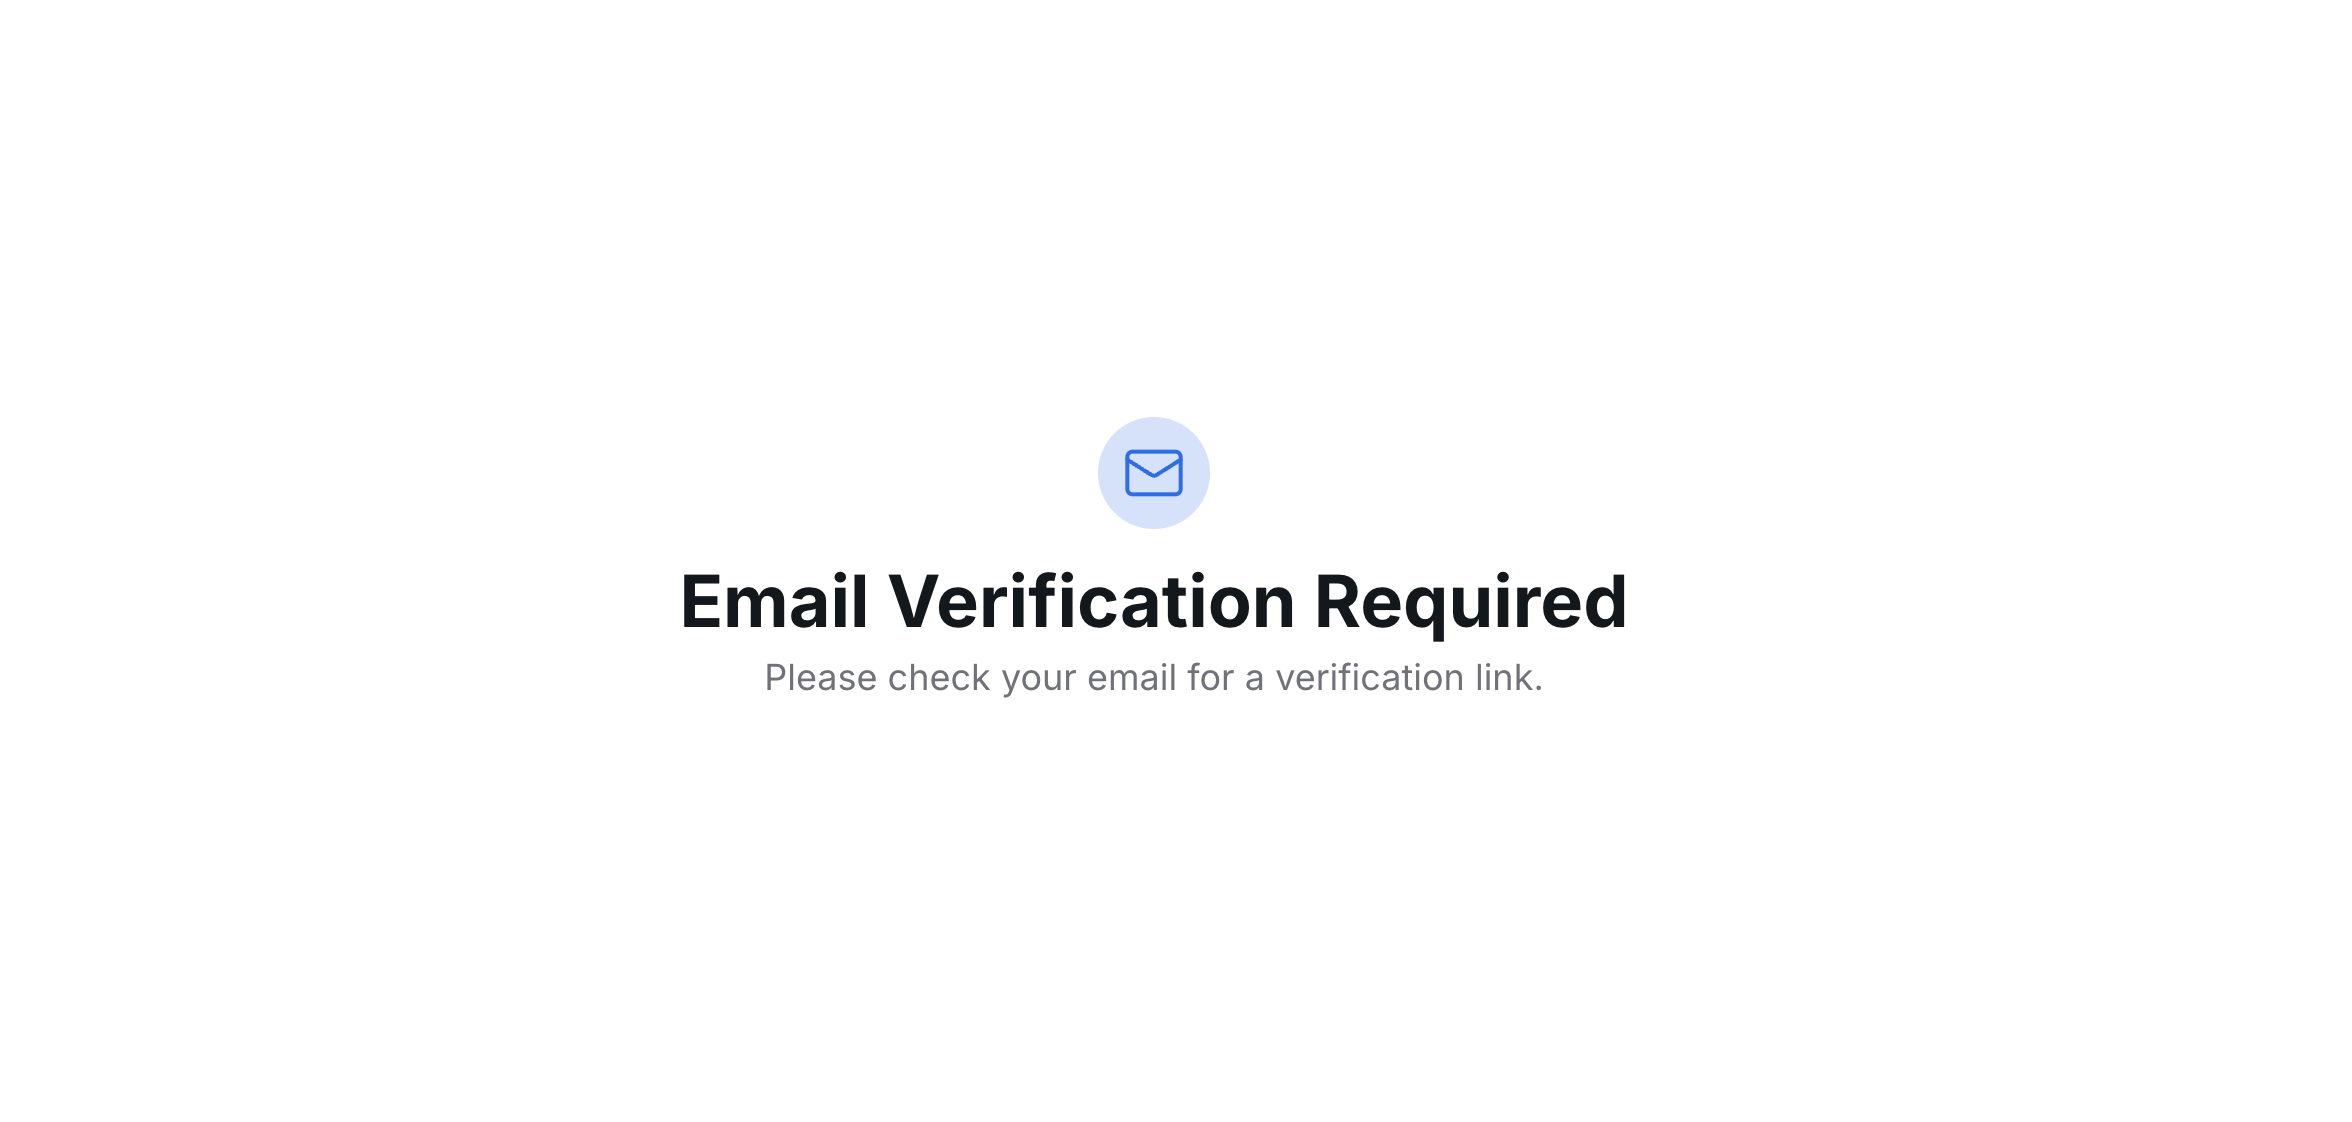
- Other possible responses :
400 : "Invalid params"401 : "Invalid SSO client id"402 : "Invalid SSO token"403 : "Email limit reached, please try again later" // 5 requests per minute404 : "Unable to send invitation!"500 : "Something went wrong"- Once the user confirms their login access via email, they will be automatically logged into YourGPT. The SSO integration is now complete and ready for use.
Security Considerations
Section titled “Security Considerations”- Never expose your SSO Secret Key in client-side code
- Store credentials securely in environment variables
- Email verification requests are rate-limited (5 requests/minute)