Framer
Guide to integrating the YourGPT AI Agent with your Framer website
💡 Connecting Your Chatbot with Framer
Enhance your Framer website with smart AI Agent! This guide helps you add a GPT AI Agent to your Framer site that can answer visitor questions, provide 24/7 assistance, and dramatically improve user engagement across your entire website.
Adding an AI Agent to Framer
Framer's custom code feature makes it easy to add your YourGPT AI Agent to your website. This seamless integration works with just a few simple steps and doesn't require any coding knowledge.
You can deploy the AI Agent globally across your entire Framer site or selectively on specific pages. For maximum impact and visitor assistance, we recommend the global installation method outlined below.
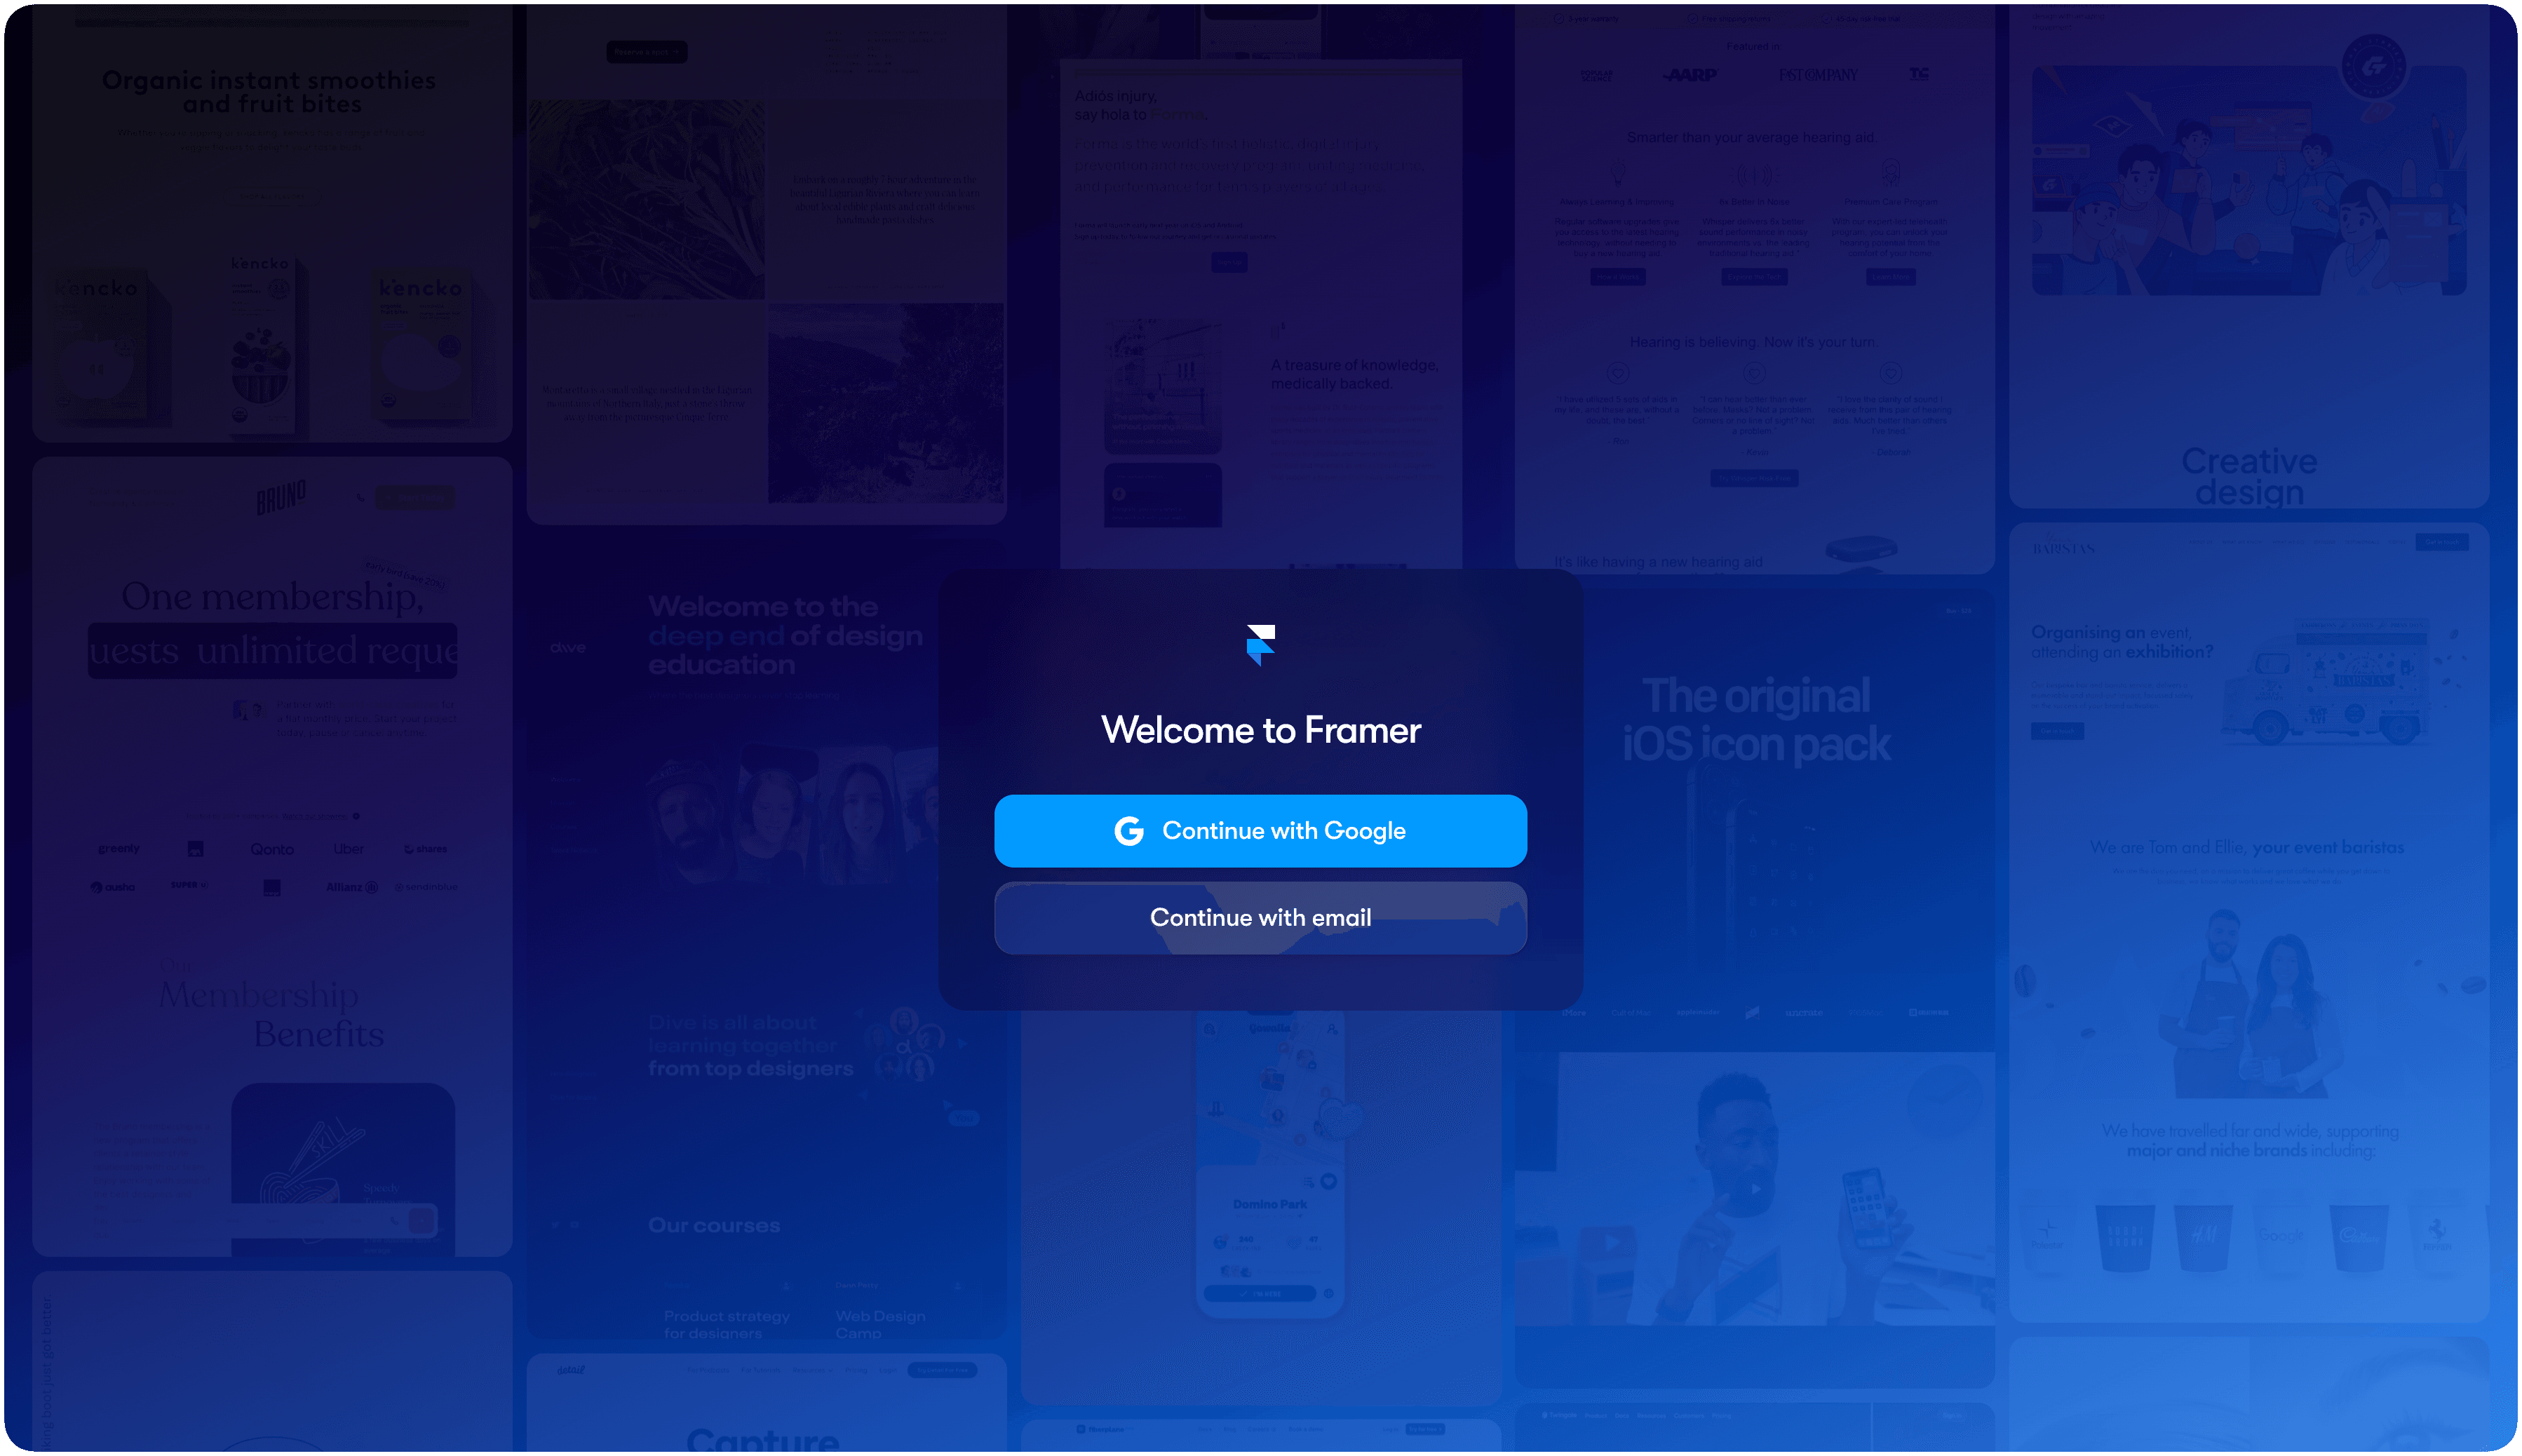
Sign in to Framer
Open your web browser and navigate to Framer.
Enter your email address and password to access your Framer dashboard.
Once logged in, you'll see your Framer projects and workspace.
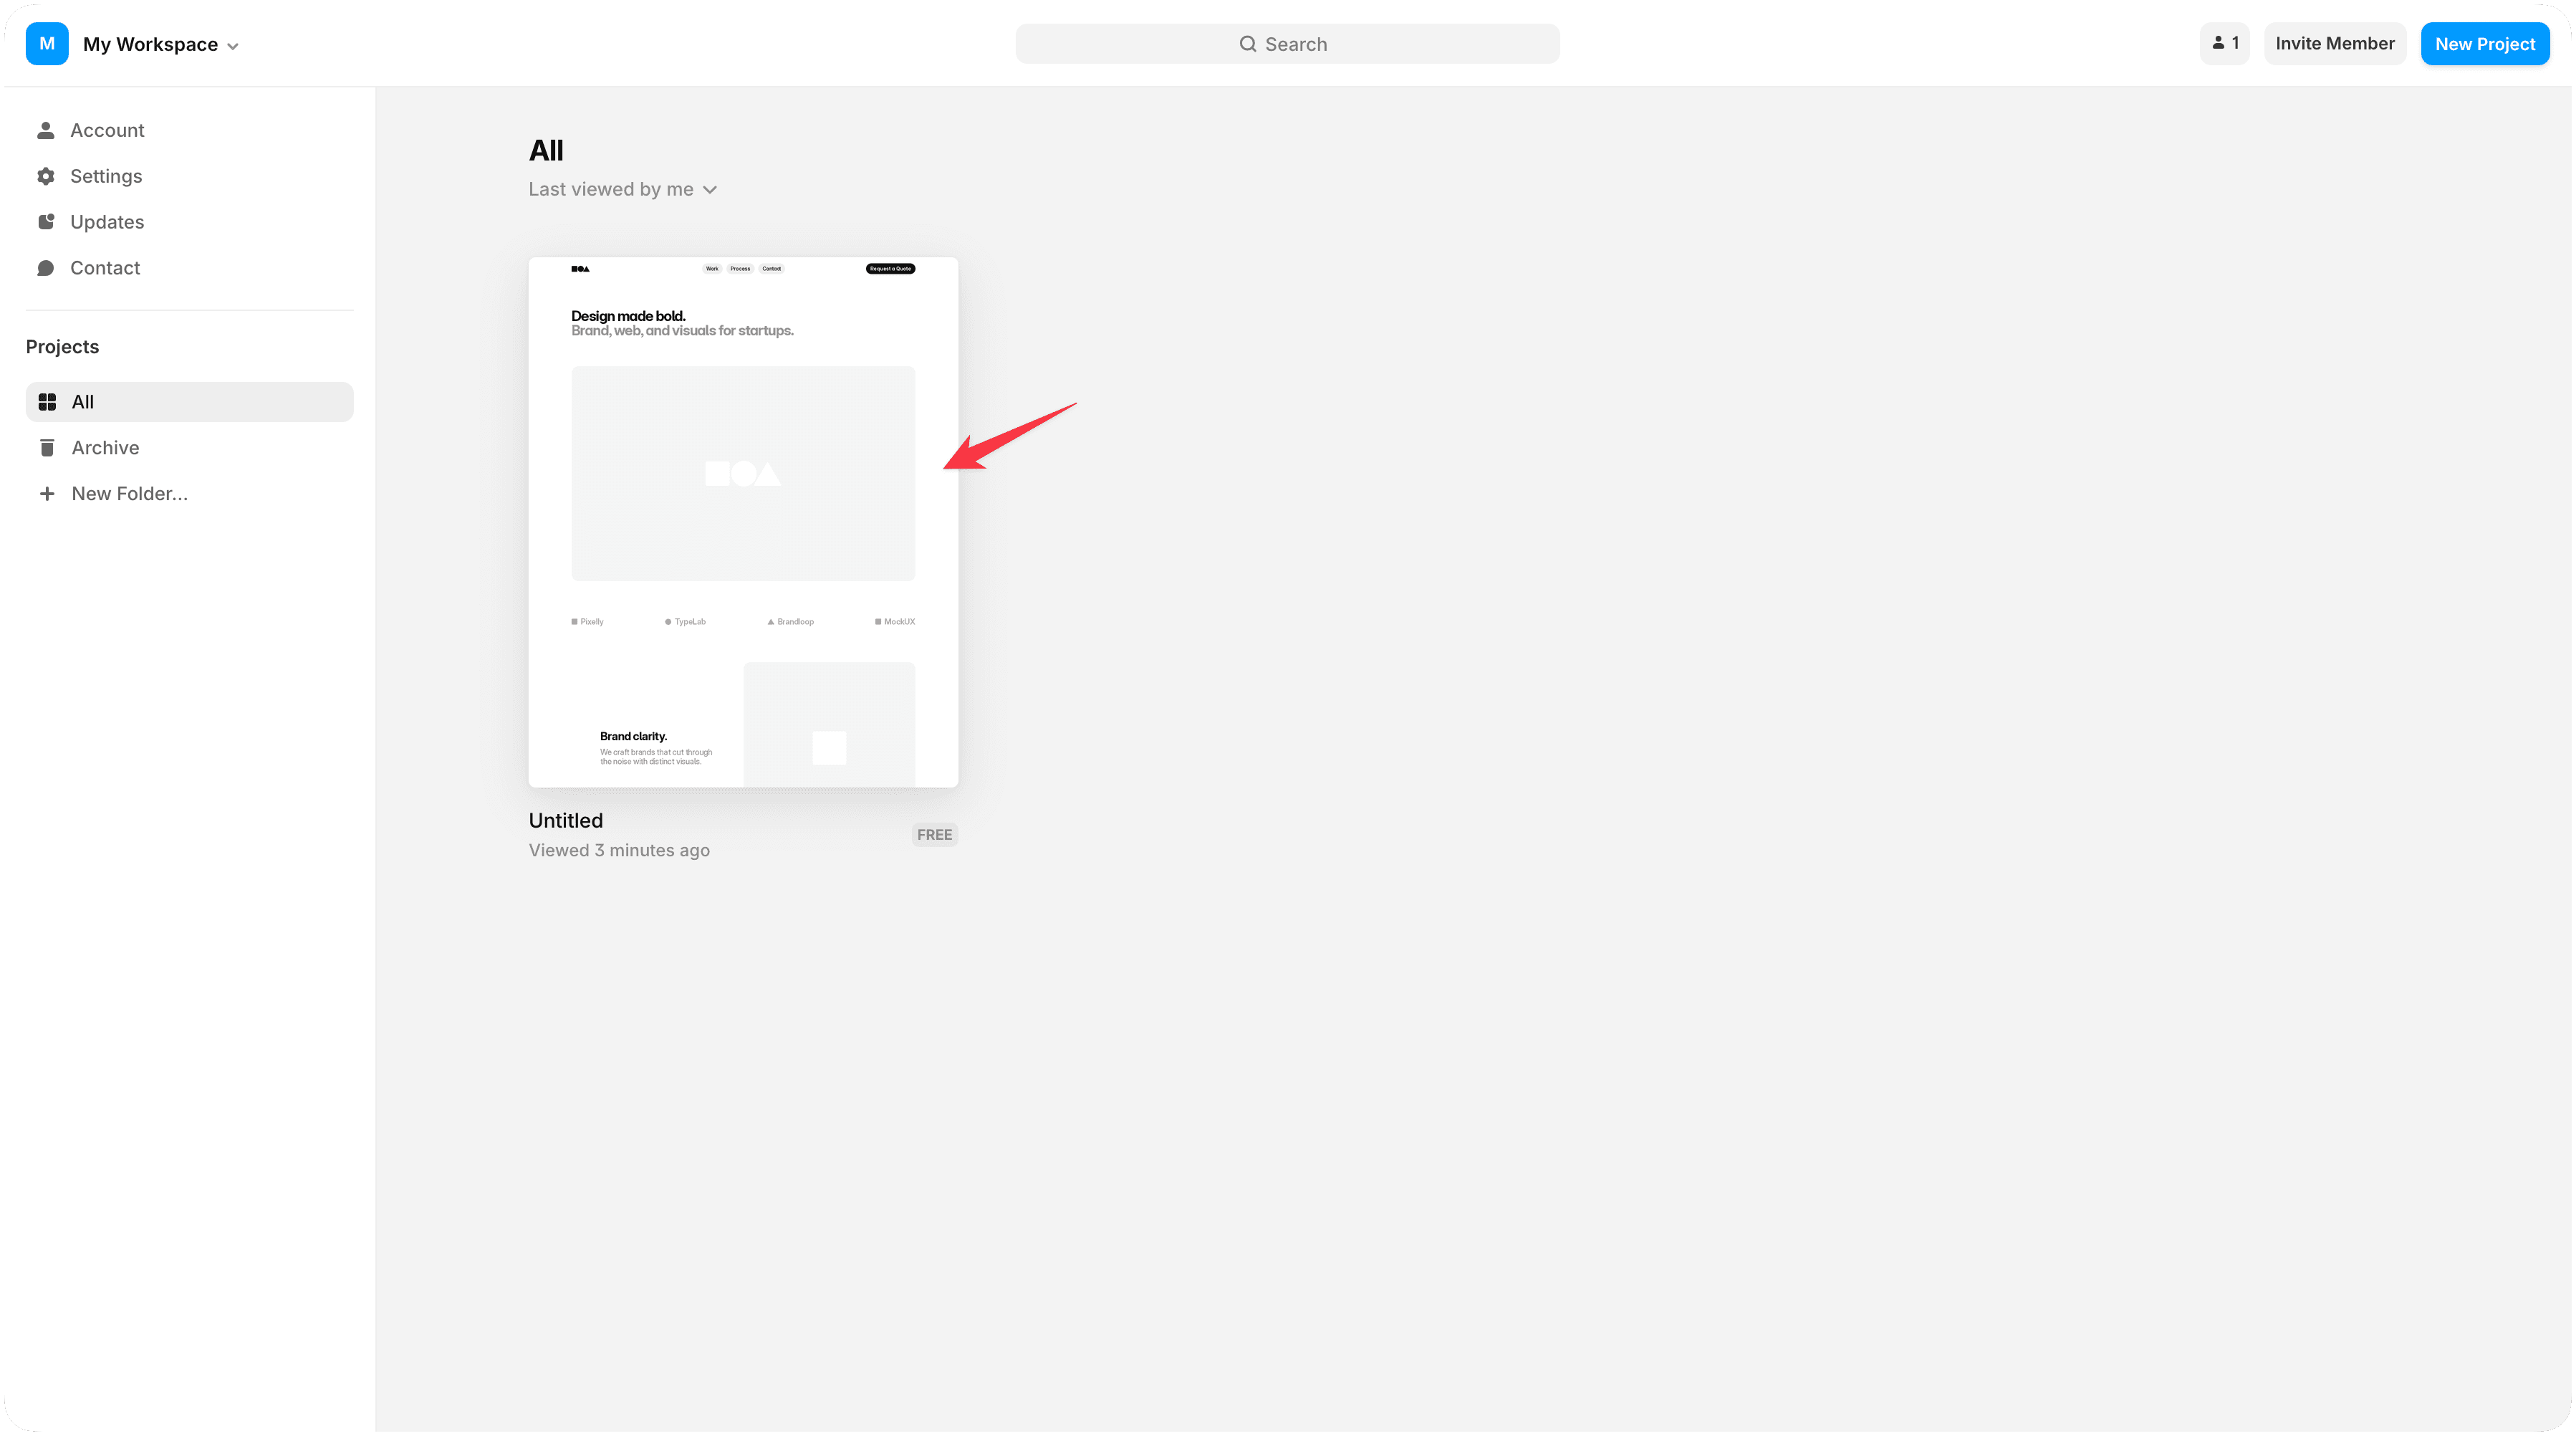
Access Your Framer Project
From your Framer dashboard, locate and select the project you want to add the AI Agent to.
Navigate to your project's workspace where you can edit your site.
Make sure you have editor or admin permissions for the project.
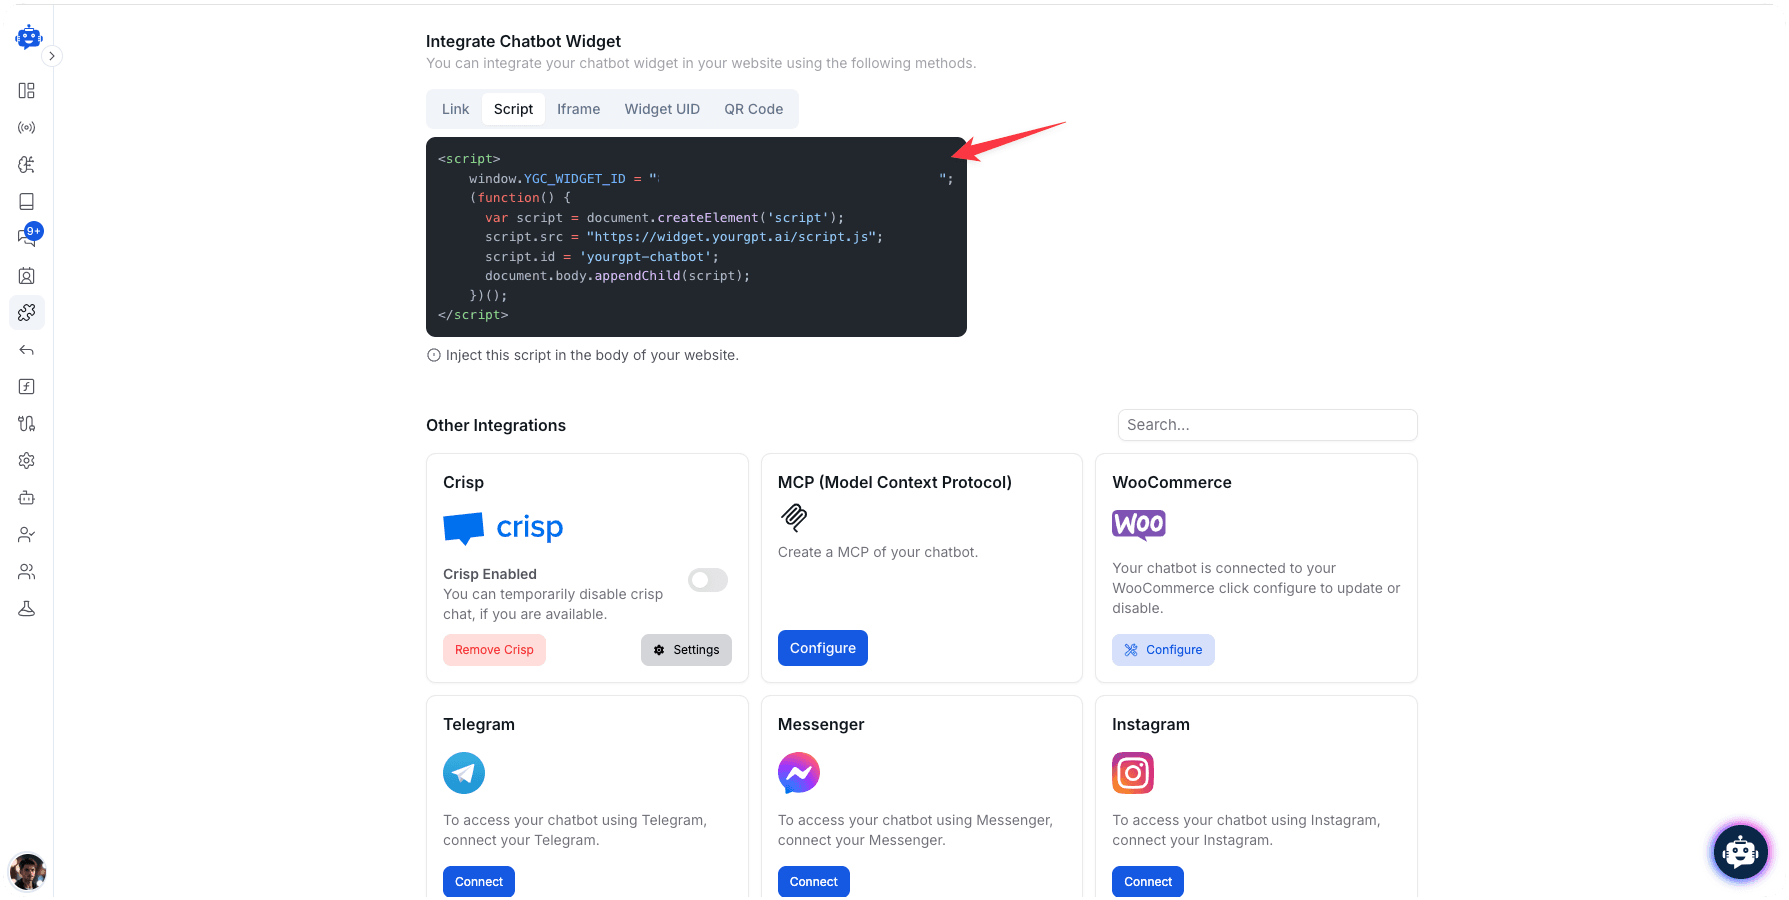
Get Your YourGPT AI Agent Script
Log in to your YourGPT Dashboard.
Navigate to the Integration section in your dashboard.
Find your AI Agent's widget script (it will look similar to the example below).
Click the Copy button to copy the entire script to your clipboard.
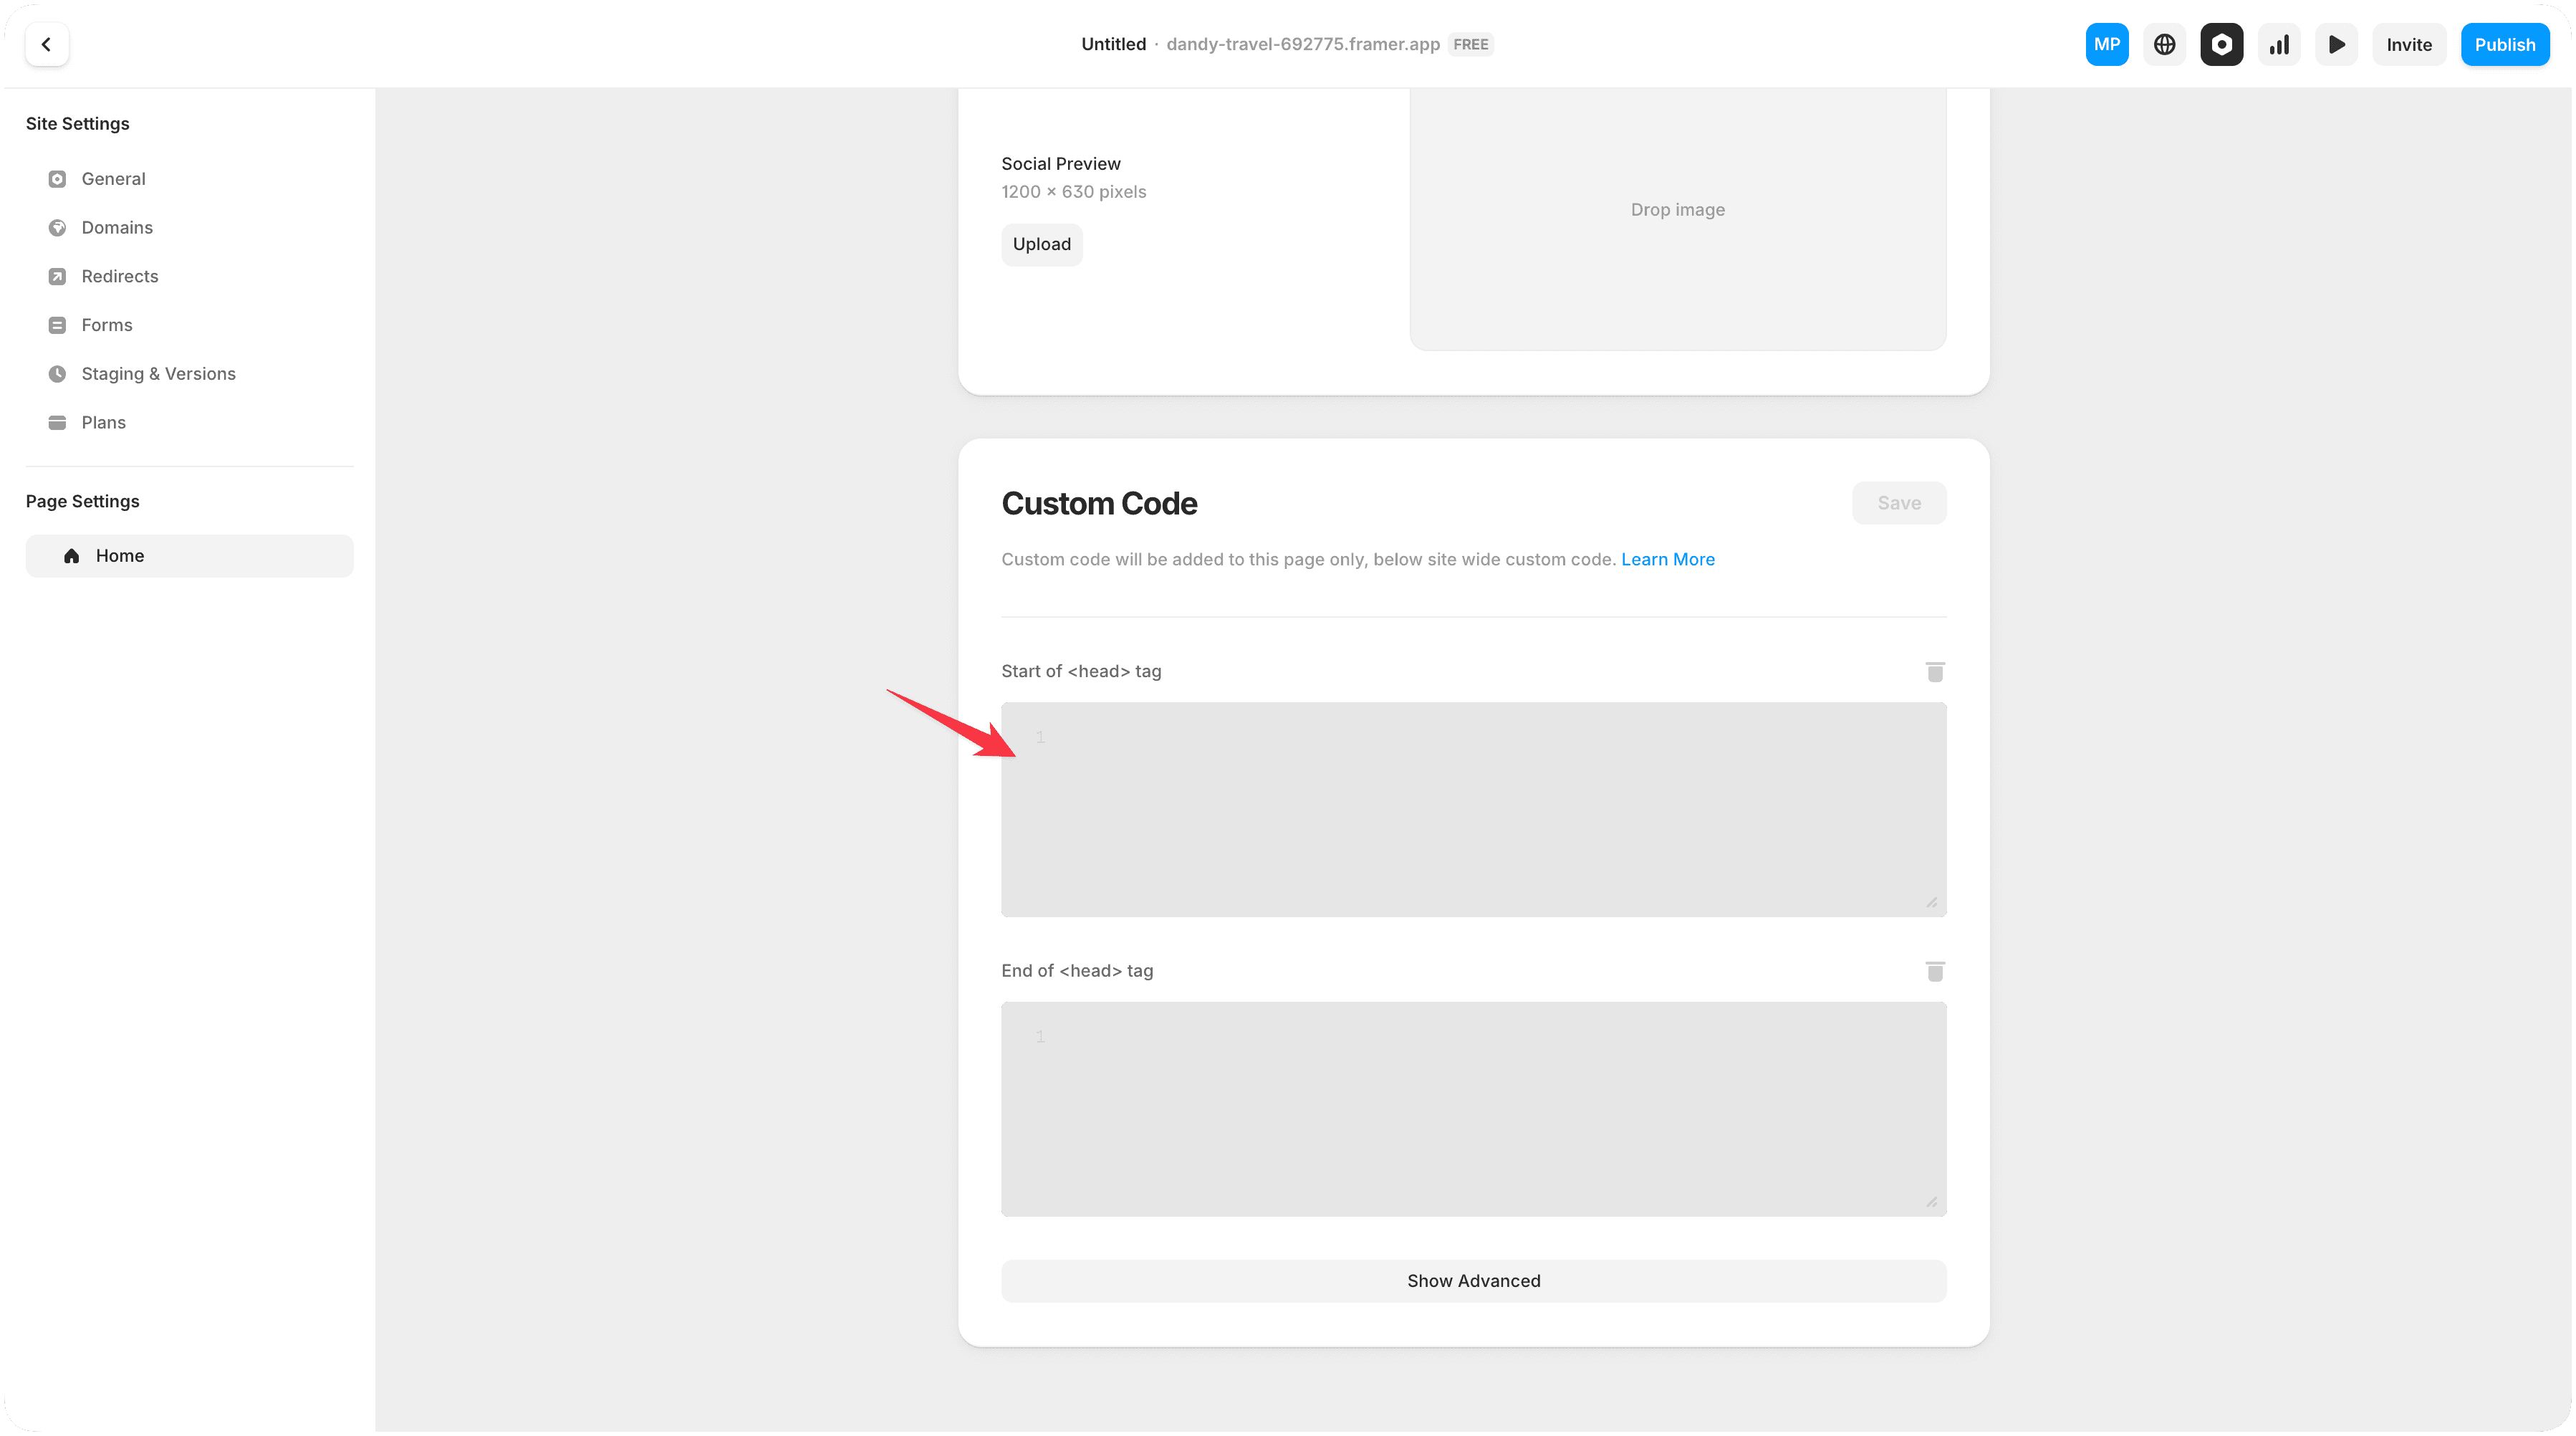
Add Script to Framer
In your Framer project, click on the Settings icon (usually a gear icon) in the top right.
Select General from the settings menu.
Scroll down to find the Custom Code section.
Paste the copied YourGPT AI Agent script into the Head field.
Make sure the entire script is properly pasted without any modifications.
Click Save to apply your changes.
Verify Installation
Click on the Preview button in Framer to view your site.
You should see the YourGPT AI Agent chat widget appear on your site (typically in the bottom-right corner).
Click on the widget to test that it opens correctly and responds to queries.
If you're satisfied with the placement and functionality, publish your site with the updated changes.
Pro Tip
Test your AI Agent on multiple devices (desktop, tablet, mobile) to ensure responsive behavior across all screen sizes.
Troubleshooting
The AI Agent not appearing or performance issues? Try these troubleshooting steps:
AI Agent Not Appearing
- Clear your browser cache and reload the page
- Verify the script was saved in the Custom Code section
- Check for JavaScript errors in your browser console (right-click > Inspect > Console)
- Ensure no ad-blockers are preventing the widget from loading
- Confirm your Framer site has been published with the latest changes
Script Conflicts
- Check if your Framer site has other scripts that might conflict
- Try moving the script to the Body section instead of Head
- Disable other chat widgets or popups that might interfere
- Ensure you're using the latest version of the YourGPT script
Performance Issues
- Optimize your AI Agent's knowledge base size
- Check your Framer site's overall performance
- Consider enabling lazy loading in your YourGPT dashboard settings
Need Help?
For technical support with your Framer integration:
- Email us at [email protected]
- Chat with us on Discord Community
- Visit our website
Congratulations!
Your AI Agent is now successfully integrated with your Framer website, providing intelligent assistance to your visitors 24/7 and enhancing their overall experience.