Messenger
Learn how to connect YourGPT Chatbot to Facebook Messenger with auto or custom setup.
💡 Connecting Your Chatbot with Messenger
Auto Installation

Select Auto and Connect
Under the Messenger section, Select Auto and click Connect.

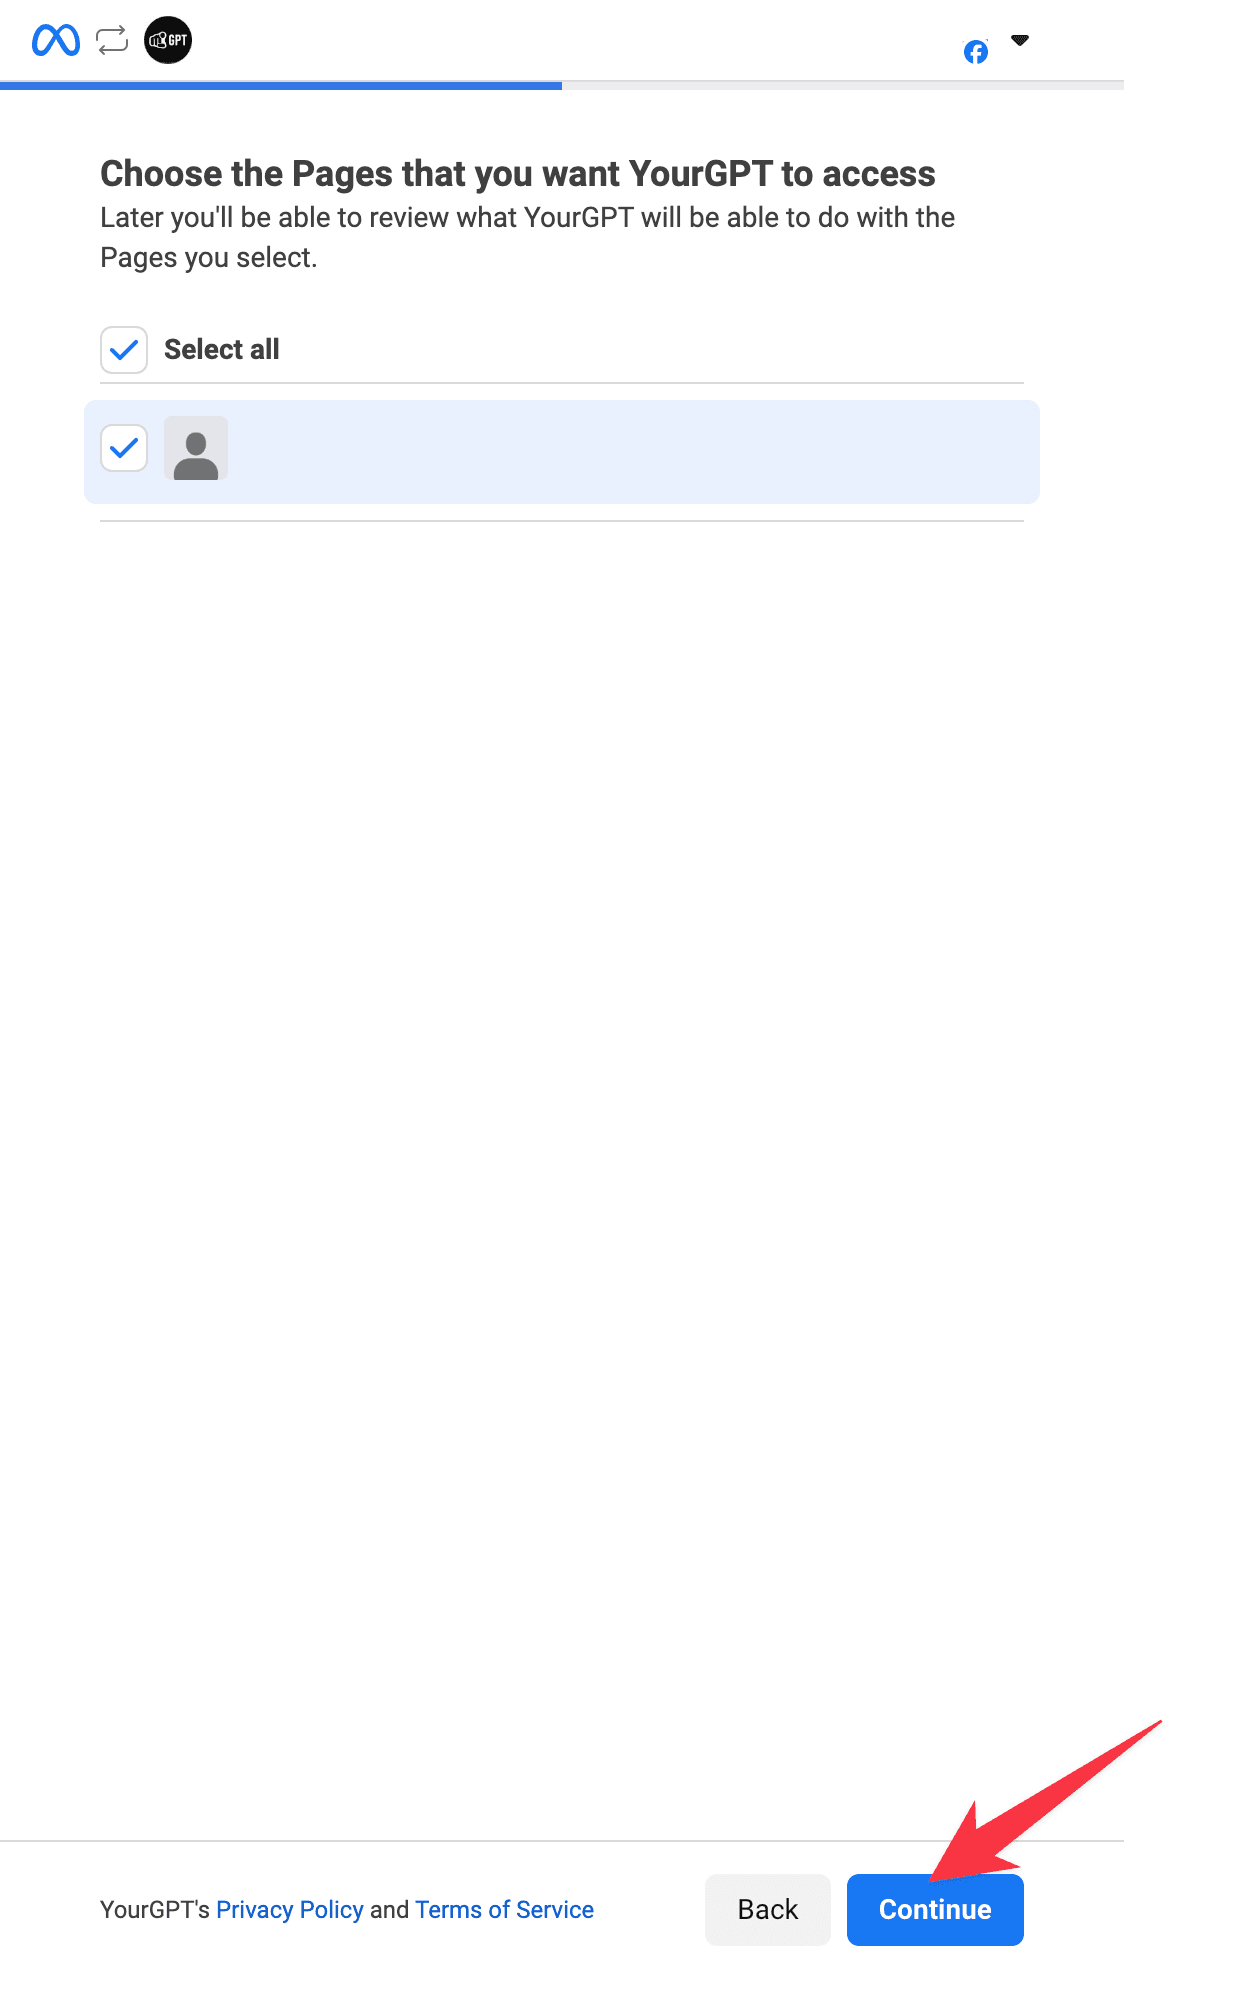
Select or Create Facebook Page
Select an existing Facebook Page or create a new one.
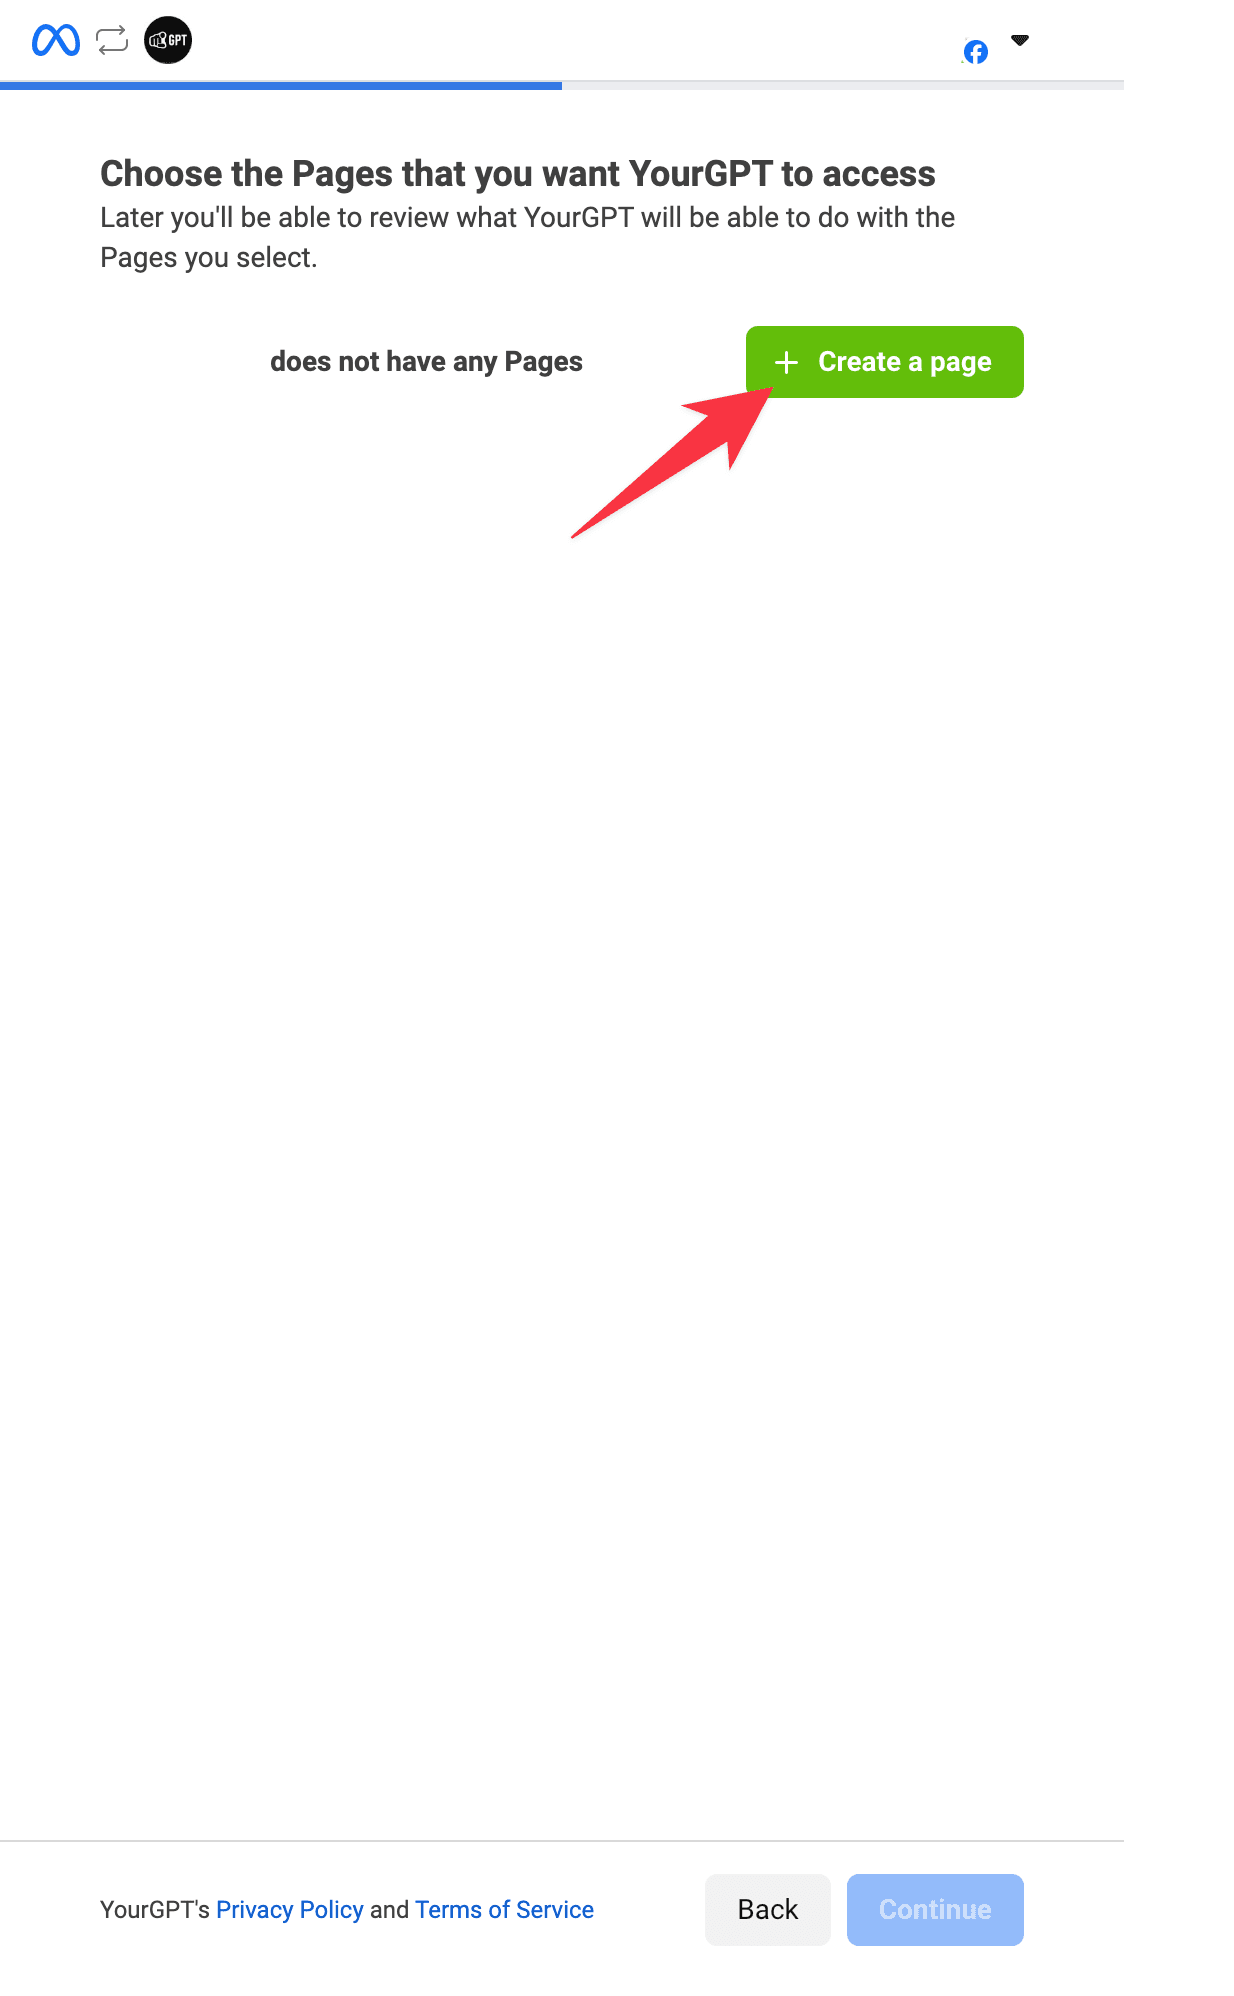
To create a new page, enter the Page Name and Category, then click Create.

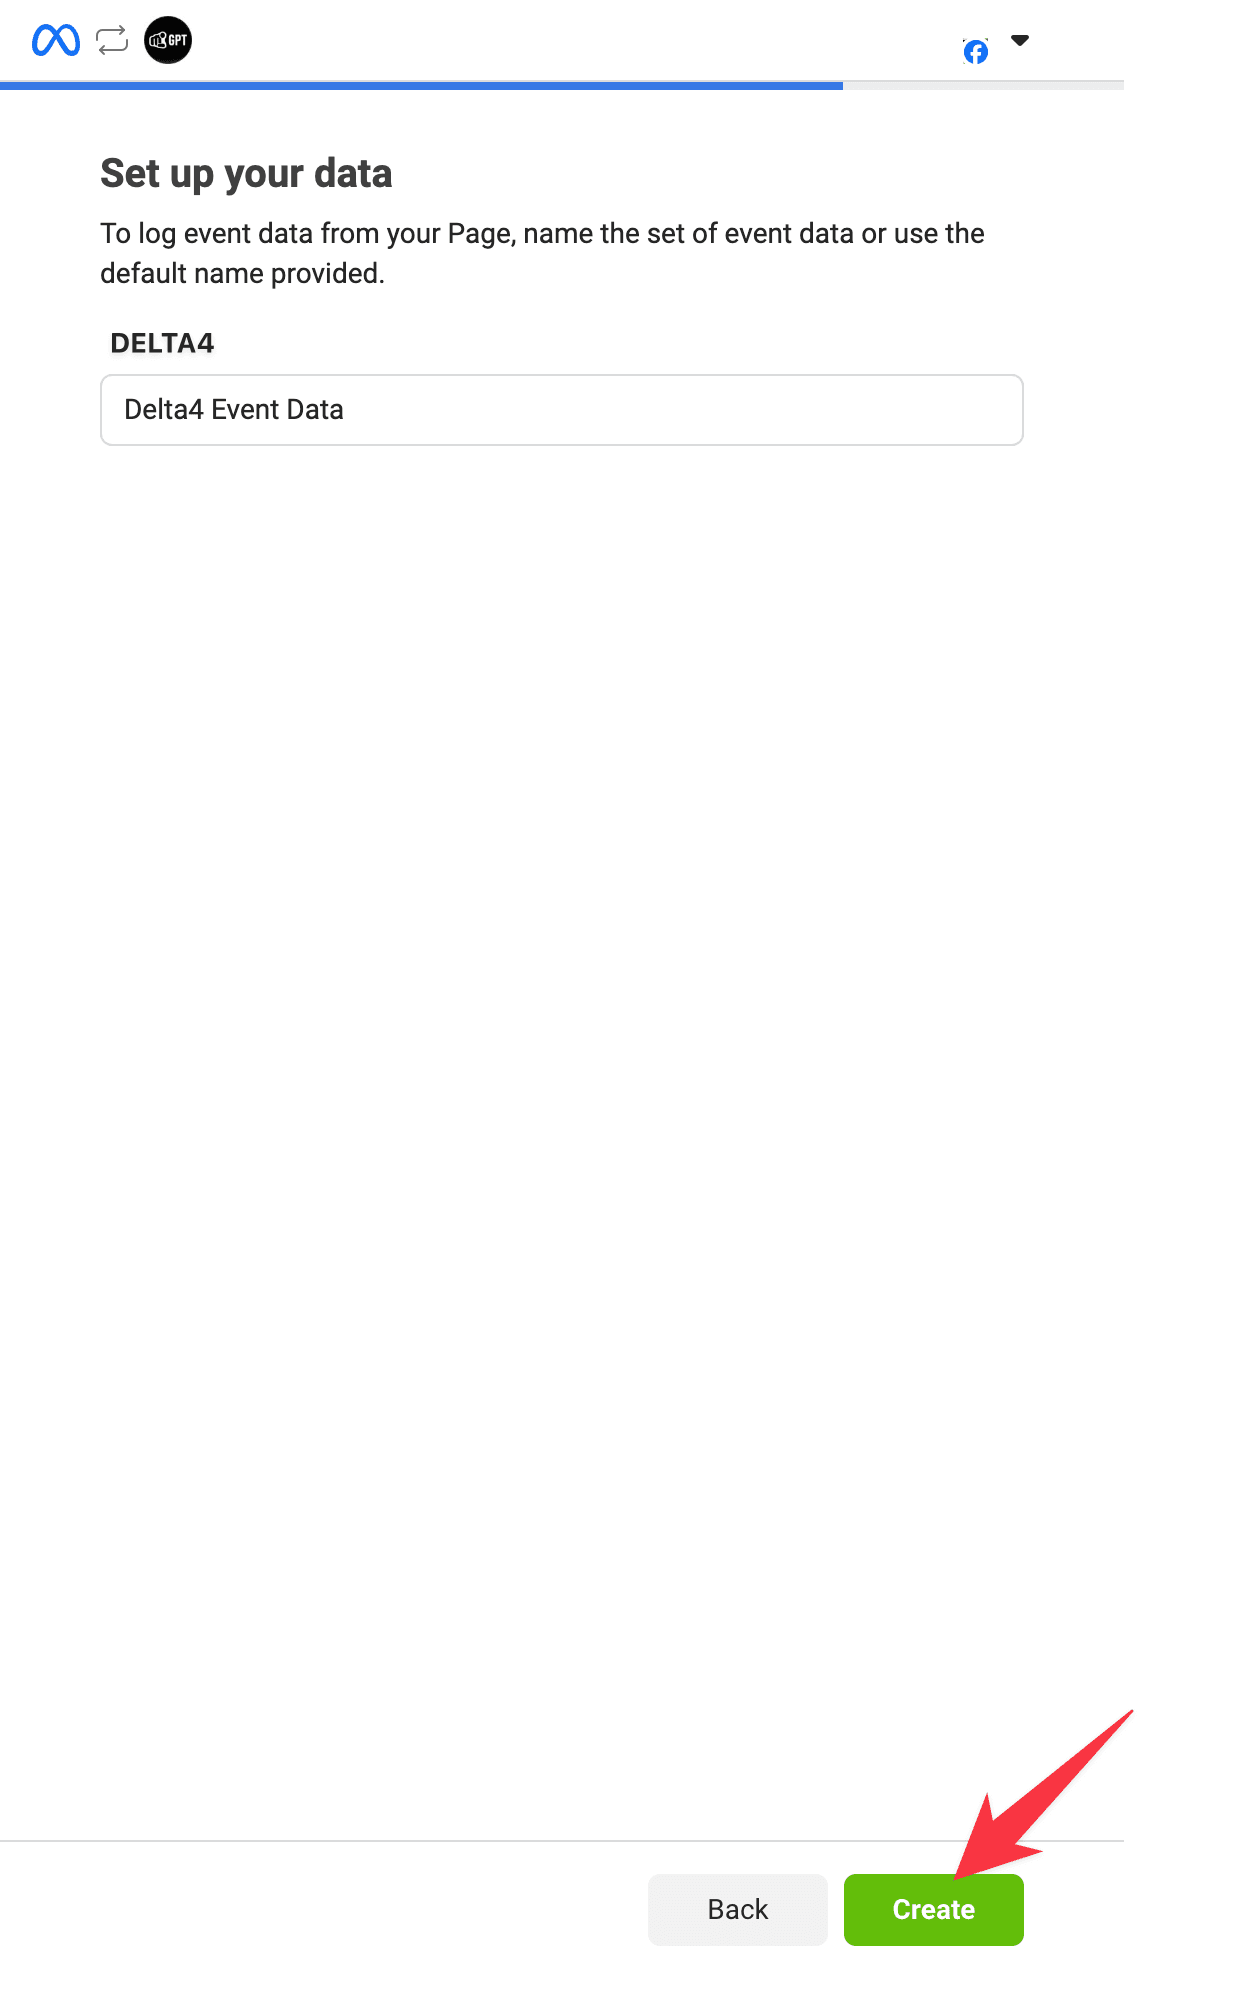
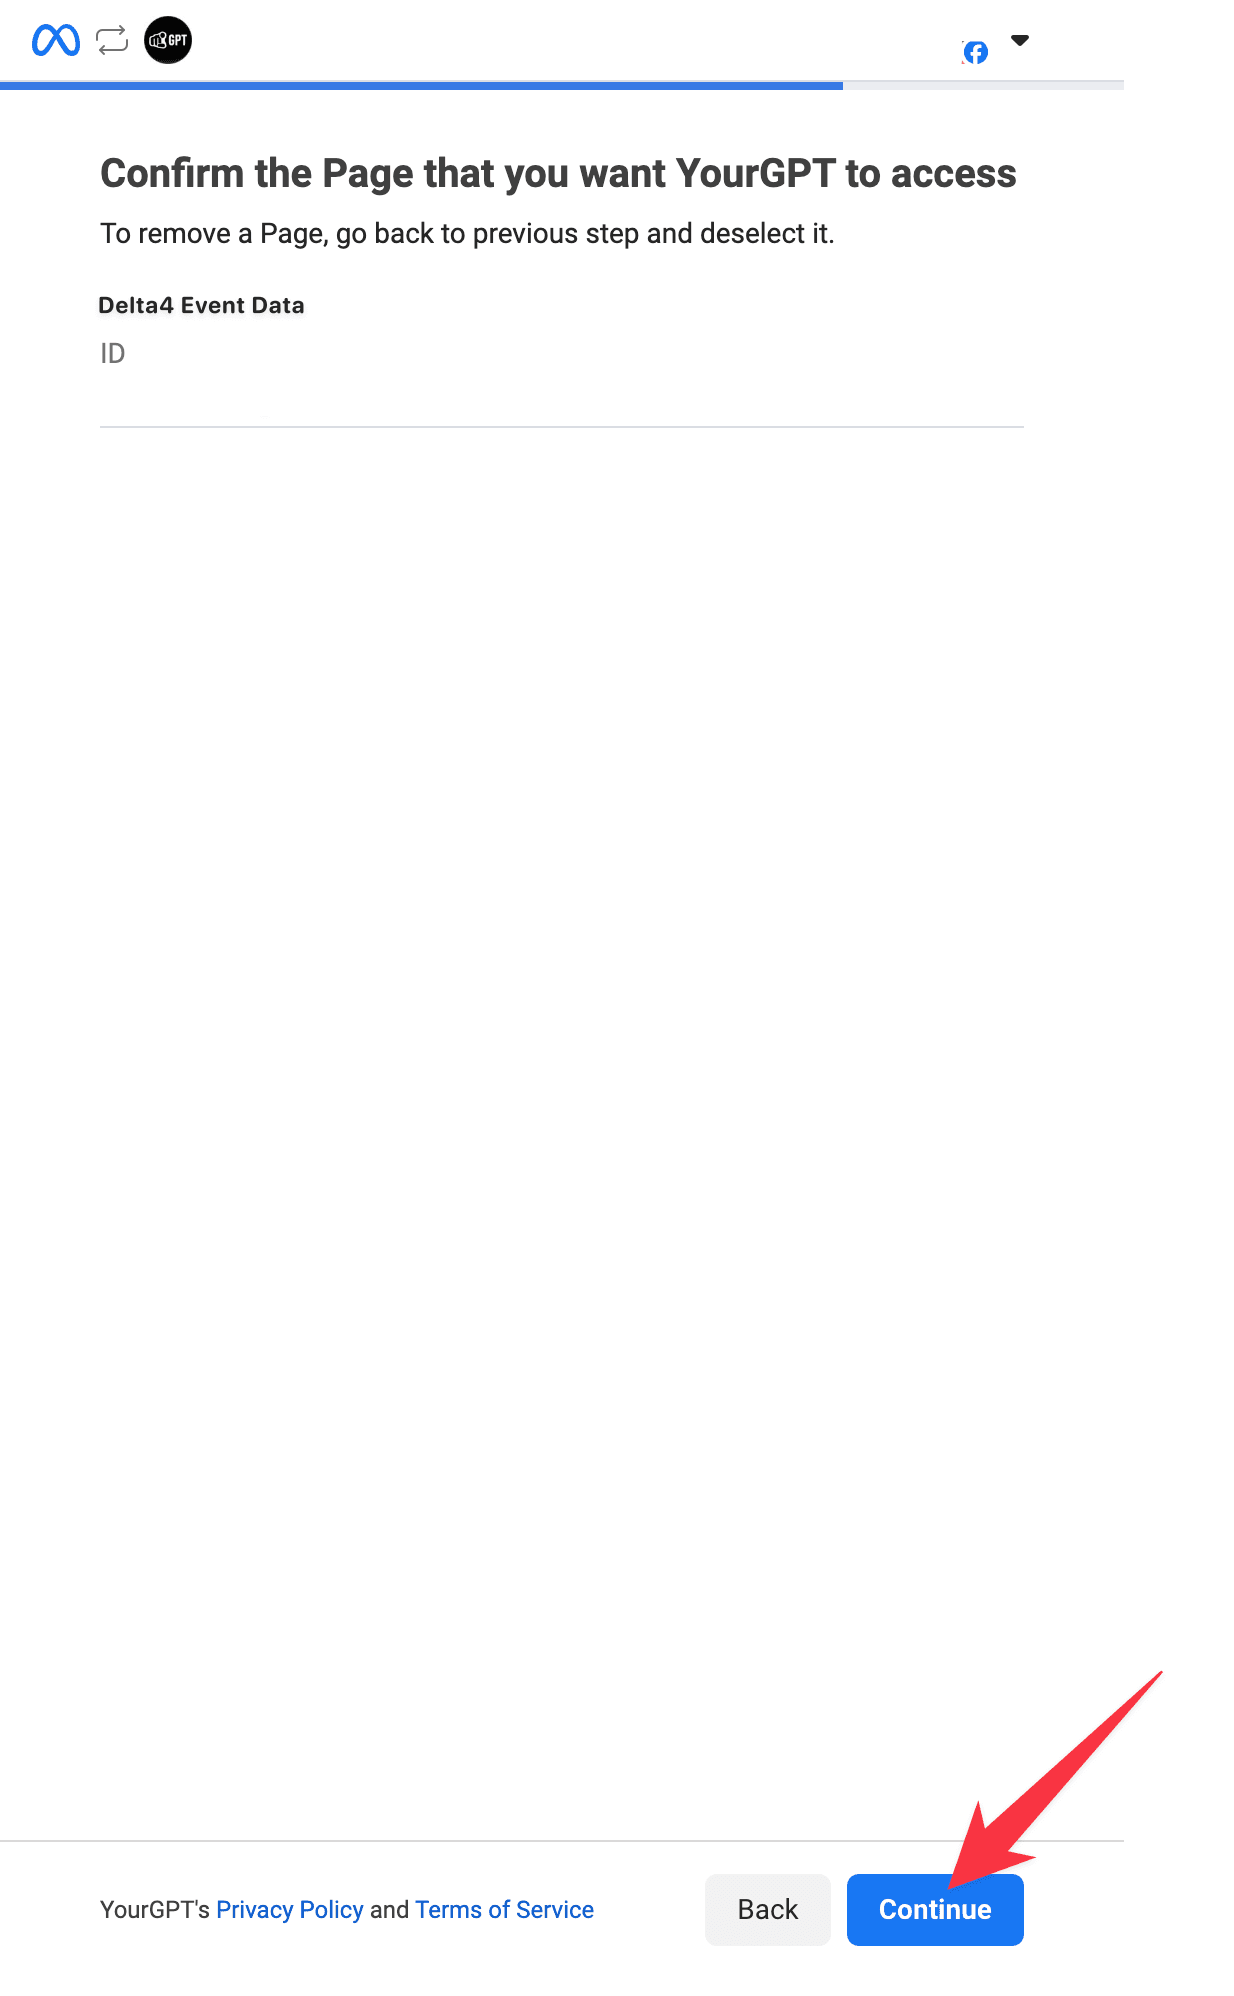
Finalize Setup
Follow the further steps, verify and review the integration settings. Your Messenger account will now be linked to YourGPT.
Custom Installation


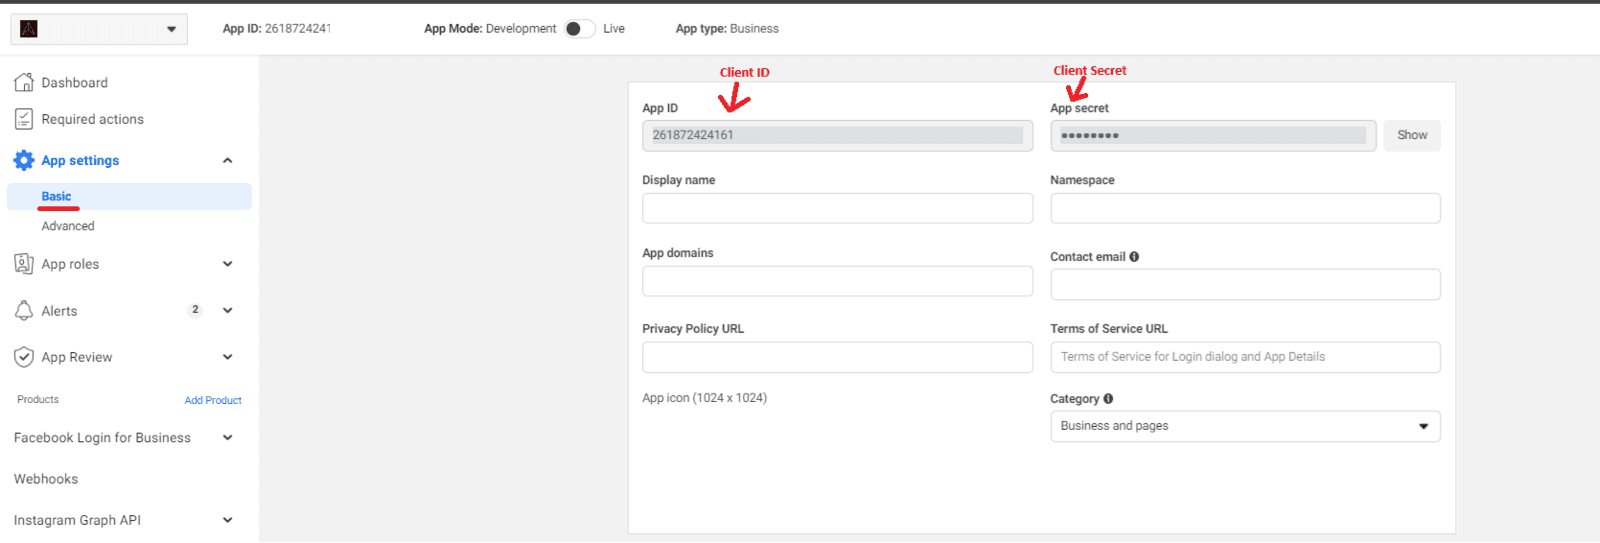
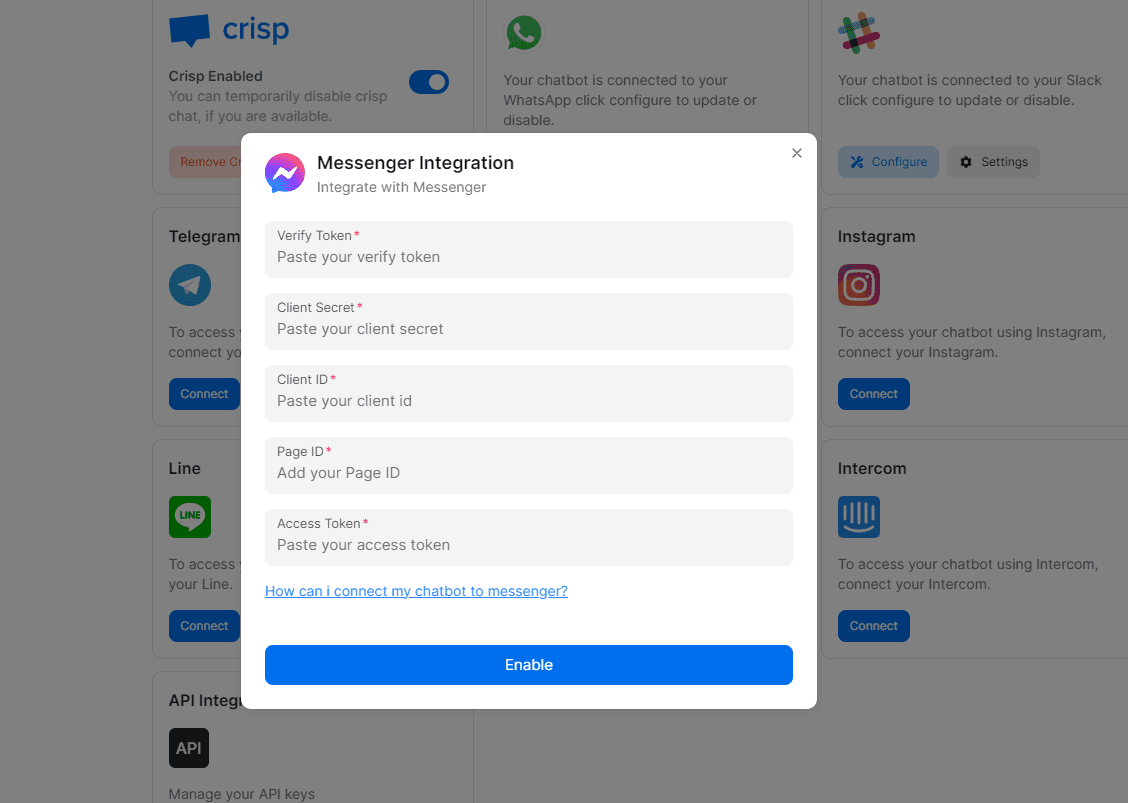
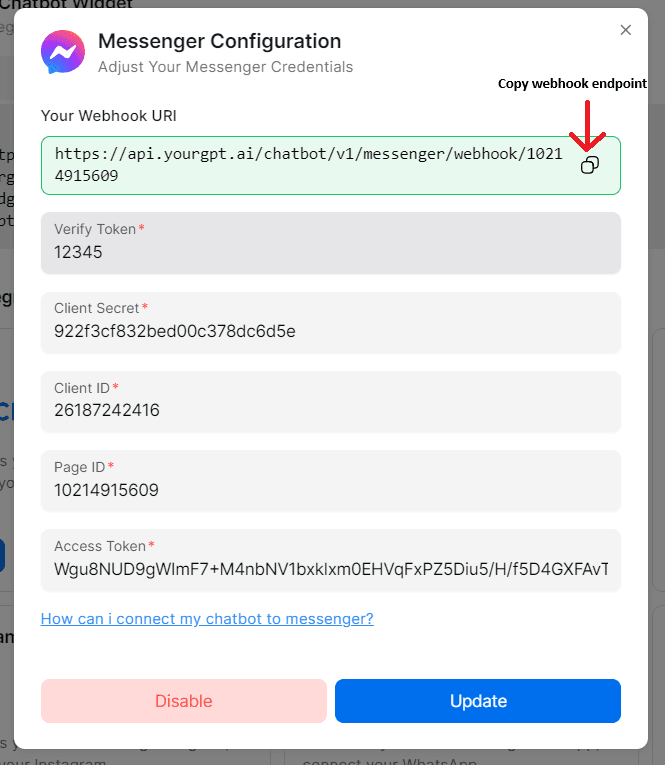
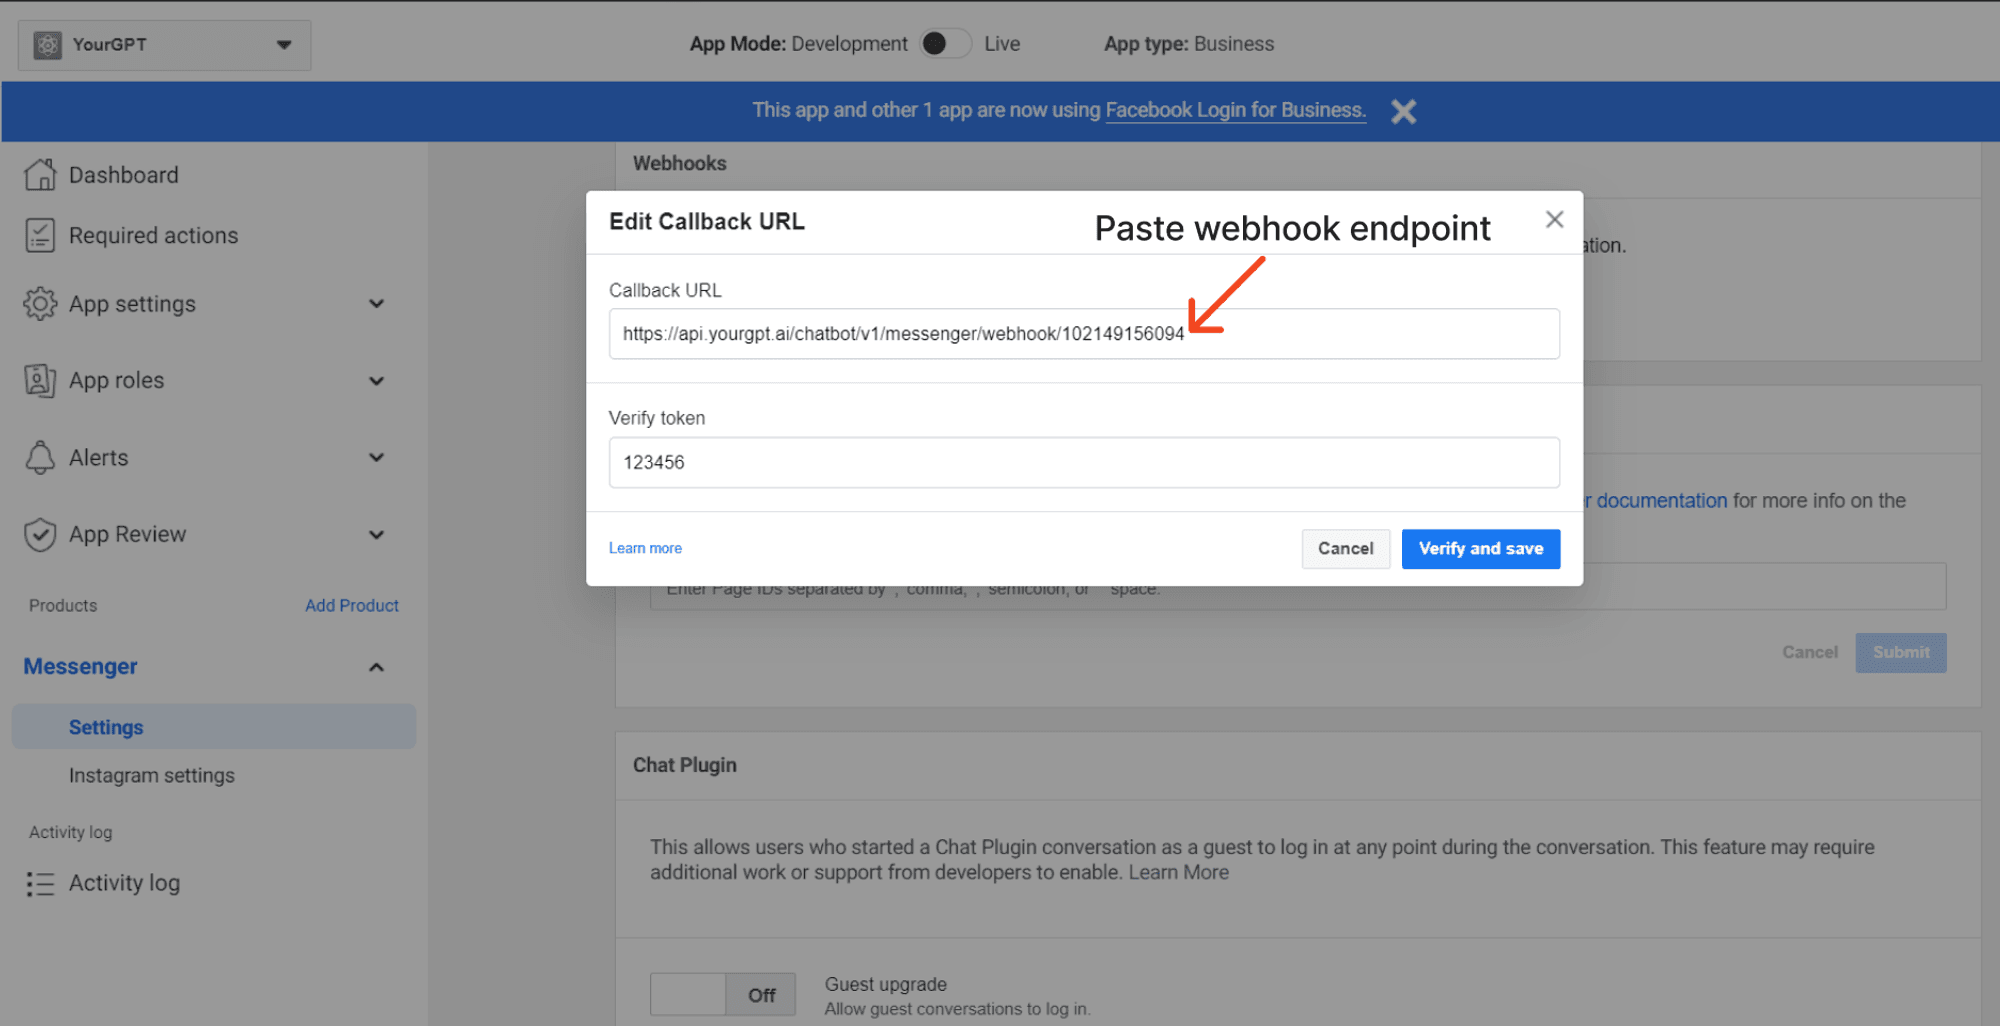
Add Verify Token and Credentials
Add a random Verify Token (this will be used for later webhook verification), the Page ID, and the Generated Access Token.

Send App for Review
The last step is to send your app for review to get the permissions approved by Meta (formerly Facebook).
Integration Supported Types
The Integration ID for Messenger is 11 and the supported types are:
Supported Types
- Text
- Image
- Video
- Audio
- File
- Button
- Carousel (handled as a generic template)
- Card (more than 3 buttons with action type path will be handled as quick replies; otherwise, they will be handled as a generic template)
Not Supported
Forms are not supported on Messenger.
By following these steps, you can integrate YourGPT AI chatbot with Messenger. For any questions, contact our team via Live support or Mail Us.