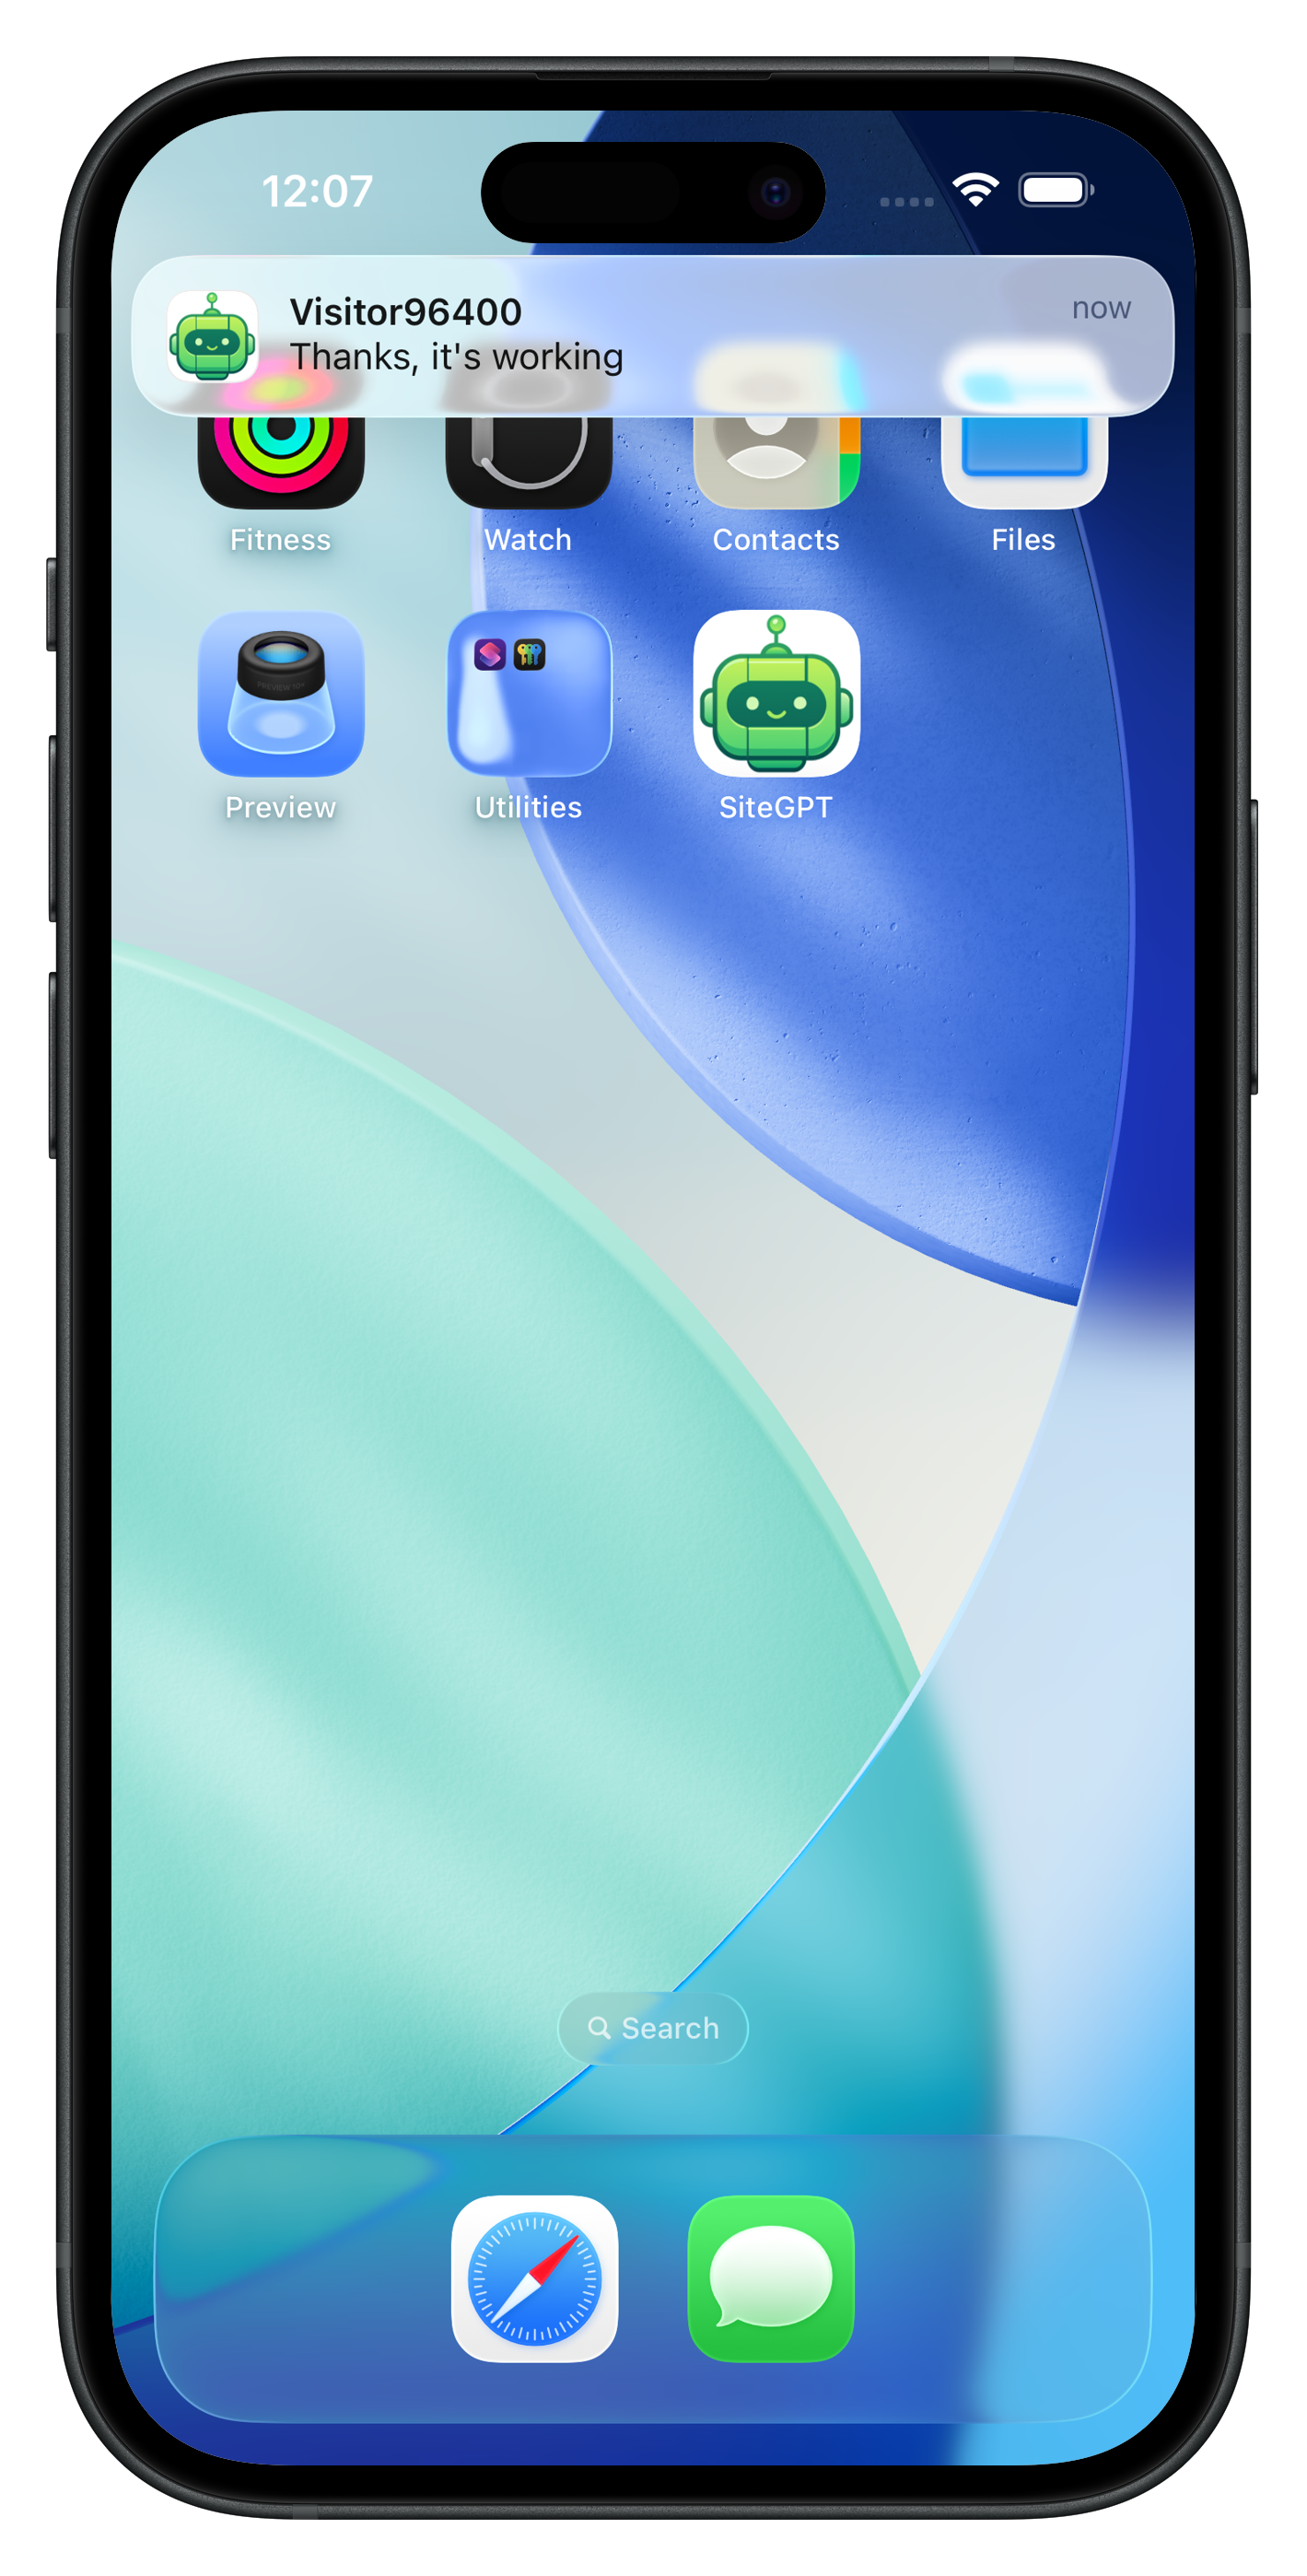
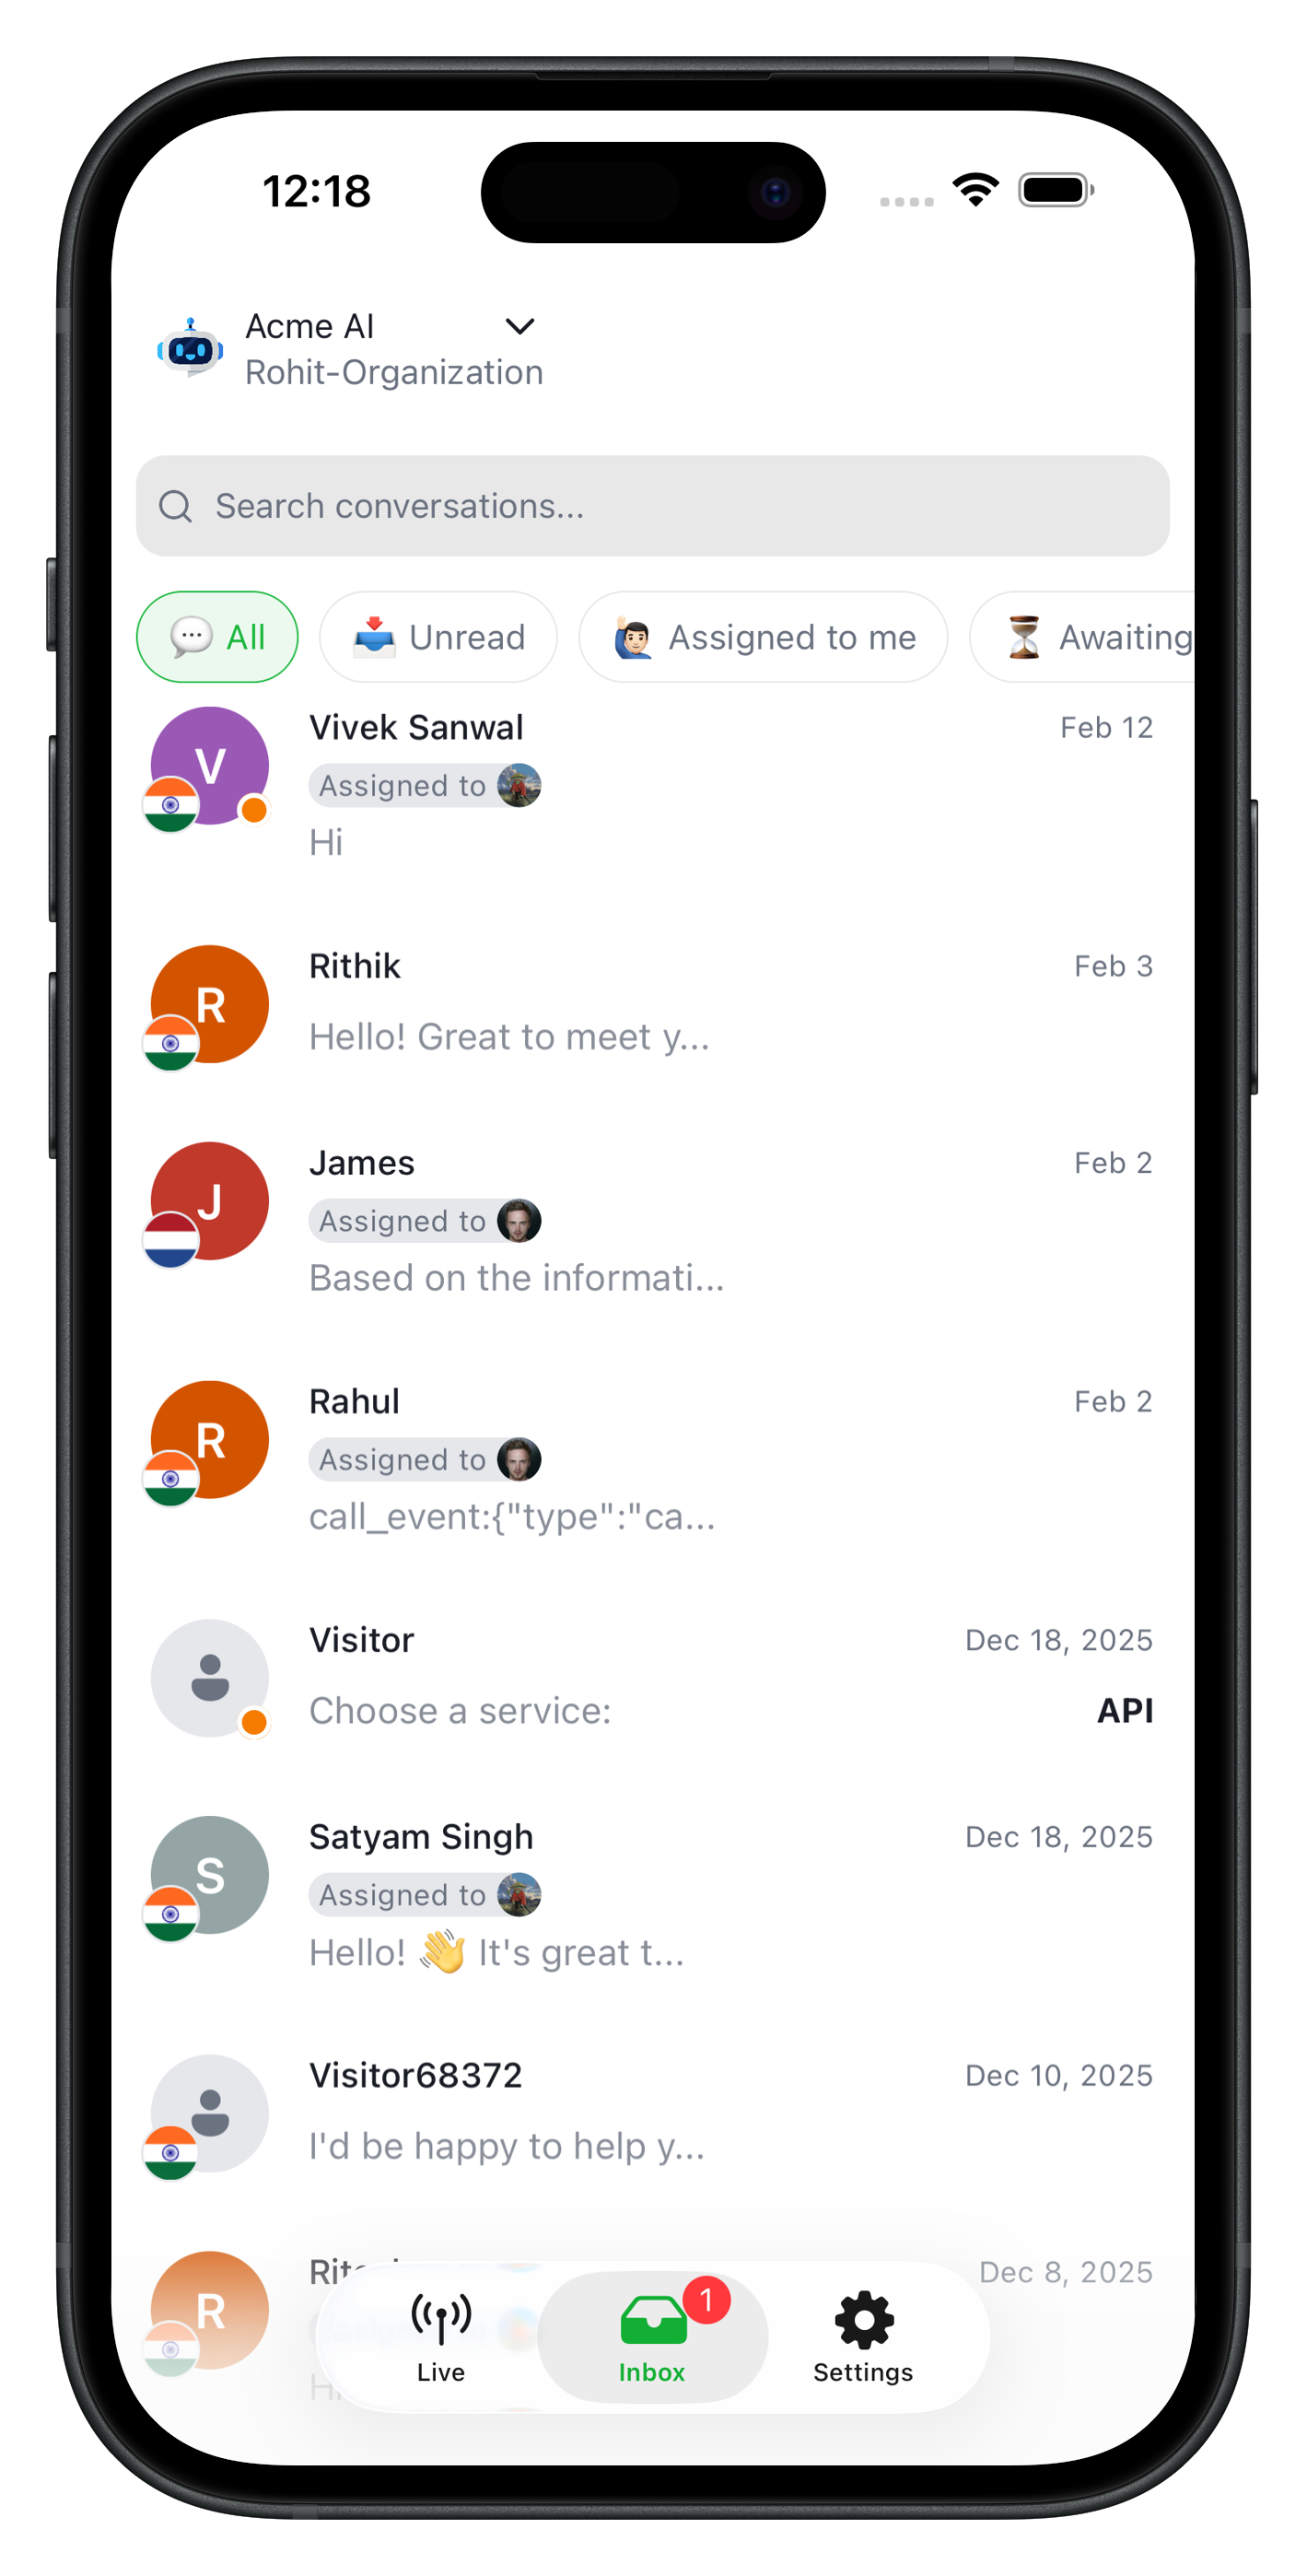
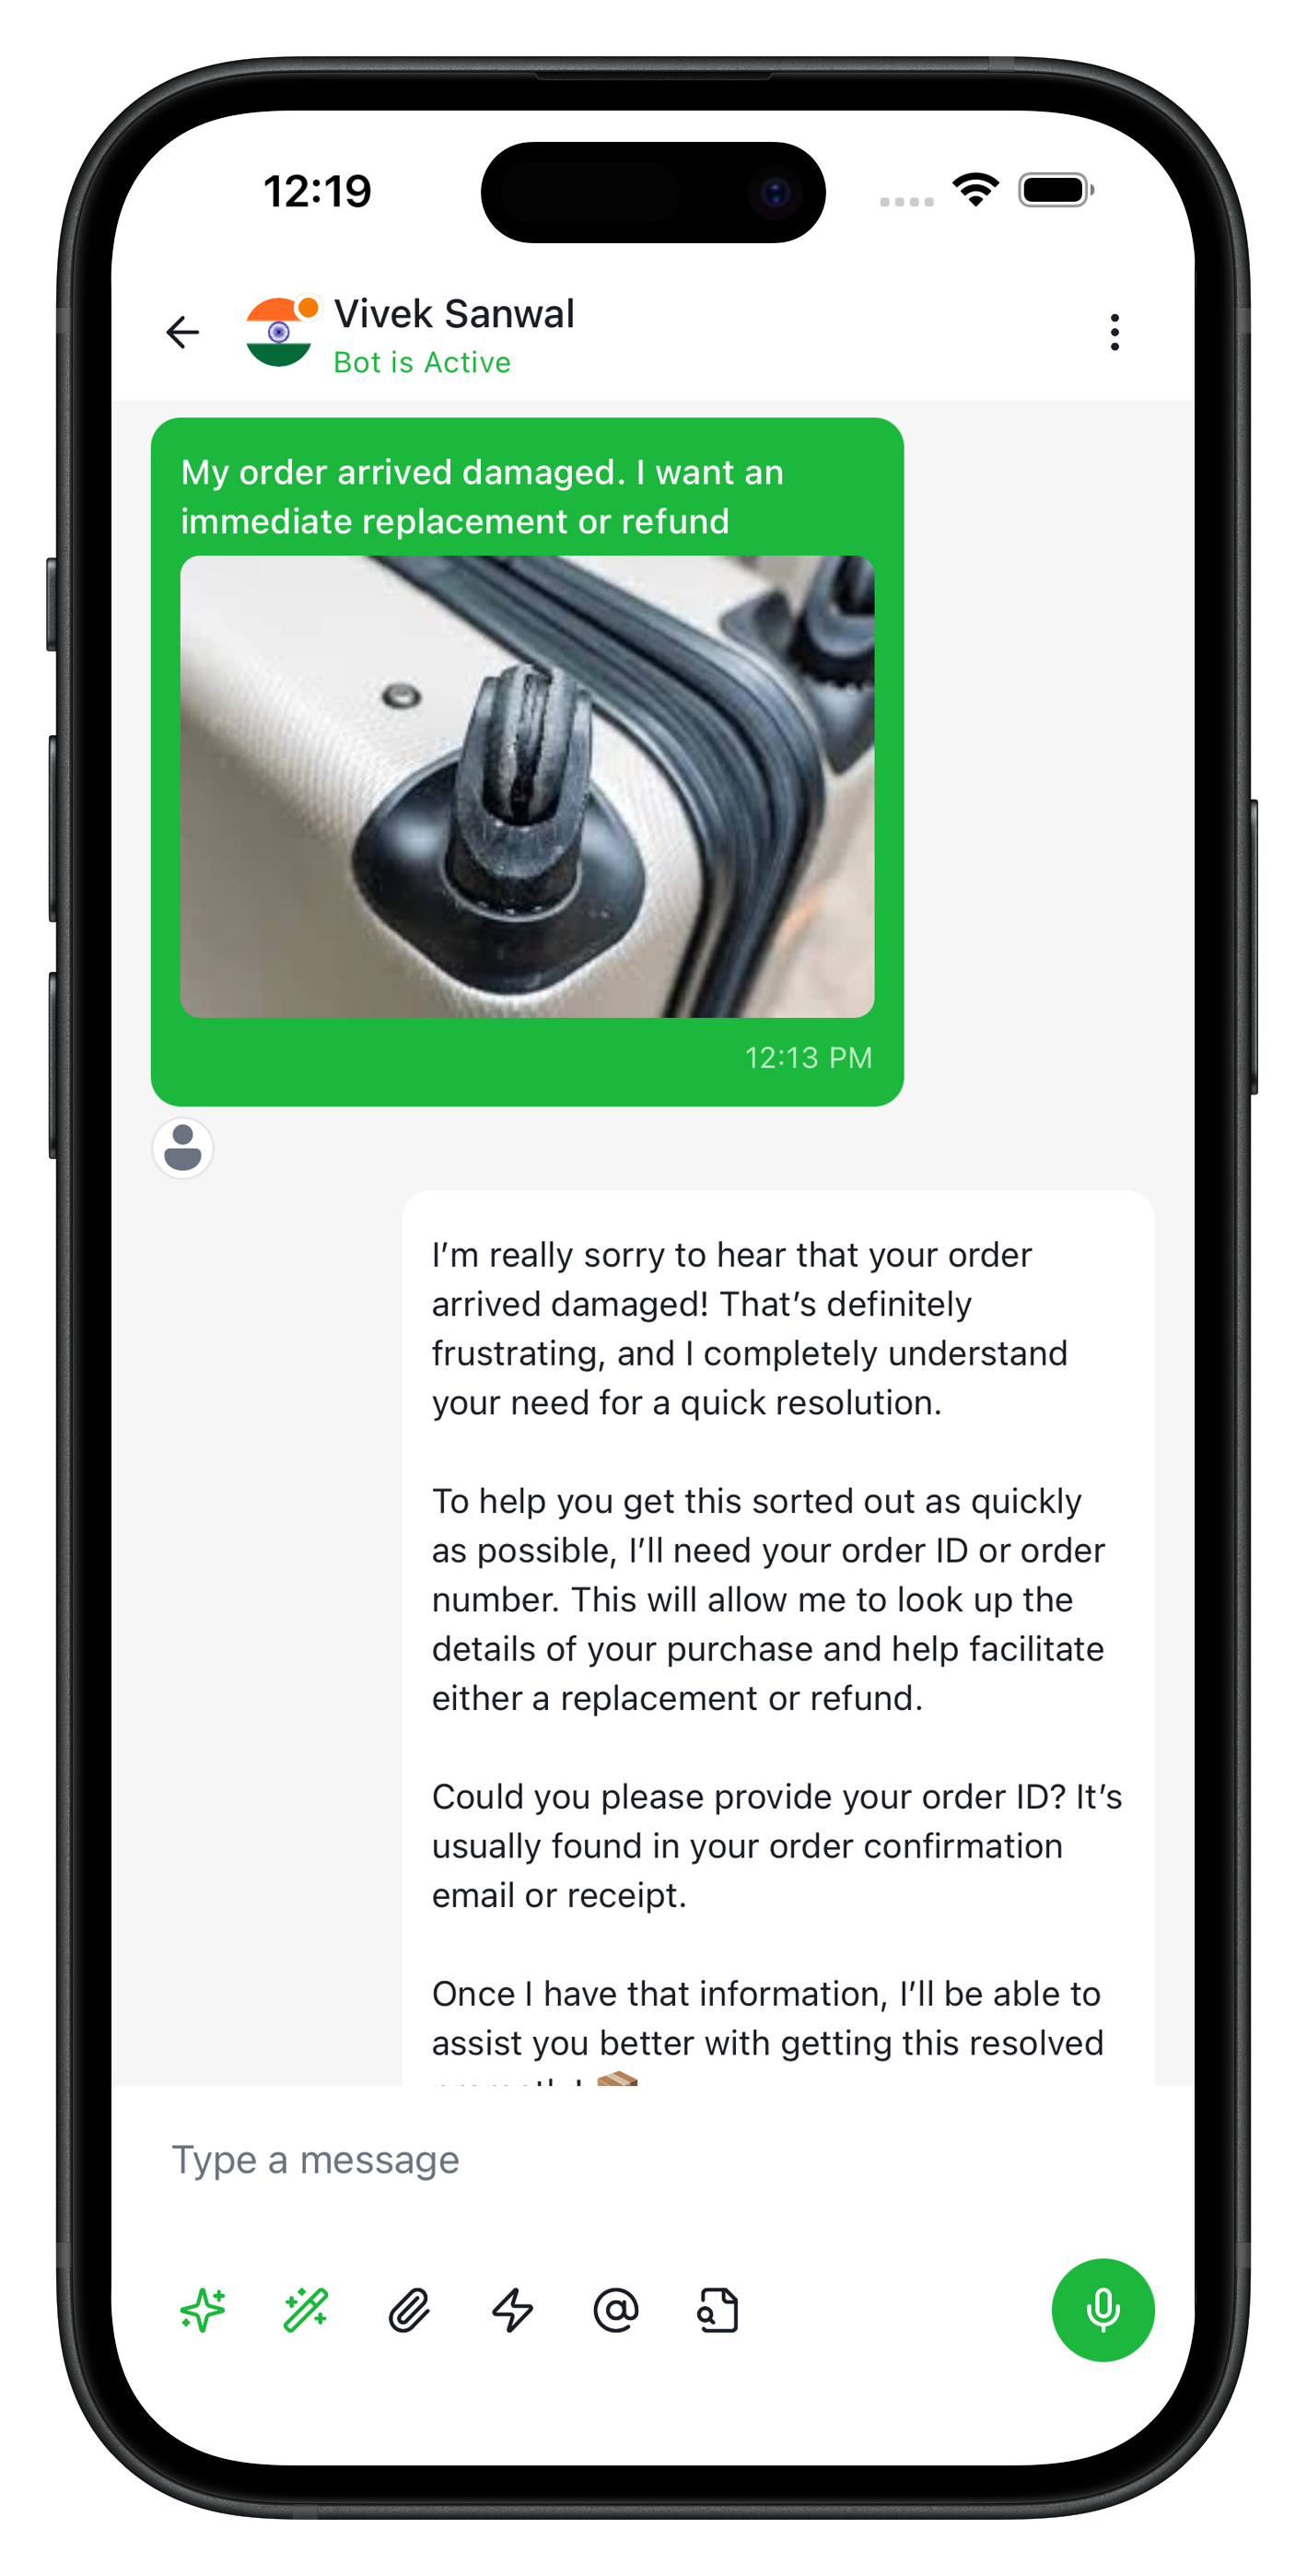
Custom Branded App
Launch your own fully branded iOS and Android chatbot app — your logo, your colors, published under your accounts.
What to Prepare
1. Brand Identity
Basic info that identifies your app.
| Field | Format | Example |
|---|---|---|
| App Name | Display name on device | Acme Support |
| Bundle ID | Reverse-domain format | com.acme.support |
| URL Scheme | Lowercase, no spaces | acmesupport |
| Associated Domain | For Universal Links (optional) | app.acme.com |
2. Apple Developer Account
Required to publish your app on the iOS App Store.
What you need:
- An active Apple Developer account ($99/year)
- Your Team ID (found under Account → Membership)
Create an APNs key for push notifications:
- Go to Certificates, Identifiers & Profiles → Keys
- Click + and enable Apple Push Notifications service (APNs)
- Download the
.p8file — save it securely, you can only download it once - Note the Key ID shown on the page
Register your Bundle ID:
- Go to Identifiers → App IDs → create a new App ID
- Set the Bundle ID to your chosen value (e.g.
com.acme.support) - Enable the Push Notifications capability
Send us: Team ID, Key ID, and confirm the Bundle ID is registered.
.p8 key file can only be downloaded once. Store it securely before sharing.3. Firebase Project
Firebase powers push notifications and Google Sign-In in your app.
Step 1 — Create a Firebase project
- Go to Firebase Console and create a new project
- Add two apps using your Bundle ID — one for iOS, one for Android
- Download the config files:
| Platform | File to Download |
|---|---|
| iOS | GoogleService-Info.plist |
| Android | google-services.json |
Step 2 — Enable required services
In your Firebase project:
- Authentication → Sign-in method → enable Google
- Cloud Messaging → enabled by default, no action needed
Step 3 — Upload your APNs key to Firebase (iOS push notifications)
- Go to Project Settings → Cloud Messaging tab
- Under Apple app configuration, click Upload next to APNs Auth Key
- Upload your
.p8file and enter the Key ID and Team ID
Step 4 — Note these two values
| Value | Where to Find |
|---|---|
| Web Client ID | Firebase Console → Authentication → Sign-in method → Google |
| iOS Reversed Client ID | Inside the GoogleService-Info.plist file you downloaded |
Send us: both config files + the two values above.
4. Android Signing Key
Required to publish your app on the Google Play Store.
4.1 Generate Keystore
Run this command to generate a keystore file:
keytool -genkeypair -v -storetype PKCS12 \
  -keystore your-app-release.keystore \
  -alias your-app-key \
  -keyalg RSA -keysize 2048 -validity 10000
You'll be prompted to set a keystore password and key password — keep both safe.
4.2 Get SHA Fingerprints
keytool -list -v -keystore your-app-release.keystoreCopy the SHA-1 and SHA-256 fingerprints.
4.3 Add Fingerprints to Firebase
- Firebase Console → Project Settings → Your Android app
- Add both SHA-1 and SHA-256 fingerprints
Send us:
| Item | Description |
|---|---|
| Keystore file | The .keystore or .jks file |
| Key alias | The alias used (e.g. your-app-key) |
| Keystore password | Password set during generation |
| Key password | Password for the key entry |
5. Image Assets
All images should be high quality and exported at the specified sizes.
App Icon — used to generate all icon sizes for both platforms
| File | Specs |
|---|---|
app-icon.png | 1024×1024px, PNG, no transparency |
Splash Screen — shown while the app is loading
| File | Specs |
|---|---|
splash-logo.png | PNG with transparent background, ~400px wide |
In-App Logos
| File | Specs | Usage |
|---|---|---|
logo.png | PNG, any size | App header and UI |
logo-white.png | PNG, white artwork on transparent | Dark mode / dark backgrounds |
bot-avatar.png | PNG, square (e.g. 200×200) | AI assistant avatar |
6. Brand Colors
Provide all colors in hex format (#RRGGBB):
| Color | Purpose | Example |
|---|---|---|
| Primary | Buttons, links, sent message bubbles | #0066FF |
| Primary Dark | Status bar, pressed states | #0052CC |
| Primary Light | Hover states, highlights | #3385FF |
| Primary Tint | Light backgrounds, subtle highlights | #E6F0FF |
| AI Color | AI assistant UI elements | #8B5CF6 |
| Splash Background | Background color of the loading screen | #0066FF |
7. App Content
Text and links shown inside your app.
Onboarding screen
| Field | Example |
|---|---|
| Title | Welcome to Acme Support |
| Subtitle | AI-powered help, available 24/7 |
| Get Started Text | Sign in with your Acme account |
| Info Text | This app is for Acme customers and partners. |
Legal & support links
| Field | Example |
|---|---|
| Terms of Service | https://acme.com/terms |
| Privacy Policy | https://acme.com/privacy |
| Contact/Support | https://acme.com/contact |
Delivery Checklist
Use this to confirm everything is ready before sending.
Firebase
-
google-services.json(Android) -
GoogleService-Info.plist(iOS) - Google OAuth Web Client ID
- iOS Reversed Client ID
Apple (iOS)
- Apple Developer Team ID
- APNs Auth Key (
.p8file) + Key ID - Bundle ID registered in Apple Developer Portal with Push Notifications enabled
Android
- Keystore file (
.keystoreor.jks) - Key alias, keystore password, key password
Branding
- App icon (1024×1024, no transparency)
- Splash logo (transparent background)
-
logo.png,logo-white.png,bot-avatar.png - 6 brand colors in hex format
Content
- 4 onboarding text strings
- 3 URLs (terms, privacy, contact)
- App Store listing text (name, description, keywords, category)
- Screenshots for both platforms (or request that we generate them)
Next Steps
Once everything above is ready:
- Send your assets — Share all files and information with the YourGPT team
- We review — We confirm everything is in order and follow up with any questions
- We build — Your branded app is configured and compiled
- You approve — You receive a test build to review before going live
- You publish — Submit to the App Store and Google Play under your accounts
Need help?
Reach out to our team at any step — we're happy to walk you through any part of this process.